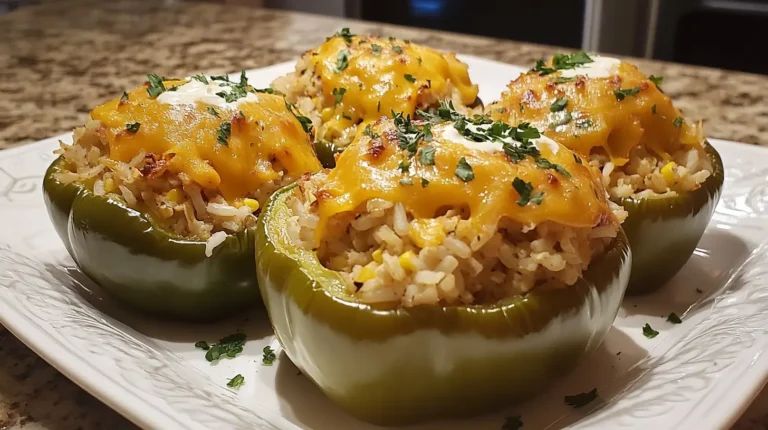
Chicken Stuffed Peppers: 7 Delicious Variations You Need to Try
If you’re looking for a flavorful, healthy, and incredibly customizable meal, Chicken Stuffed Peppers might just become your new favorite…
If you’re looking for a flavorful, healthy, and incredibly customizable meal, Chicken Stuffed Peppers might just become your new favorite…
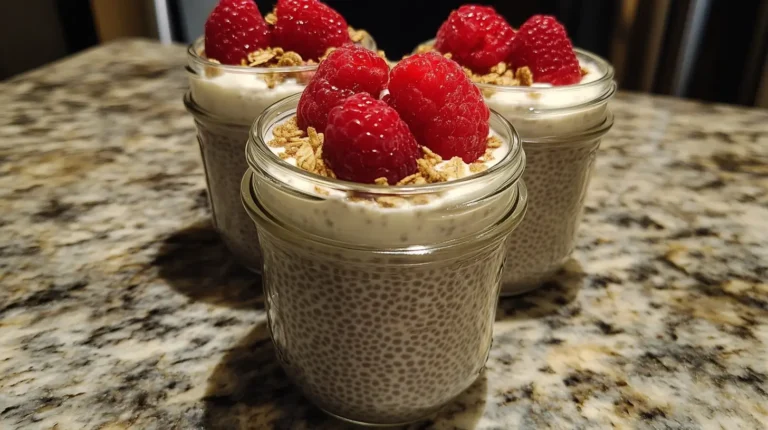
Looking for a quick, healthy, and versatile breakfast or snack? Chia seed pudding is the answer. It’s made with just…
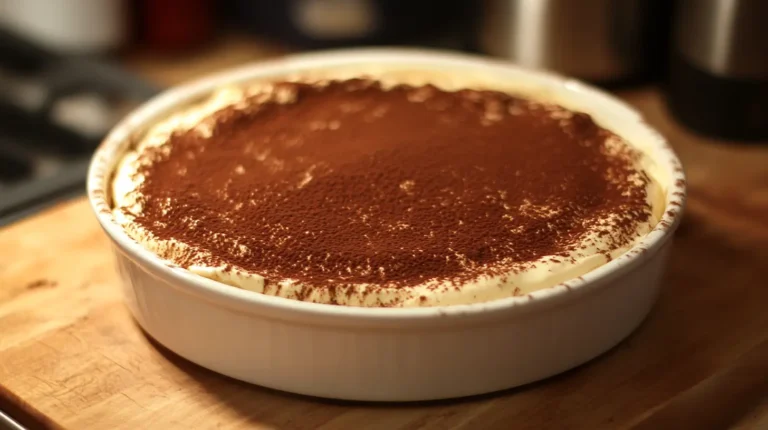
Tiramisu is more than a dessert—it’s a beloved Italian tradition that has traveled the globe, charming food lovers with its…
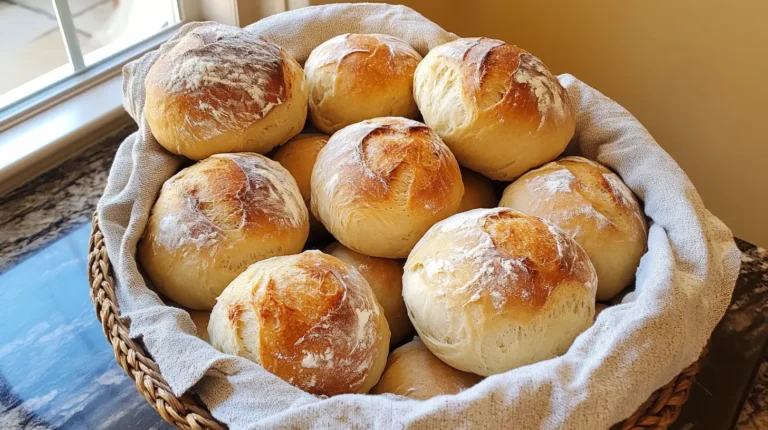
If you’re a sourdough enthusiast or just starting your sourdough journey, these Soft Sourdough Dinner Rolls are a must-try. With…
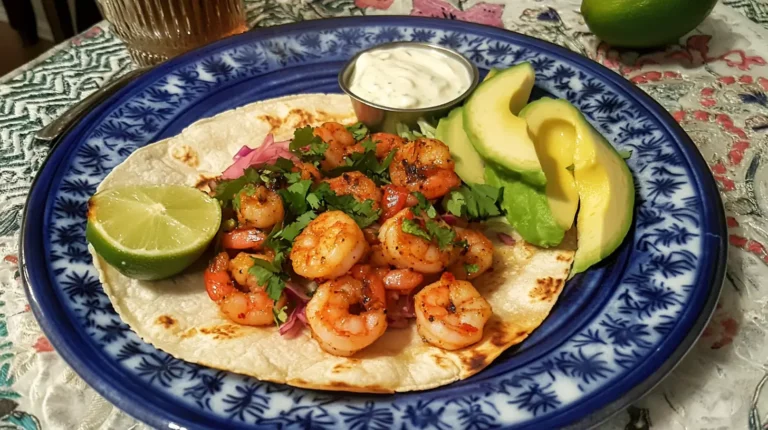
Shrimp tacos are a vibrant, zesty, and incredibly satisfying dish that can be whipped up quickly for a weeknight dinner…
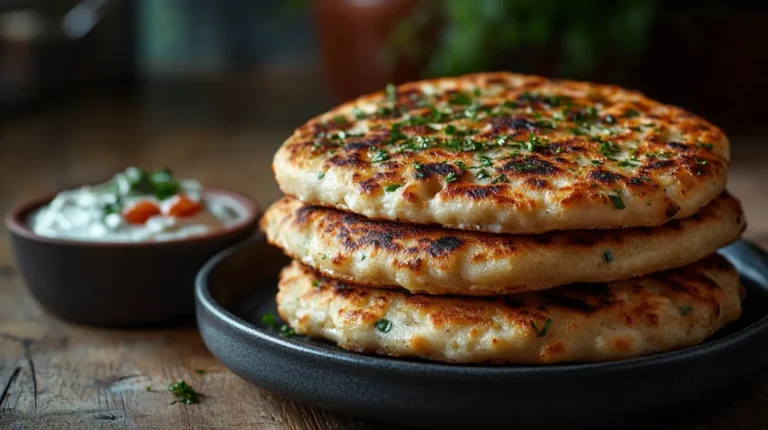
Flatbreads have a special place in almost every culture—from Indian naan to Middle Eastern pita and Italian focaccia. But if…
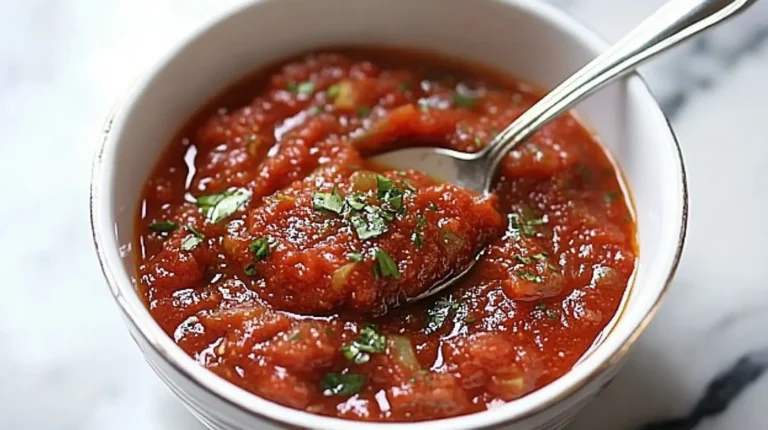
Pizza lovers know that the heart of a great pizza lies not just in the crust or toppings, but in…
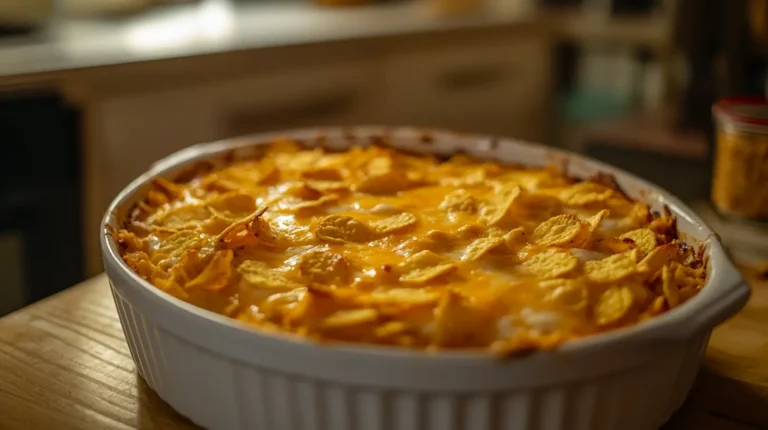
If you’re searching for a hearty, budget-friendly, and incredibly comforting dinner, look no further than the best tuna casserole. This…
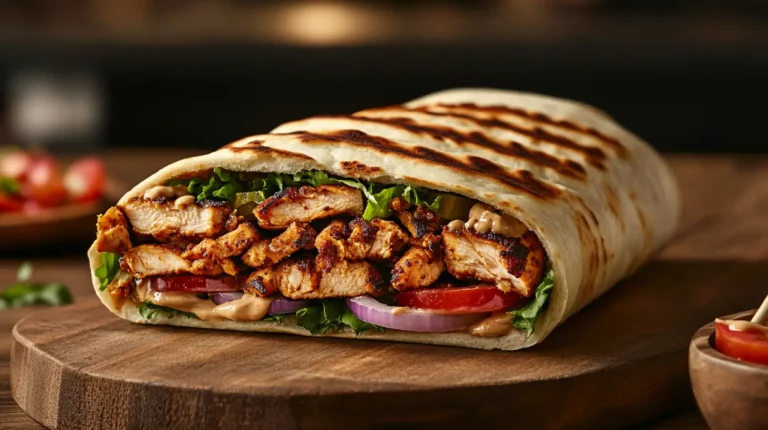
If you’ve ever bitten into a warm, spiced, and juicy chicken wrap and thought, “This is perfection,” chances are it…
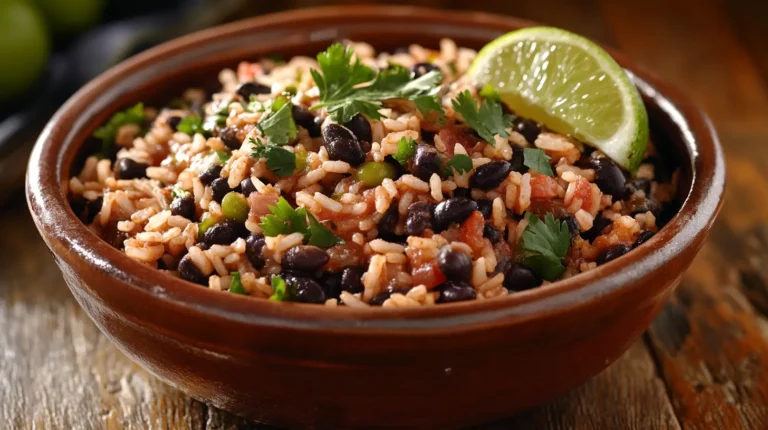
Few dishes in the world match the simplicity, nutrition, and flavor of black beans and rice. Whether you’re savoring a…