Red Velvet Waffles: 10 Secrets for the Best Homemade Waffles
There’s something irresistibly charming about red velvet waffles — vibrant, soft on the inside, lightly crisp on the outside, and…

There’s something irresistibly charming about red velvet waffles — vibrant, soft on the inside, lightly crisp on the outside, and…

Nothing says “good morning” quite like the aroma of buttery, golden croissants wafting through your kitchen. Add fluffy eggs, melty…

If you love Taco Bell’s famous Crunchwrap but need something that feeds a crowd, you’re in for a treat. The…
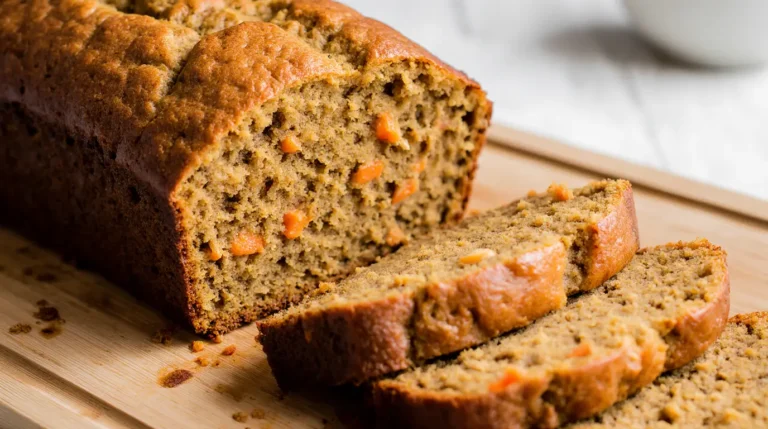
Carrot bread is one of those humble, comforting bakes that strikes the perfect balance between healthy and indulgent. Packed with…

If you’re looking to shake up your morning routine with something that’s equal parts delicious, hearty, and fun to make,…
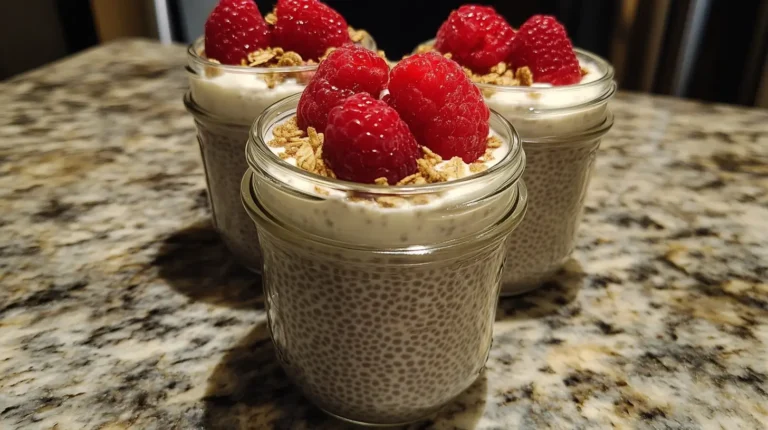
Looking for a quick, healthy, and versatile breakfast or snack? Chia seed pudding is the answer. It’s made with just…
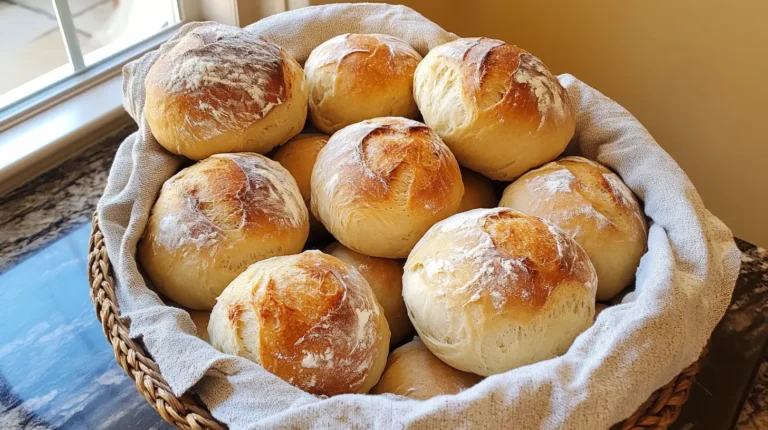
If you’re a sourdough enthusiast or just starting your sourdough journey, these Soft Sourdough Dinner Rolls are a must-try. With…
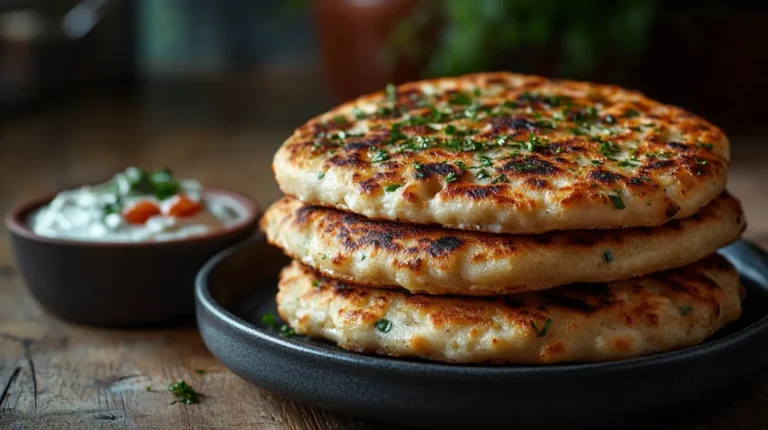
Flatbreads have a special place in almost every culture—from Indian naan to Middle Eastern pita and Italian focaccia. But if…

Coconut bread is a soft, quick bread that brings the essence of the tropics into your kitchen with the rich…
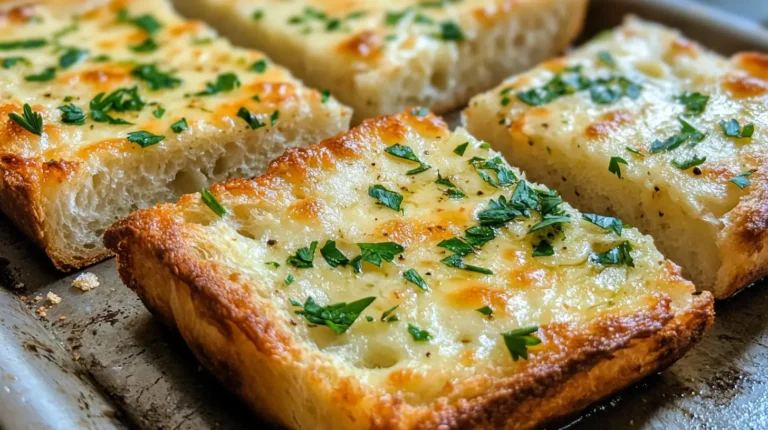
Garlic bread is one of those universally loved side dishes that seems to make everything better. Whether you’re preparing a…