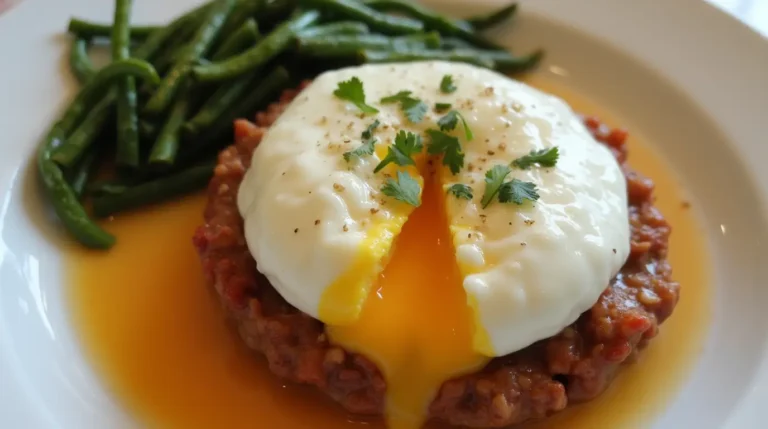
Poached Eggs: 5 Irresistible Steps You Love To The Perfect
Poached eggs are a timeless kitchen staple. Whether crafting a nourishing breakfast or looking to elevate a simple dish with…
Poached eggs are a timeless kitchen staple. Whether crafting a nourishing breakfast or looking to elevate a simple dish with…
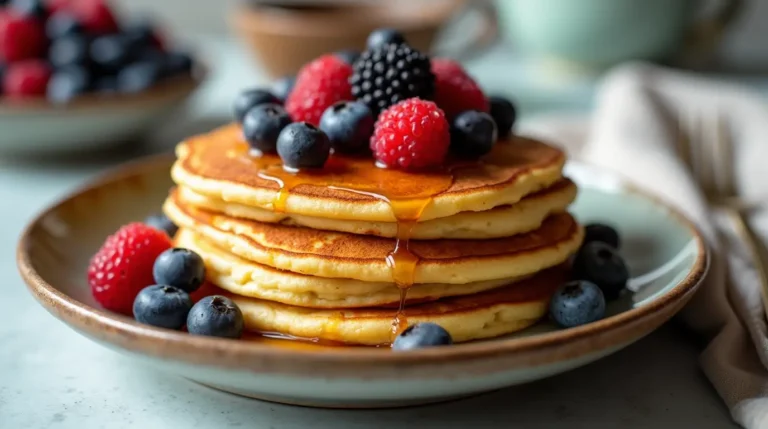
Chickpea flour pancakes are a fantastic alternative to traditional pancakes. They are gluten-free, protein-rich, and deliciously versatile breakfast options. Whether…
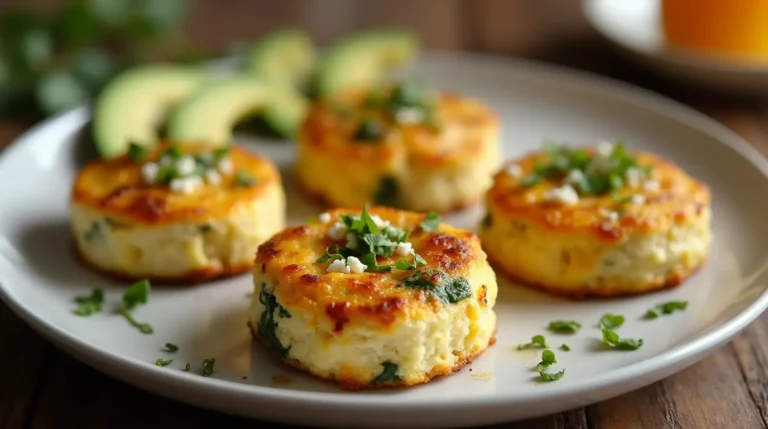
High-protein egg white bites are a delicious, low-calorie, and protein-packed breakfast option that has gained popularity among fitness enthusiasts, busy professionals,…
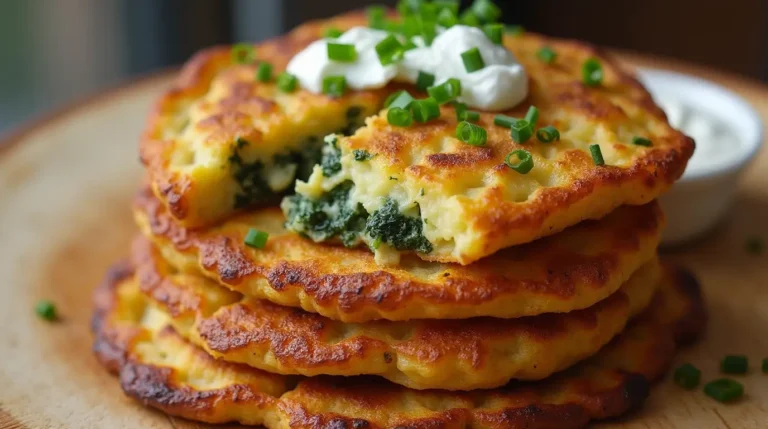
Stuffed potato pancakes are a mouthwatering variation of the traditional potato pancake, offering a crispy exterior and a flavorful, gooey filling….
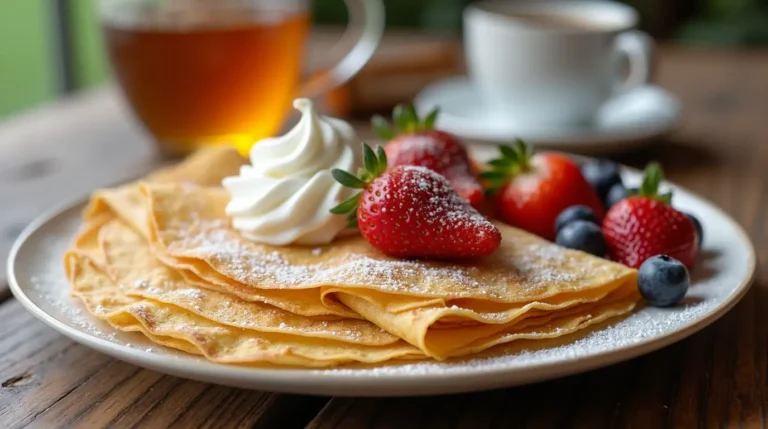
Basic Crêpes are a classic French dish that can be enjoyed in both sweet and savory variations. These thin, delicate…
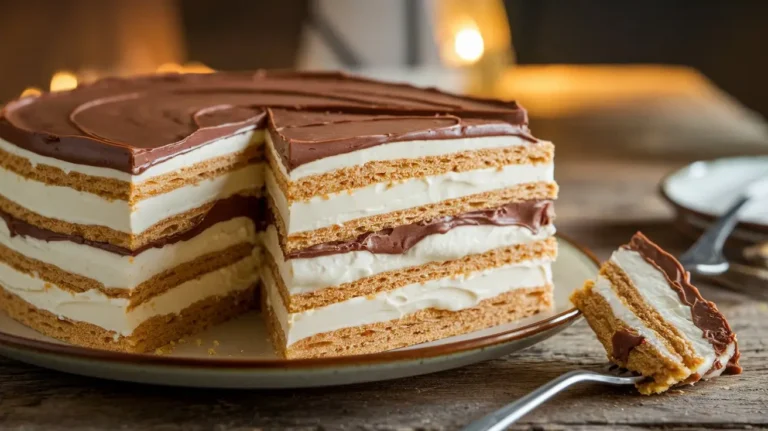
If you love easy, no-bake desserts, this No Bake Éclair Cake is a must-try! It’s a simple, fuss-free dessert that…
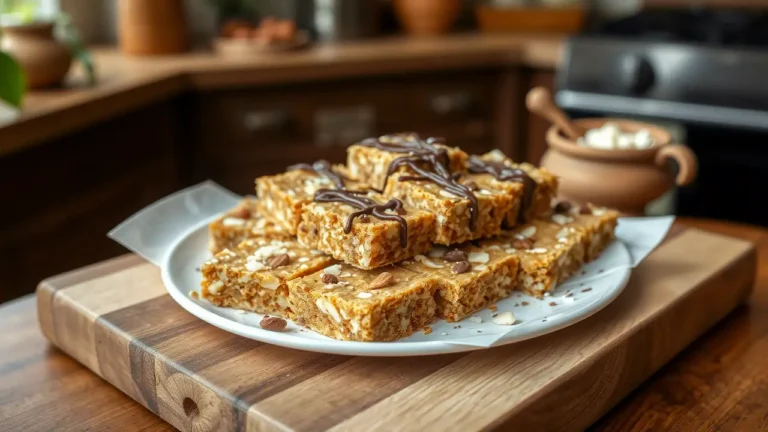
If you’re looking for a delicious, healthy, and easy-to-make snack, almond-coconut bars are the perfect choice. They are packed with…
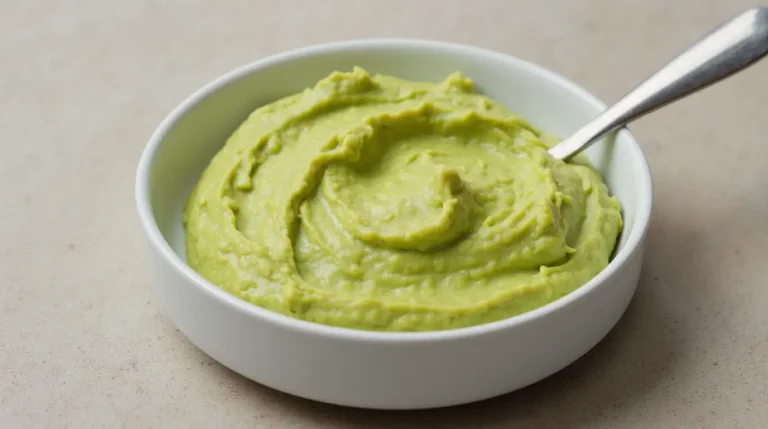
Avocado butter is a nutritious, plant-based alternative to traditional butter. Packed with healthy fats and vitamins, it is perfect for…
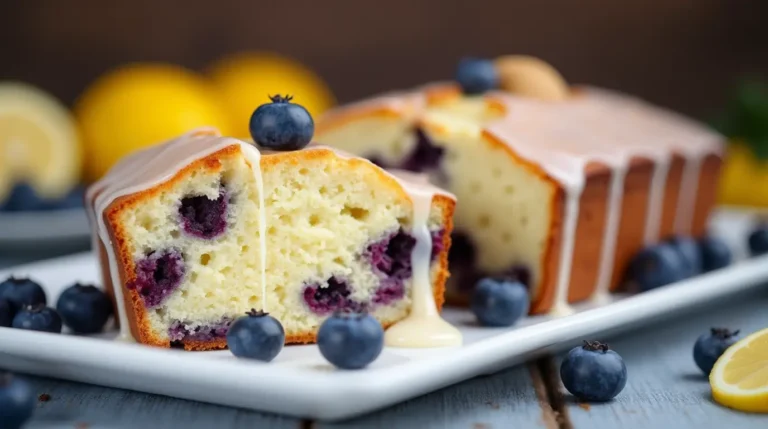
Cottage cheese blueberry cake is a delightful dessert that combines the creamy richness of cottage cheese with the sweet-tart flavor of blueberries. This cake…
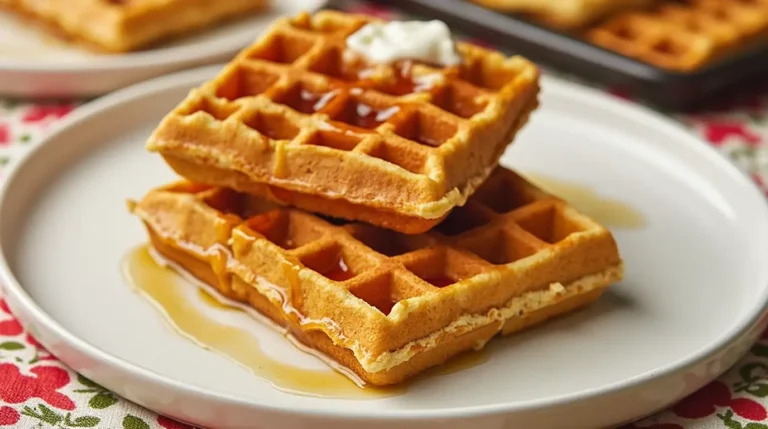
Classic waffles have been a beloved breakfast staple for centuries, captivating taste buds with their crispy exterior and fluffy interior. Whether enjoyed with a…