Cheese Borek: 4 Expert Tips for the Perfect Flaky Pastry
Cheese Borek, or Börek, is a flaky, savory pastry filled with cheese and baked or fried to perfection. Originating from…
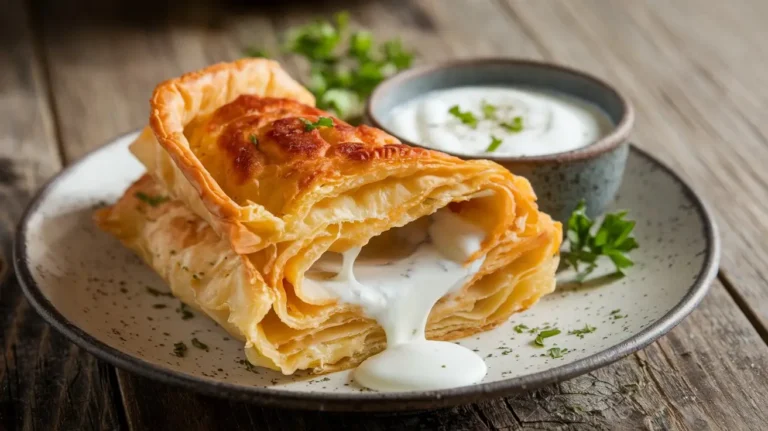
Cheese Borek, or Börek, is a flaky, savory pastry filled with cheese and baked or fried to perfection. Originating from…
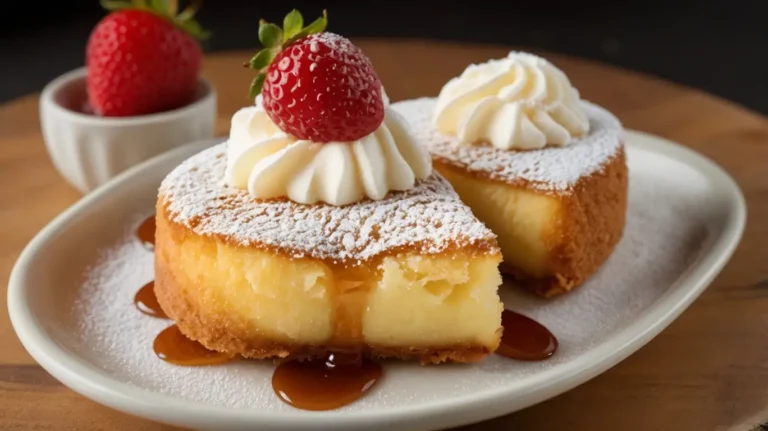
Few desserts combine crispy, golden-brown perfection with rich, creamy indulgence like deep-fried cheesecake. Whether you’ve encountered it at a state…
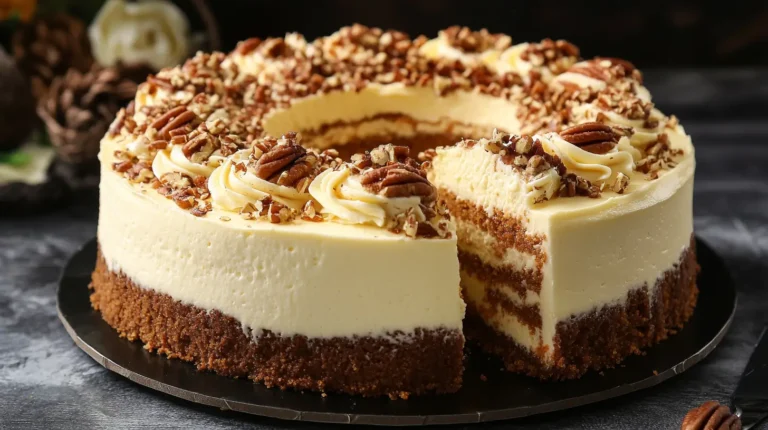
Carrot Cake Cheesecake- why not combine them into one show-stopping dessert? Carrot Cake Cheesecake is the perfect fusion of warmly…
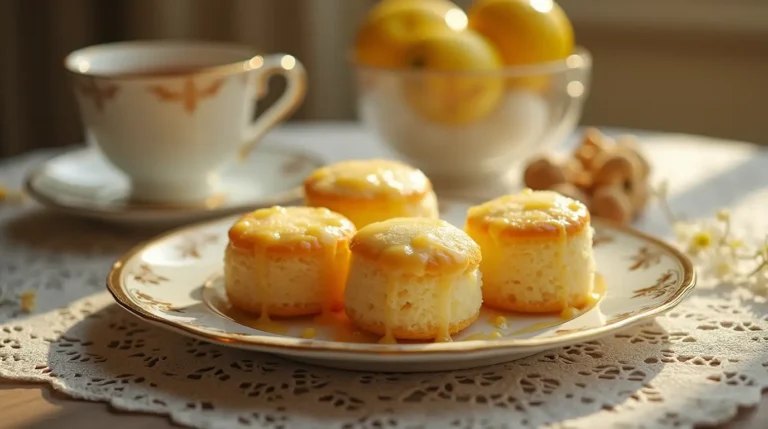
Few novels capture the extravagance and nostalgia of the Jazz Age as vividly as The Great Gatsby Lemon Cakes. Amid…
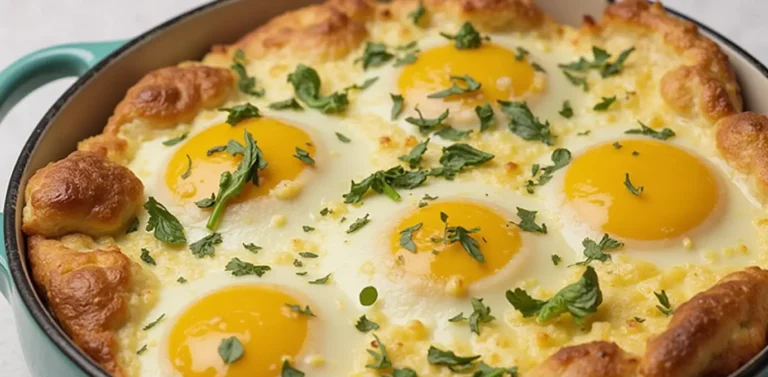
Baked Egg Challenge Recipe made easy! Learn the simple steps and ingredients to create this delicious breakfast dish in no…

Vanilla Pecan Pralines are a beloved Southern confection known for their rich, buttery texture and nutty sweetness. Combining crunchy pecans,…

There’s nothing quite as inviting as the aroma of freshly baked cinnamon rolls. But making these sweet treats from scratch…

Cottage cheese cloud bread is a revolutionary bread alternative, beloved for its low-carb and high-protein profile. Its light, fluffy texture…
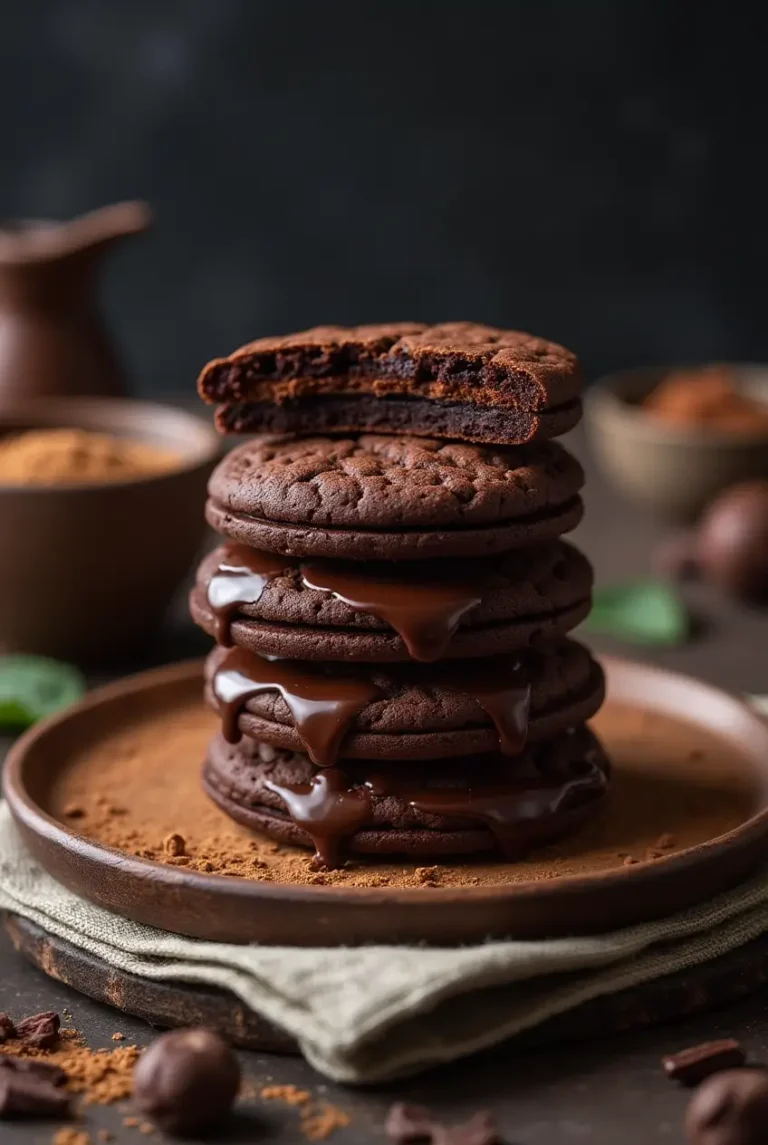
The chocolate sandwich cookie is more than just a sweet treat—it’s a global phenomenon. Known for its rich chocolate wafers…
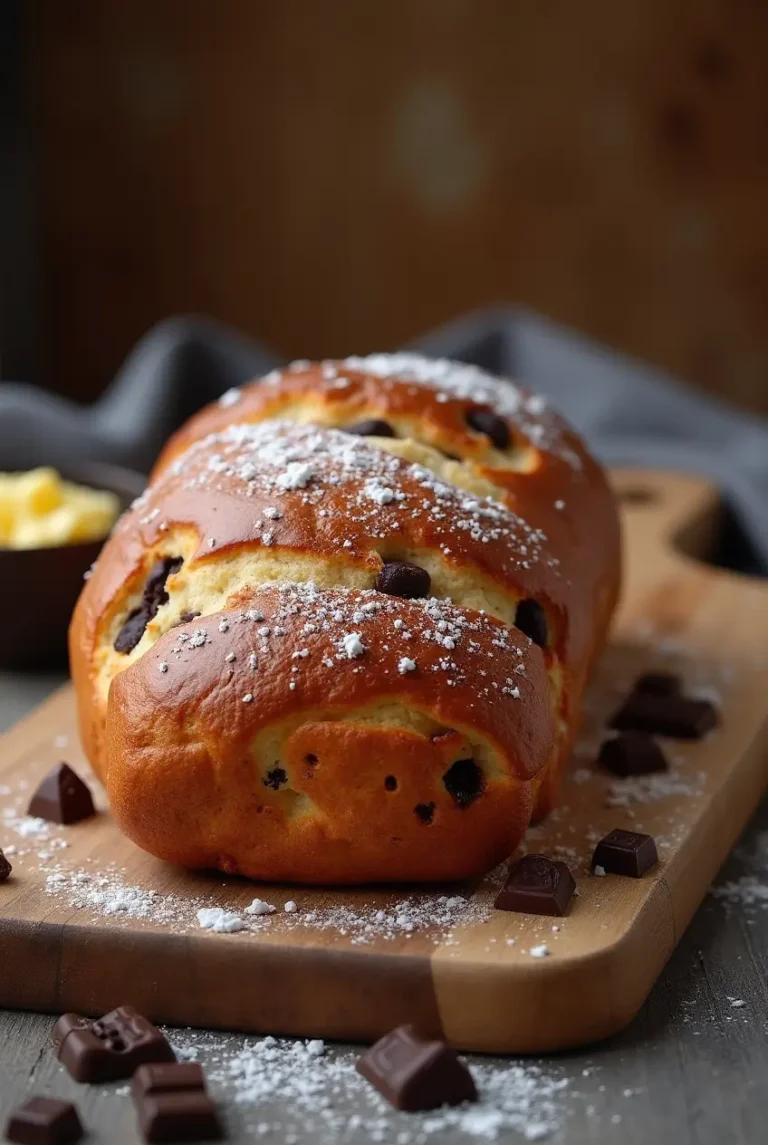
Chocolate brioche combines the luxurious richness of French pastry with the irresistible allure of melted chocolate. This classic treat is…