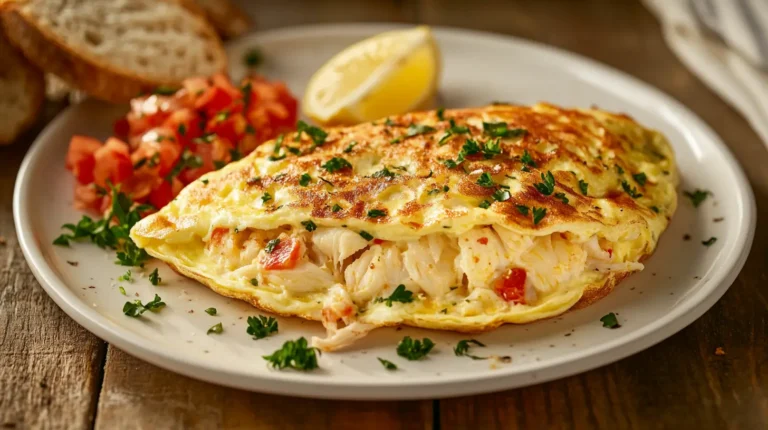
Crab Omelet Recipe: 3 Easy Variations to Elevate Your Breakfast
Crab Omelet Recipe is a perfect way to combine the luxurious flavor of seafood with the comfort of a hearty,…
Crab Omelet Recipe is a perfect way to combine the luxurious flavor of seafood with the comfort of a hearty,…
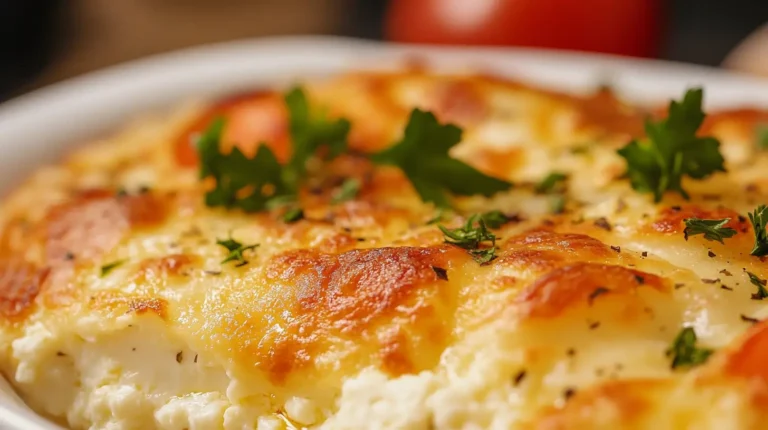
Baked cottage cheese eggs are the perfect combination of health and flavor. This dish combines the creamy richness of cottage…
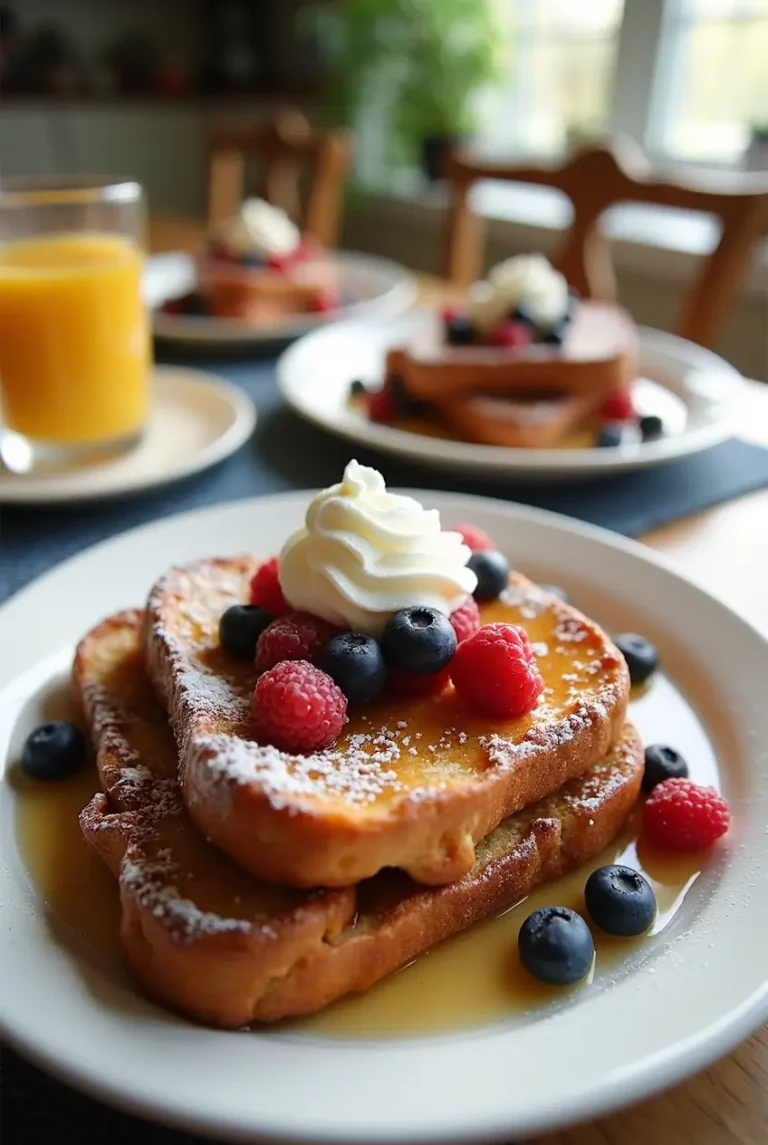
Imagine waking up to the heavenly aroma of buttery rolls crisping in a skillet, their sweet scent mingling with the…
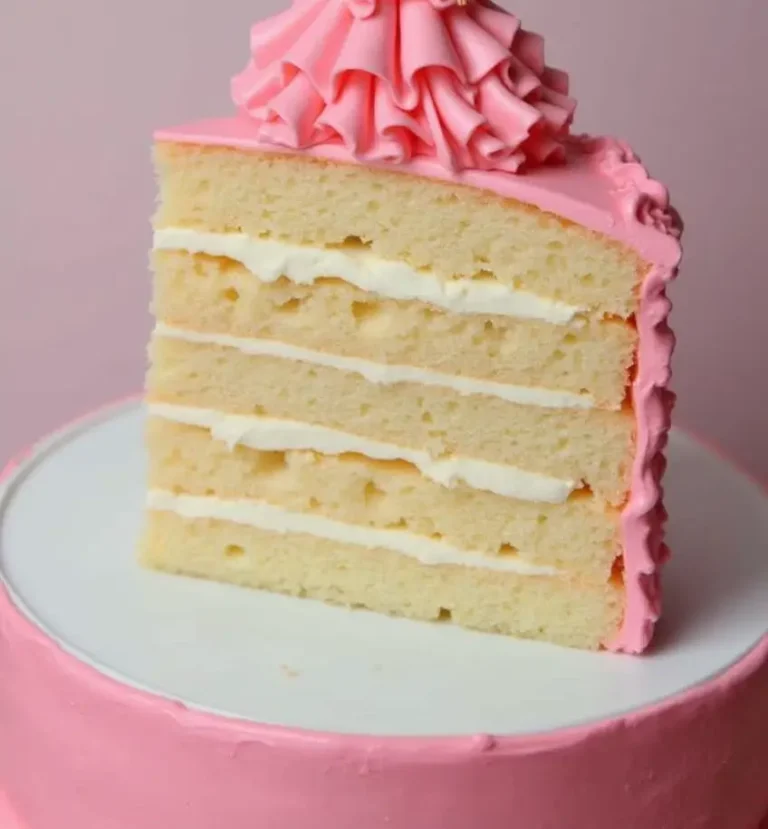
A Barbie cake isn’t just a dessert—it’s a show-stopping centerpiece that adds a personal and magical touch to any celebration….
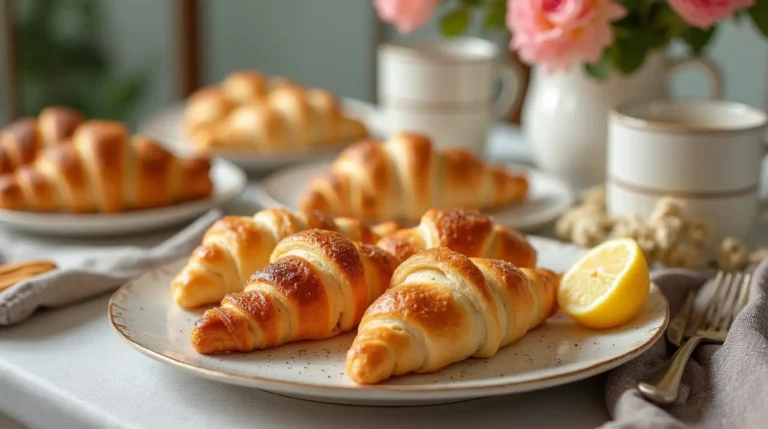
If you’re searching for a versatile and delicious way to elevate your morning meal, crescent roll breakfast recipes are the…
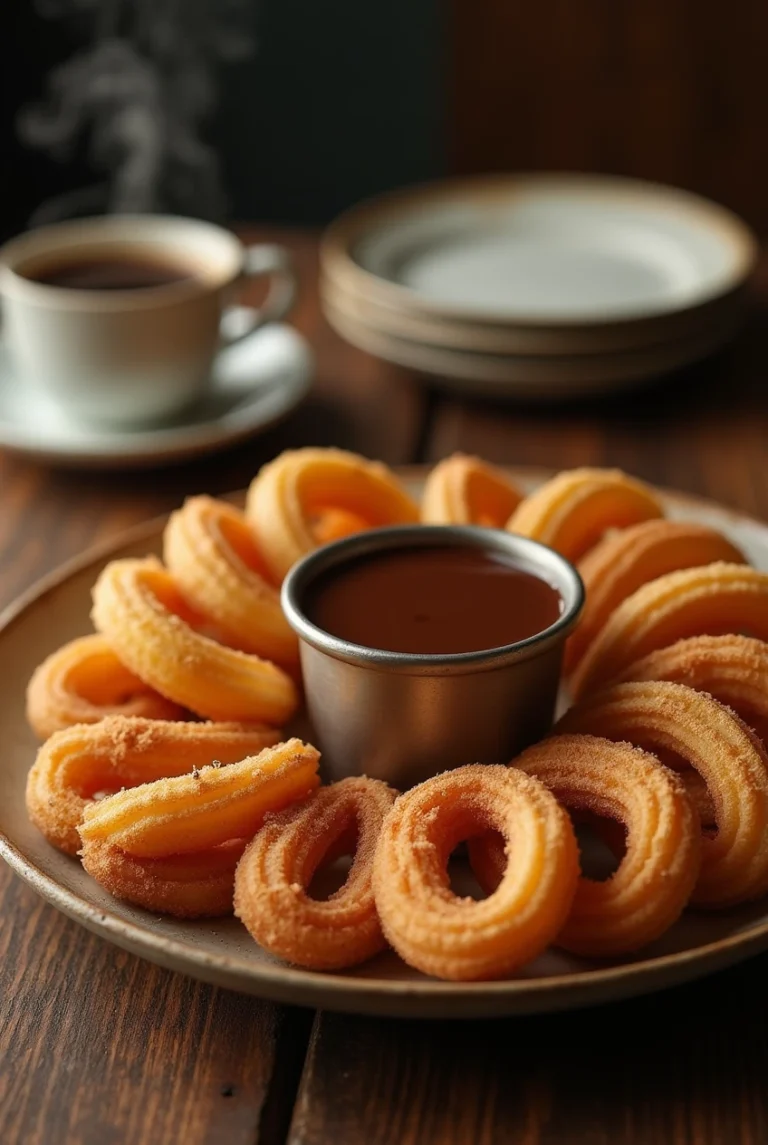
Golden, crispy, and utterly delightful, Churros Recipe captivates dessert lovers worldwide. They offer a delicious taste, fascinating history, and cultural…
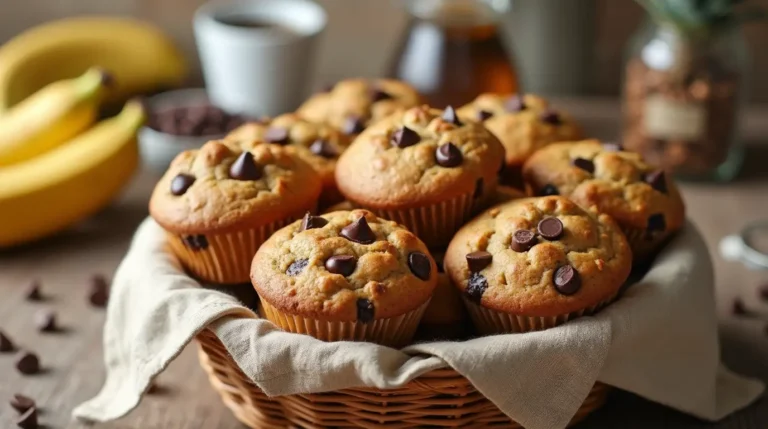
Banana Chocolate Chip Muffins are a classic treat for their rich flavor and moist texture. Perfect for breakfast, snacks, or…
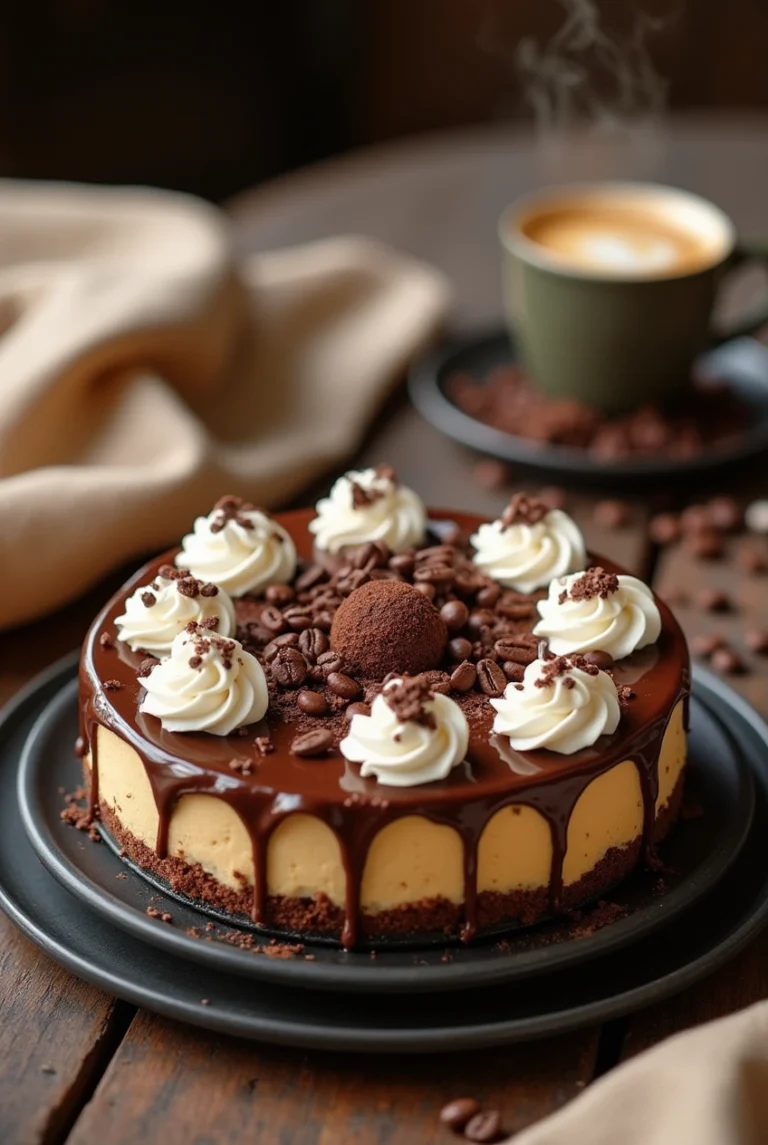
Espresso Coffee Cheesecake is a must-try if you’re a coffee lover who enjoys indulging in creamy, rich desserts. This elegant…

Cheesy Brazilian Cheese Bread—known as pão de queijo in Portuguese—is more than just a snack. This beloved staple from Brazil…

Banana fritters are a delightful way to transform ripe bananas into a crispy and satisfying snack. Whether you’re preparing breakfast,…