Red Velvet Waffles: 10 Secrets for the Best Homemade Waffles
There’s something irresistibly charming about red velvet waffles — vibrant, soft on the inside, lightly crisp on the outside, and…

There’s something irresistibly charming about red velvet waffles — vibrant, soft on the inside, lightly crisp on the outside, and…

When Korean street food meets the comfort of Mexican cuisine, the result is pure magic — the Korean Beef Quesadilla.Imagine…

Some meals taste like comfort from the first bite — and chicken and ravioli is one of them. Soft little…
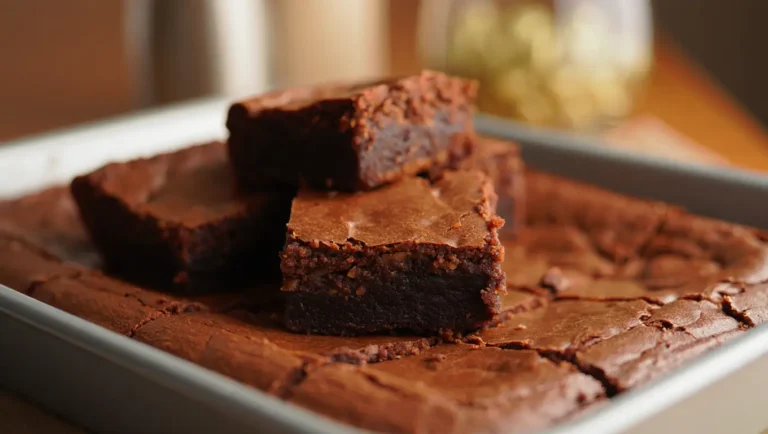
If you think healthy desserts can’t taste indulgent, these Best Almond Flour Brownies will change your mind. They’re deeply chocolatey,…

Few things in life compare to the creamy, crispy, cheesy goodness of a Cheesy Potato Burrito. Whether you’re craving a…

If you’ve been craving a sweet treat that’s rich, chocolatey, and satisfying—but without the processed sugar or guilt—then Date Snickers…

If you’re a true pizza enthusiast who loves rich, cheesy, meaty flavors, this Meat Lovers Pizza Casserole will become your…

When it comes to comforting, no-frills dinners, Tater Tot Casserole stands out as a reliable favorite. It’s warm, filling, and…

Few side dishes say “home for the holidays” quite like a green bean casserole. Creamy, crunchy, and comfortingly familiar, this…

If you’re a fan of chocolate and peanut butter (and who isn’t?), then these Peanut Butter Brownies are about to…