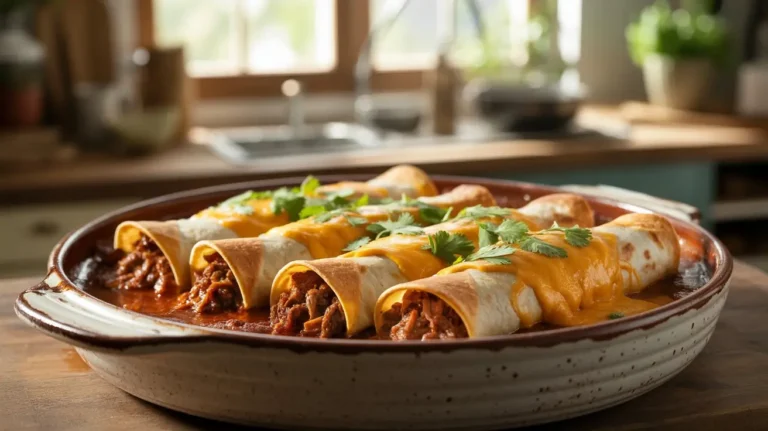
Beef Enchiladas: 5 Secrets for a Cheesy, Flavor Dinner
Few dishes capture the bold, comforting flavors of Mexican-inspired cuisine quite like beef enchiladas. Warm tortillas wrapped around a savory…
Few dishes capture the bold, comforting flavors of Mexican-inspired cuisine quite like beef enchiladas. Warm tortillas wrapped around a savory…
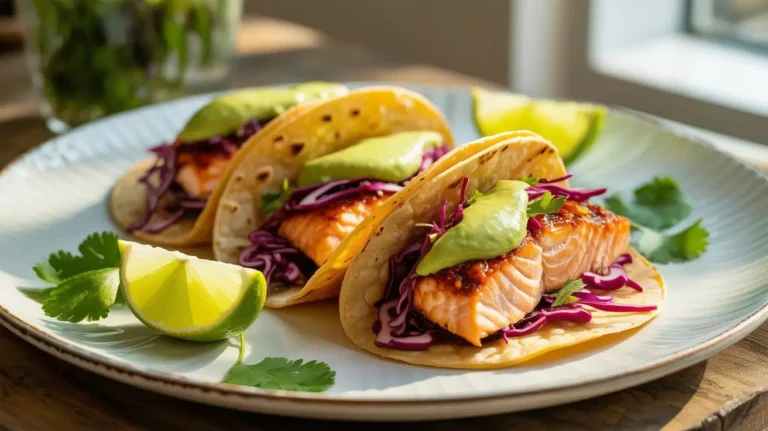
Few dinners strike the perfect balance between healthy, fast, and flavor-packed quite like salmon tacos. Whether you’re preparing a weeknight…

Nothing says “good morning” quite like the aroma of buttery, golden croissants wafting through your kitchen. Add fluffy eggs, melty…
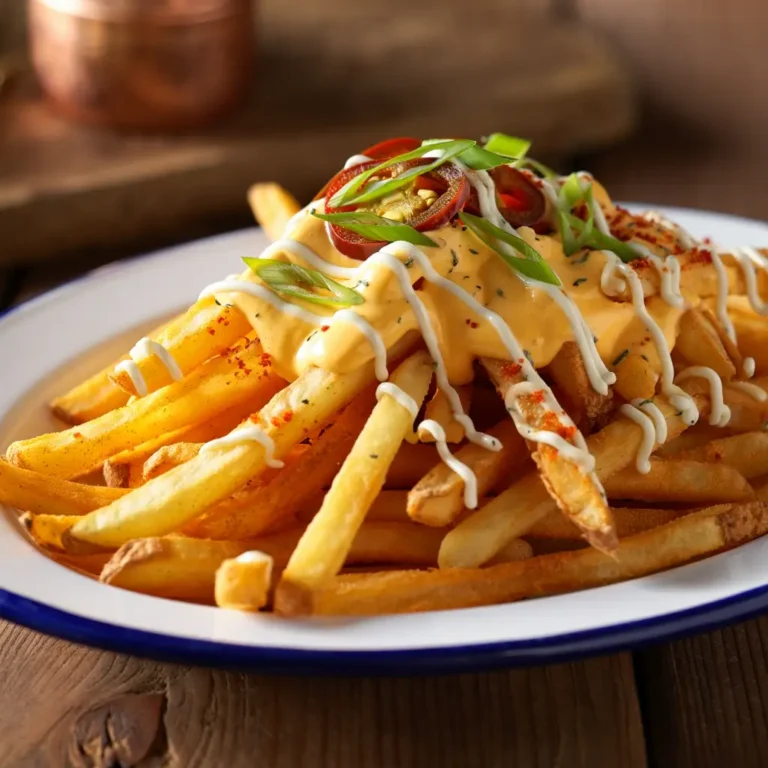
If you’re a fan of bold flavors, crispy fries, and indulgent comfort food, then Louisiana Voodoo Fries deserve a spot…
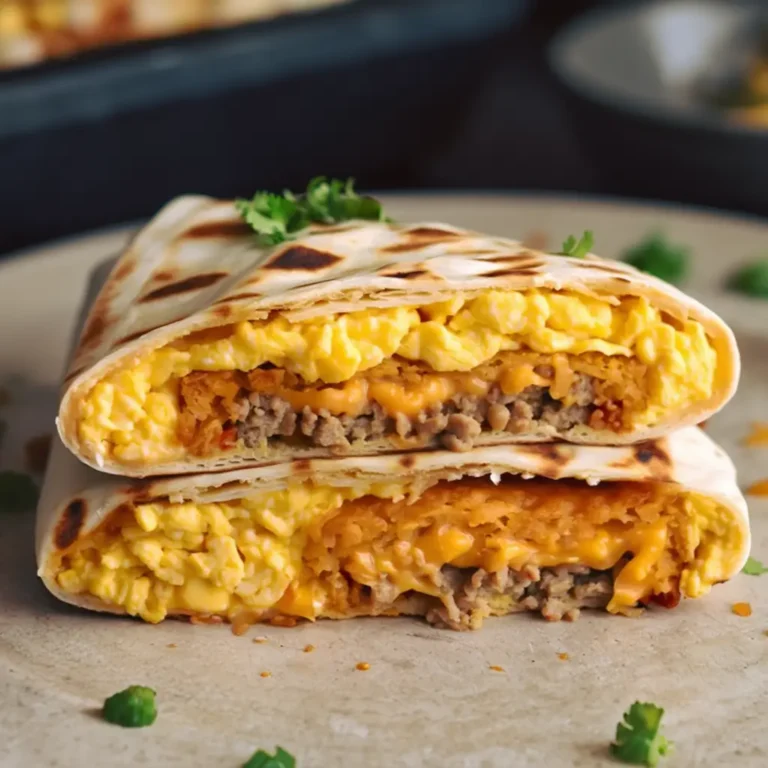
If you love Taco Bell’s famous Crunchwrap but need something that feeds a crowd, you’re in for a treat. The…
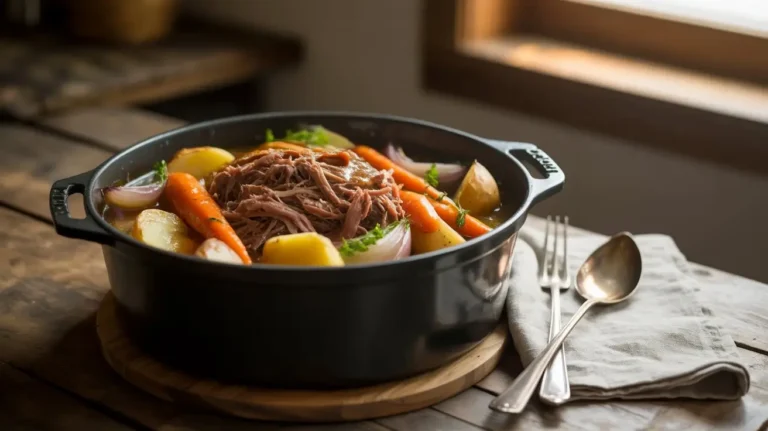
Few meals say comfort food like a classic pot roast. With tender beef, hearty vegetables, and rich gravy, it’s the…
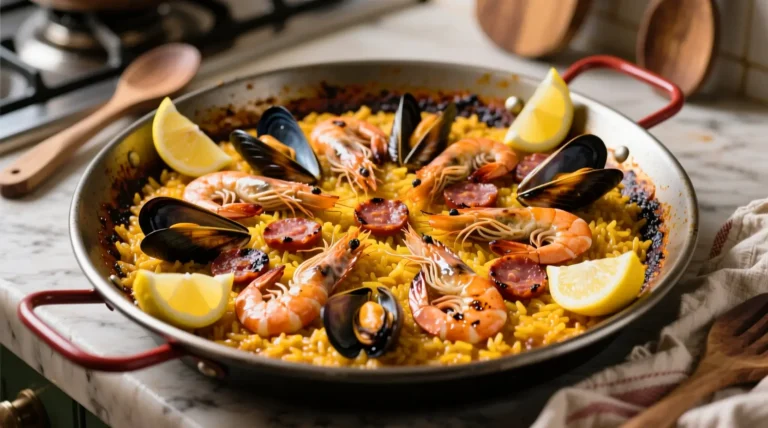
Few dishes capture the spirit of Spain quite like seafood paella. This colorful, aromatic rice dish is more than just…
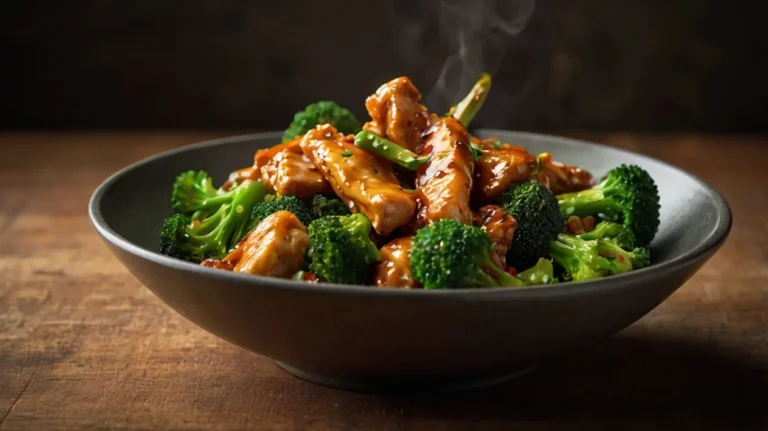
Few meals strike the perfect balance between flavor, nutrition, and speed like chicken and broccoli stir-fry. A beloved staple of…
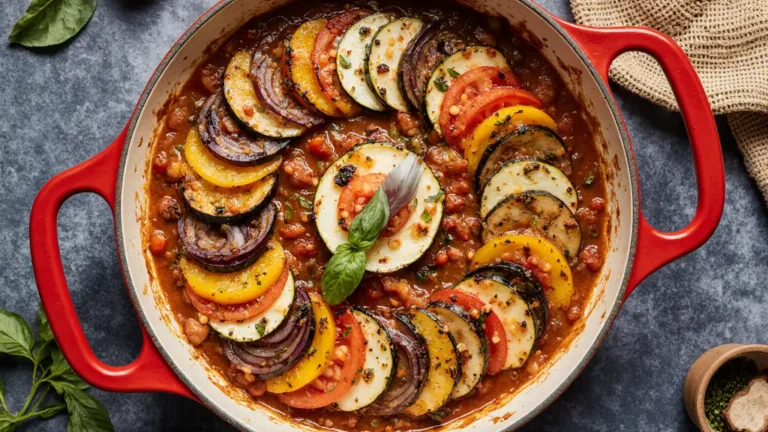
French cuisine is often associated with refinement and complex cooking techniques, but some of its most iconic dishes have humble…
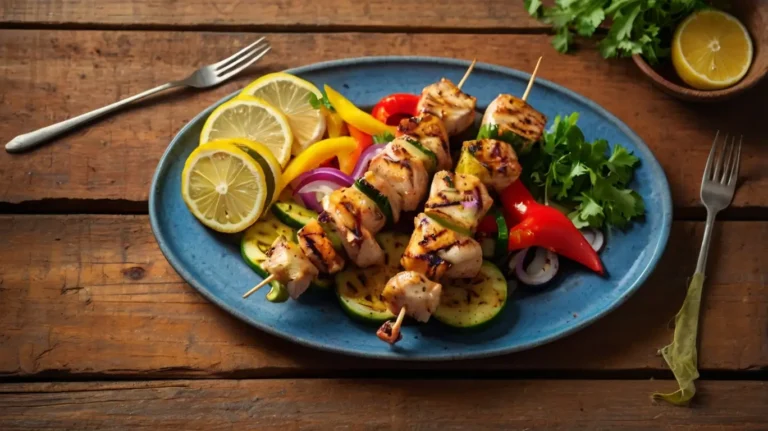
When it comes to summer grilling, nothing beats the smoky, zesty flavor of grilled lemon chicken kabobs. They’re light yet…