Best Almond Flour Brownies: 6 Baking Secrets for Rich Results
If you think healthy desserts can’t taste indulgent, these Best Almond Flour Brownies will change your mind. They’re deeply chocolatey,…
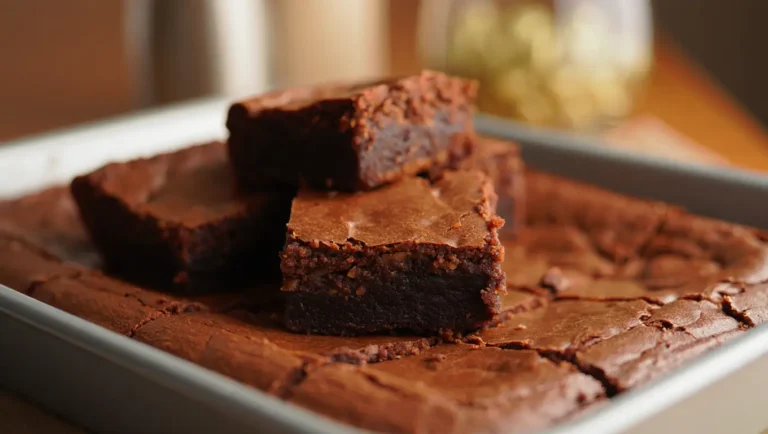
If you think healthy desserts can’t taste indulgent, these Best Almond Flour Brownies will change your mind. They’re deeply chocolatey,…

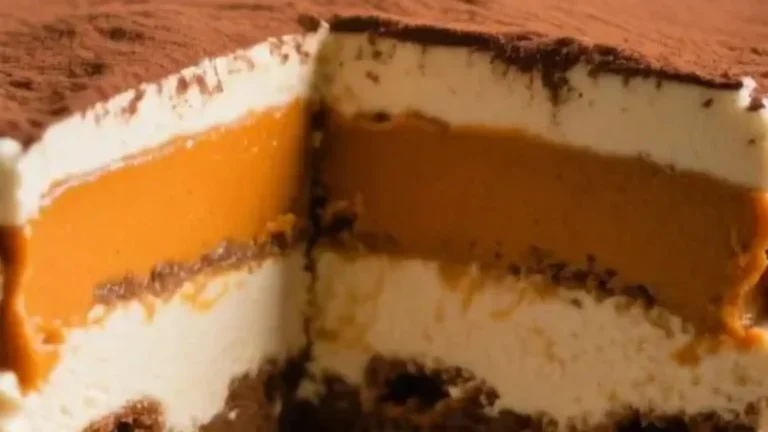
If you’ve been craving a sweet treat that’s rich, chocolatey, and satisfying—but without the processed sugar or guilt—then Date Snickers…

If you’re a fan of chocolate and peanut butter (and who isn’t?), then these Peanut Butter Brownies are about to…
When autumn rolls in with cooler weather and the scent of cinnamon fills the air, there’s no better time to…

What is the Cannoli recipe? Cannoli are classic Sicilian pastries made of fried, tube-shaped shells that are filled with a…

Crispy and Creamy Doughnuts have long been a staple of sweet indulgence. But there’s something truly irresistible about doughnuts that…
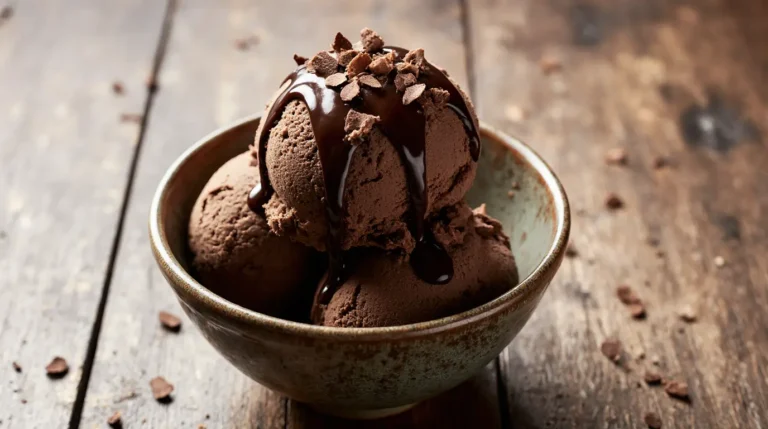
Chocolate ice cream is one of those universally beloved desserts that transcends age, geography, and even dietary preferences. With its…
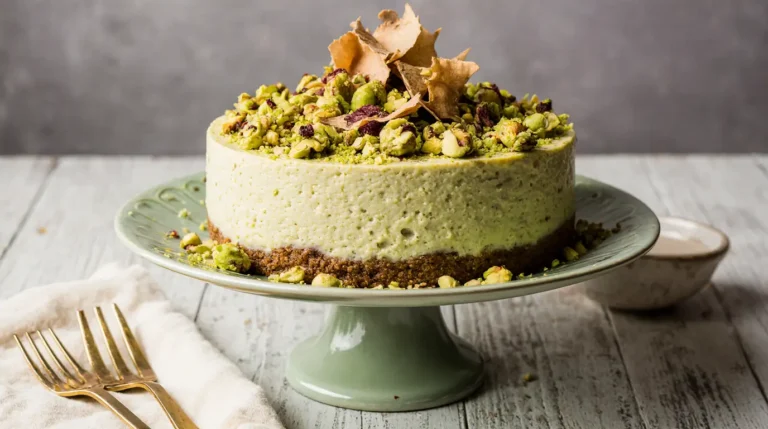
Suppose you’ve ever dreamed of a dessert that perfectly combines the luxurious creaminess of cheesecake with the rich, nutty flavor of pistachios. In that…

Looking for something light, flavorful, and visually stunning to serve at your next tea party or gathering? Lemon Raspberry Madeleines…
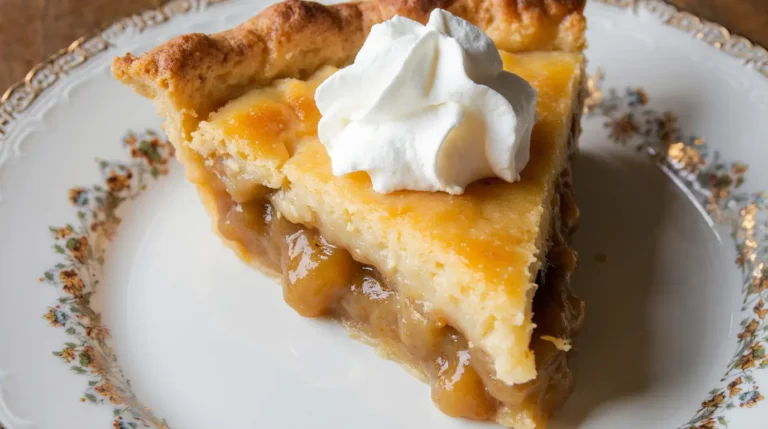
Chess Pie Recipe Few desserts capture the spirit of the American South quite like Chess Pie. With its rich, sweet…