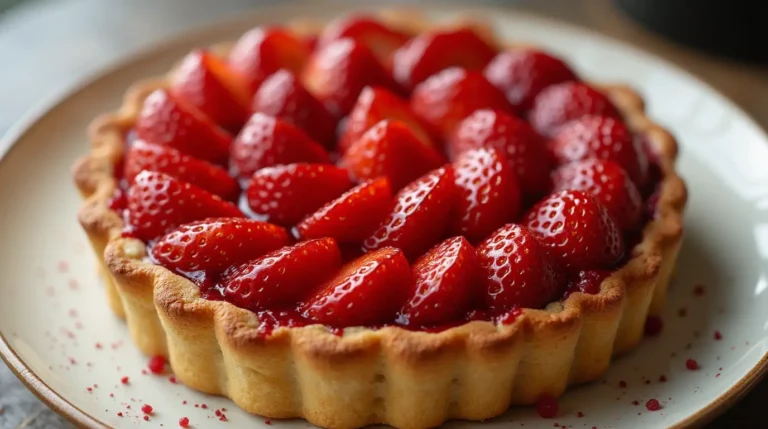
Strawberry Tart : 4 Expert Tips for a Flawless Tart
There’s something timeless and refreshing about a Strawberry Tart—a buttery crust, silky pastry cream, and fresh strawberries gleaming under a…
There’s something timeless and refreshing about a Strawberry Tart—a buttery crust, silky pastry cream, and fresh strawberries gleaming under a…
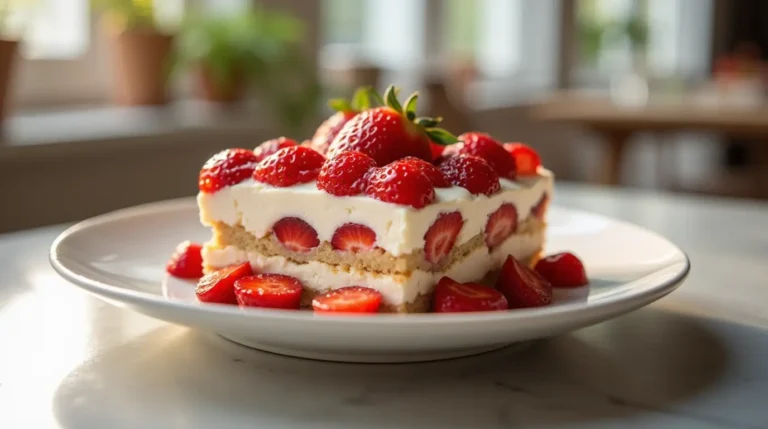
When you want something cool, fruity, and decadently smooth, this Strawberry Tiramisu delivers a unique twist on the traditional Italian…

Peanut clusters are bite-sized treats that combine crunchy peanuts and rich melted chocolate into irresistible mounds of goodness. Loved for…
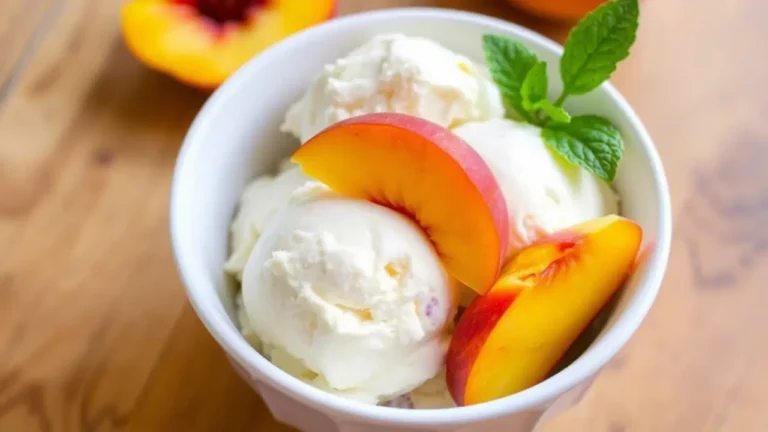
When the sun is shining and peaches are at their ripest, few things are more satisfying than a scoop of…

A lemon tart is one of those desserts that feels like sunshine on a plate. The crisp, buttery crust paired…

If you’re looking for a dessert that combines creamy texture with vibrant citrus flavor, lemon ice cream is the answer….
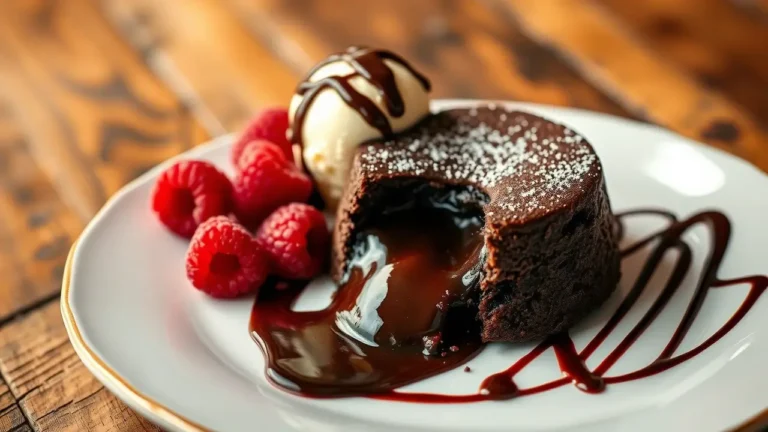
Few desserts are as decadent and satisfying as a chocolate lava cake. Known for its soft, tender exterior and indulgently…
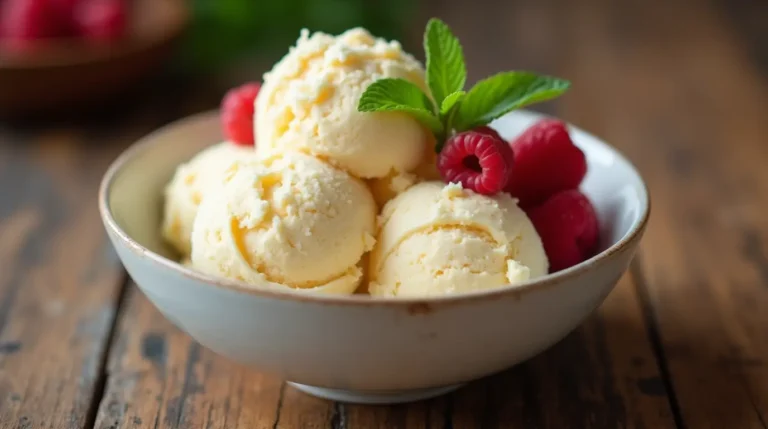
Ice cream has long been a staple dessert in many households, but if you’re looking for a variation that offers…
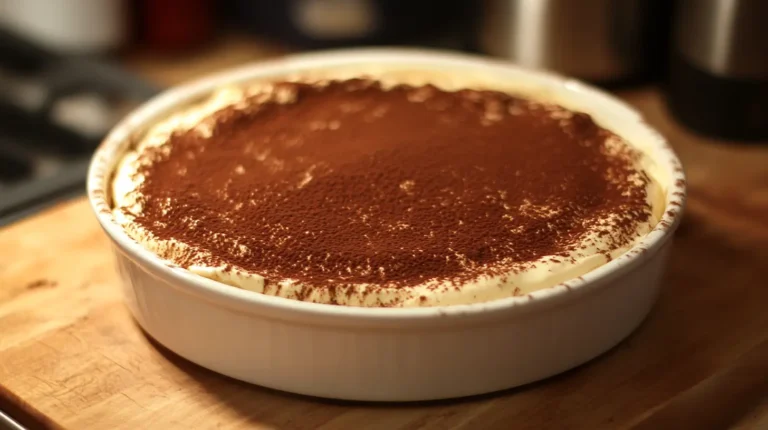
Tiramisu is more than a dessert—it’s a beloved Italian tradition that has traveled the globe, charming food lovers with its…
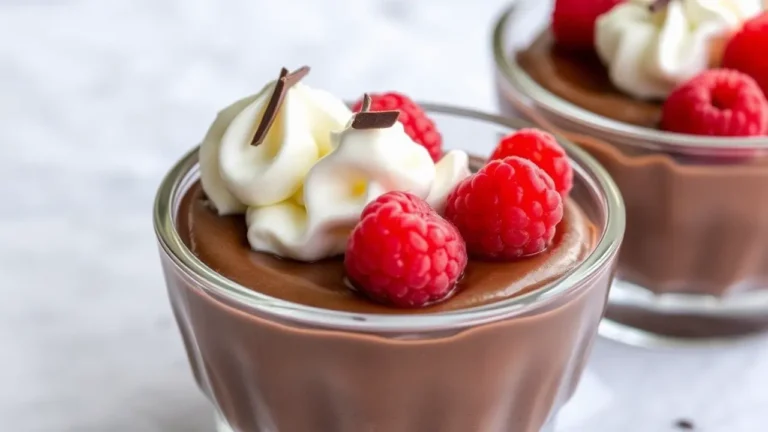
Dessert lovers, meet your new favorite recipe: Avocado Chocolate Mousse. This dairy-free, vegan, and naturally sweetened dessert takes everything you…