Homemade Strawberry Ice Cream: 7 Irresistible Steps You’ll Love To The Perfect
There’s nothing quite as satisfying as a homemade dessert made with simple, wholesome ingredients. This homemade strawberry ice cream delivers…
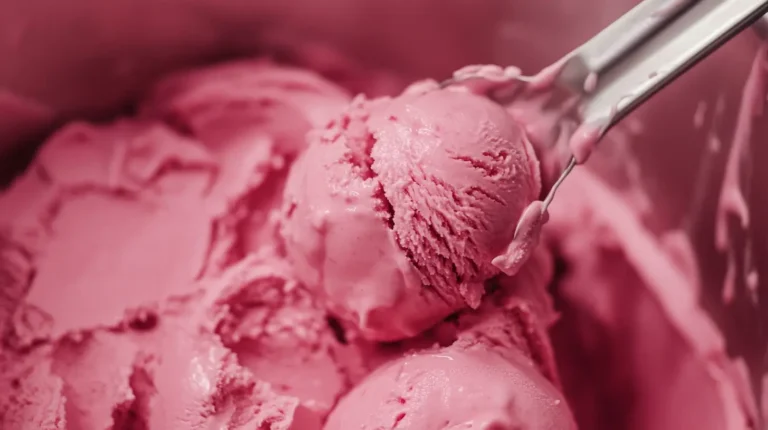
There’s nothing quite as satisfying as a homemade dessert made with simple, wholesome ingredients. This homemade strawberry ice cream delivers…
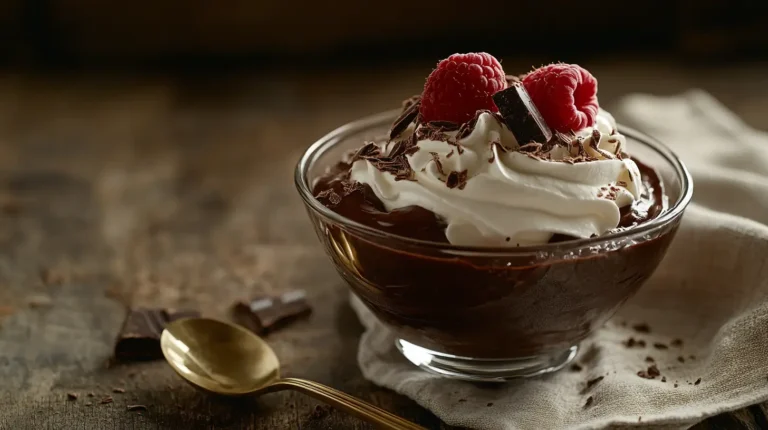
If you crave chocolate but want to maintain your nutrition, then Boiled Egg Chocolate Pudding might be your next favorite recipe. This…
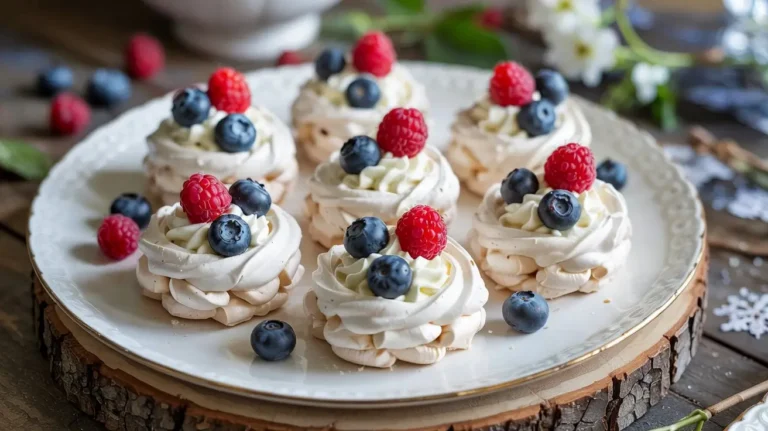
Mini Meringue Nests are light, airy, and beautifully crisp shells of sweetness that make for the perfect elegant dessert. Whether…
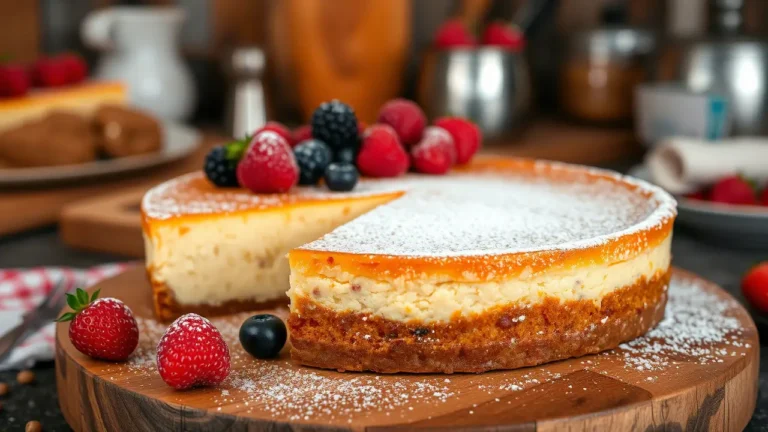
Polish baked cheesecake, known as Sernik, is a beloved dessert with a rich history and a uniquely creamy texture. Unlike its…
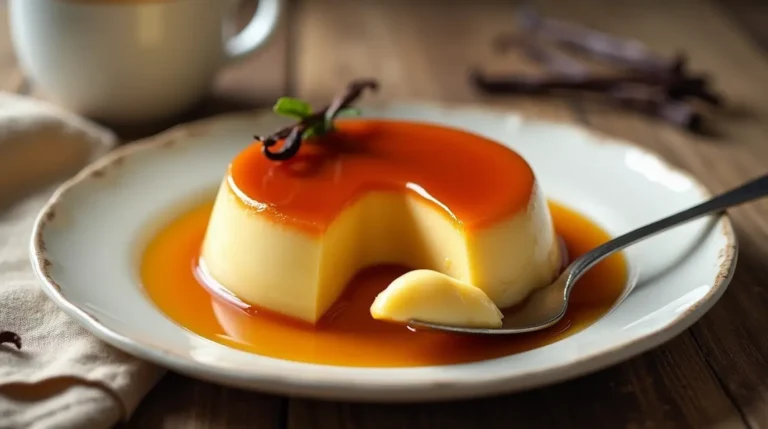
Flan is a timeless dessert known for its silky-smooth custard and rich caramel sauce. Popular in Spain, Latin America, and…
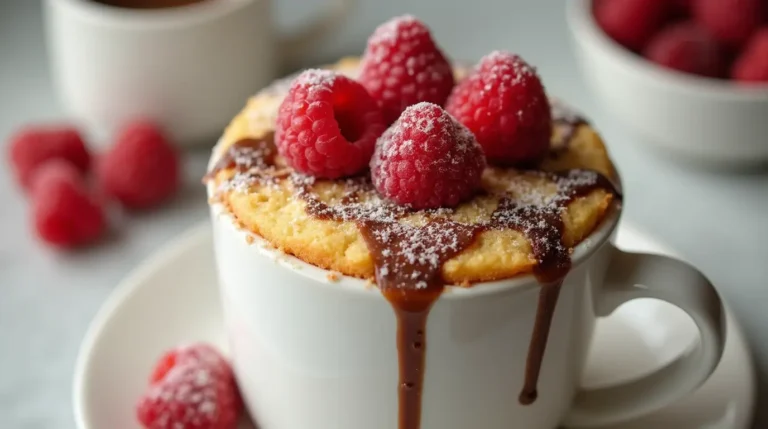
If you’re looking for a fast, easy, and healthy dessert, an almond flour mug cake is the perfect solution. This…
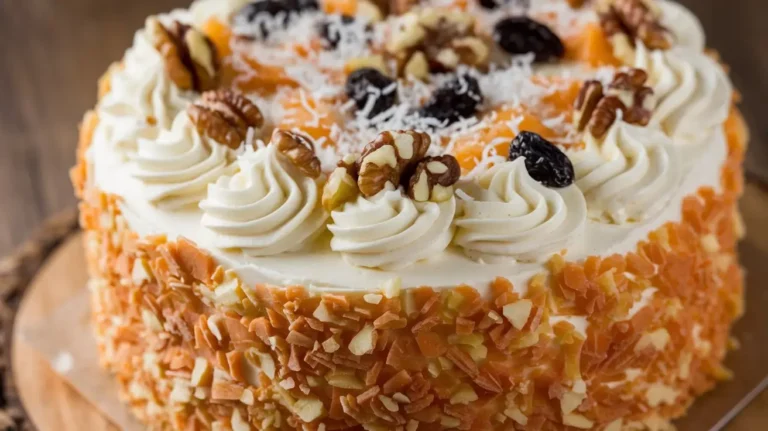
If you love moist, flavorful cakes, this Carrot Pineapple Cream Cake will become your new favorite. Combining the natural sweetness…
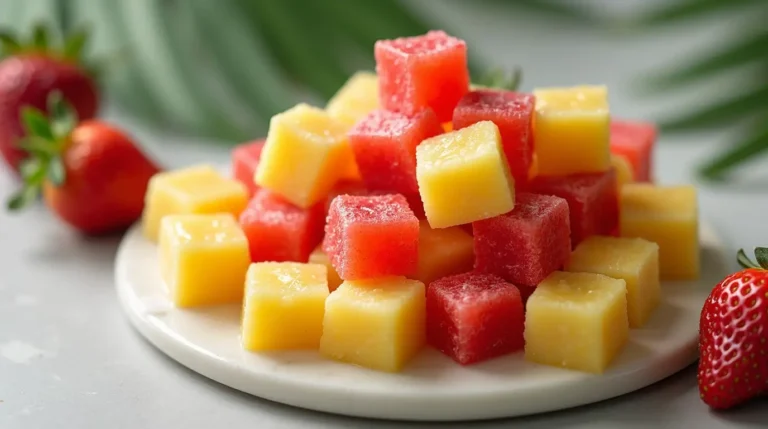
If you love fruit-flavored sweets, then pineapple and strawberries candy is a treat you won’t want to miss. Combining the…
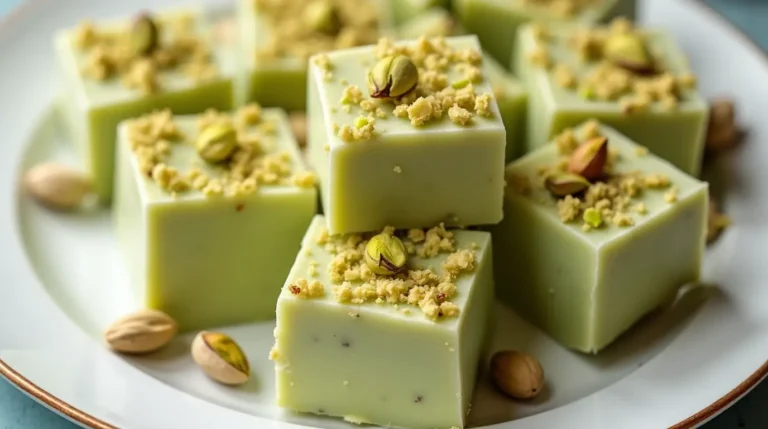
Fudge is a timeless treat loved for its rich, smooth, and creamy texture. While chocolate fudge is the most common…
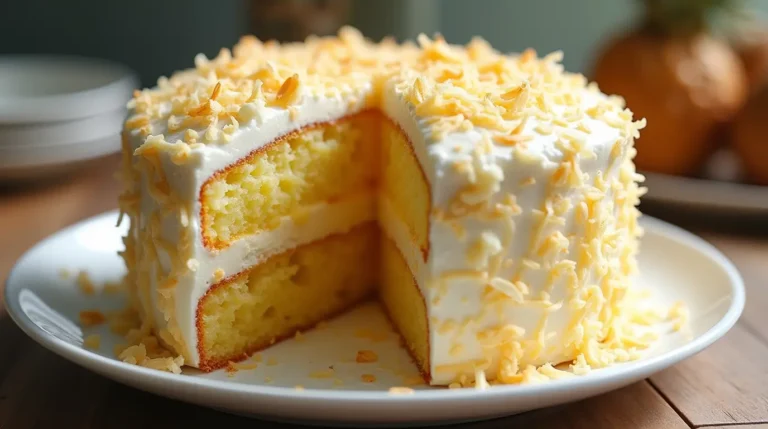
Few desserts capture the essence of the tropics quite like Pineapple Coconut Cake. With its moist texture, rich coconut flavor,…