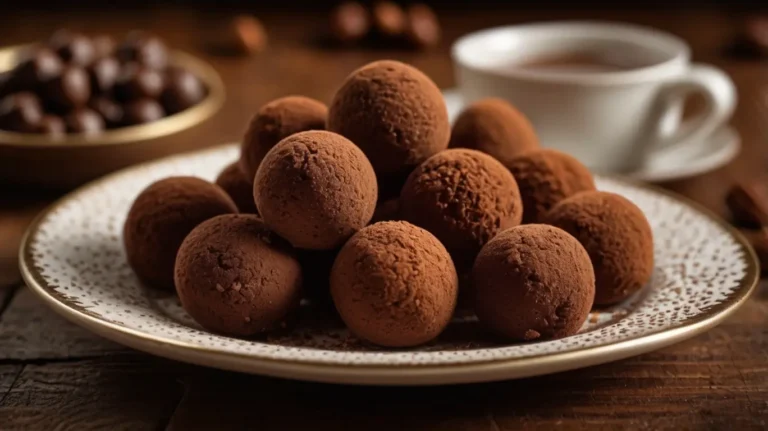
Chocolate Truffles: 5 Easy Recipes to Make at Home
Chocolate truffles are one of the most decadent and luxurious treats in the world of confectionery. Named after the prized fungal…
Chocolate truffles are one of the most decadent and luxurious treats in the world of confectionery. Named after the prized fungal…
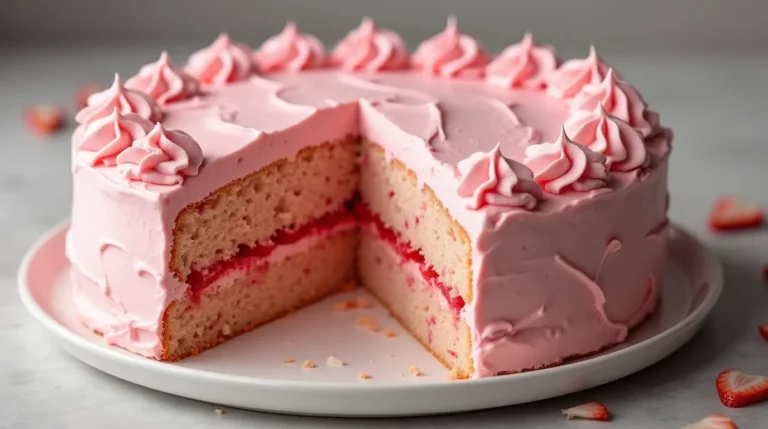
A homemade strawberry cake is a moist, flavorful, and naturally sweet dessert that celebrates the bright, juicy taste of fresh…
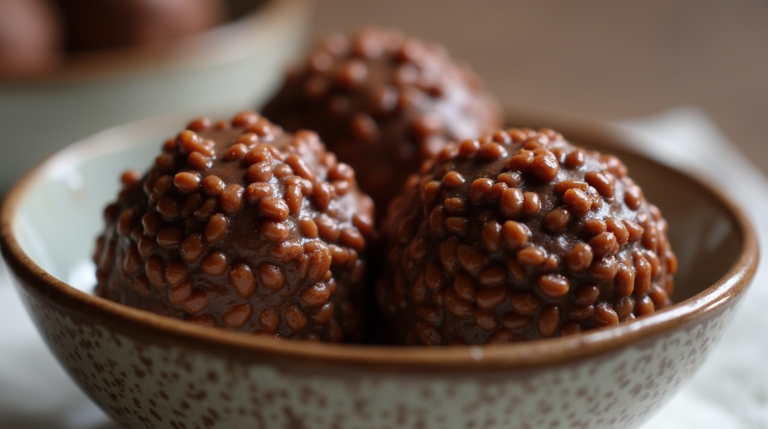
These Chocolate Rice Krispie Balls are the perfect solution if you’re looking for a quick and easy no-bake dessert. Made with simple…
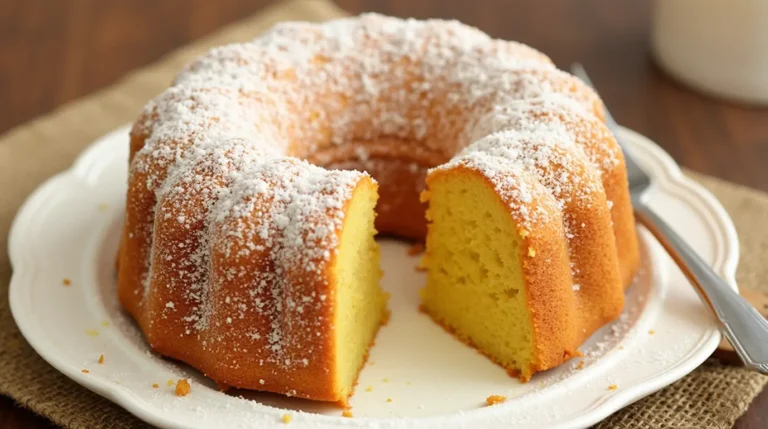
A perfectly baked Honey Cake Recipe is rich, moist, and infused with deep, caramelized sweetness. This traditional dessert is often…

The Dubai Pistachio Chocolate Bar is a gourmet masterpiece that seamlessly blends premium chocolate, crunchy pistachios, and a crisp, velvety…
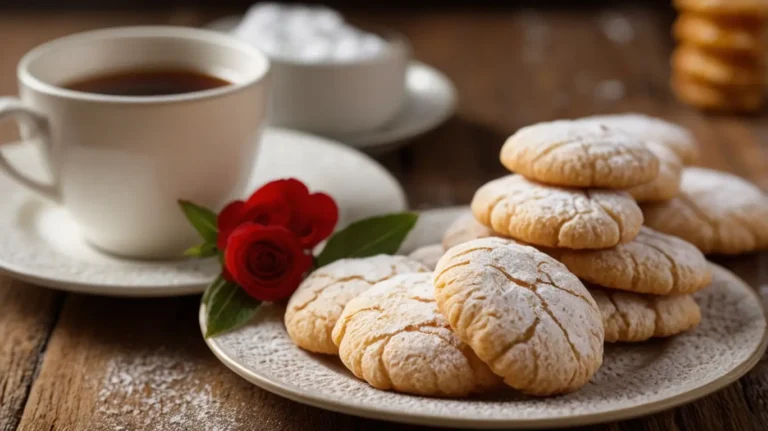
Ricciarelli honey recipe is a traditional Italian almond cookie that originated in Siena, Italy. Known for their soft, chewy texture…
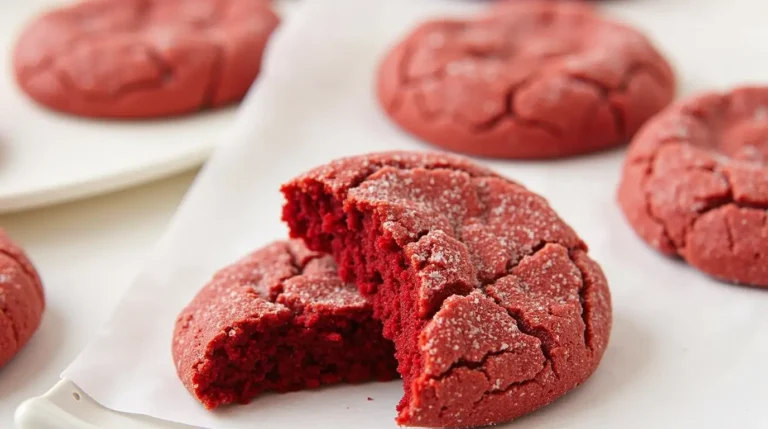
If you love the rich, velvety flavor of red velvet cake but want something smaller and more portable, red velvet…

Valentine’s Day is a time to celebrate love, and what better way to show your affection than with a homemade…
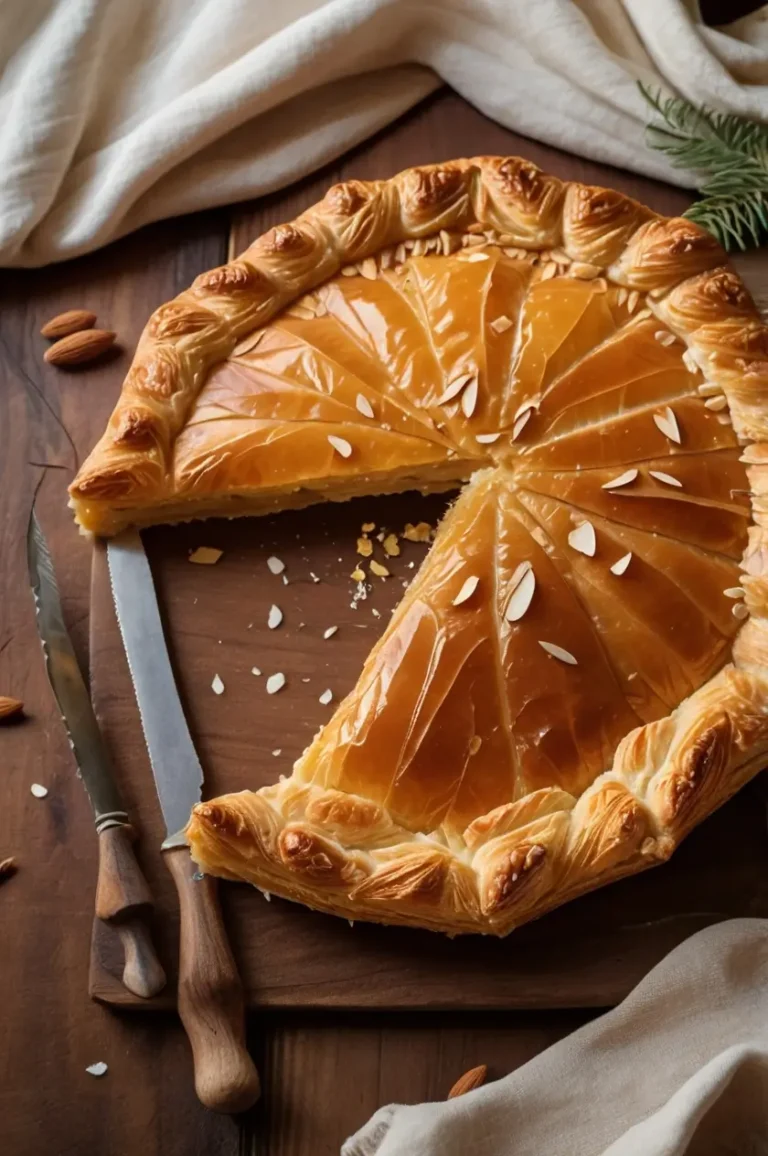
The Galette des Rois, or “King’s Cake,” is not just a dessert—it’s a rich tradition that combines history, symbolism, and…

Unicorn cakes have taken the baking world by storm, and for good reason. These cakes are the perfect showpiece for…