Chicken and Ravioli : 4 Variations You’ll Love for Weeknight
Some meals taste like comfort from the first bite — and chicken and ravioli is one of them. Soft little…

Some meals taste like comfort from the first bite — and chicken and ravioli is one of them. Soft little…
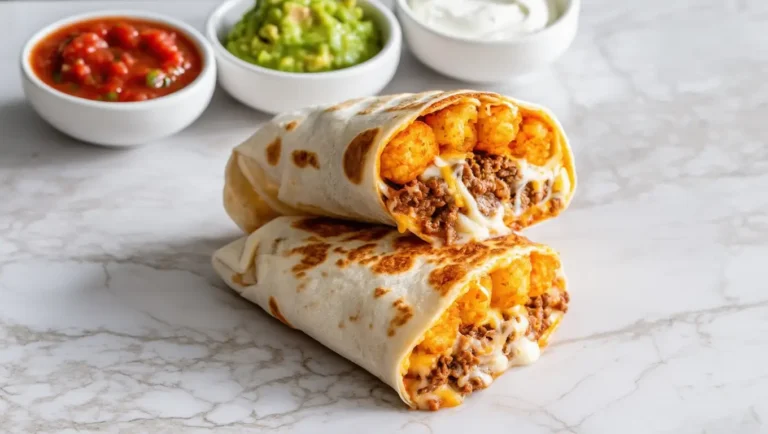
Few things in life compare to the creamy, crispy, cheesy goodness of a Cheesy Potato Burrito. Whether you’re craving a…
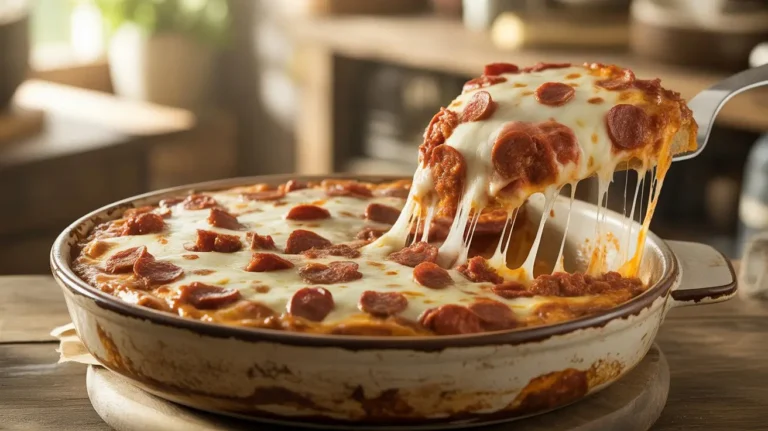
If you’re a true pizza enthusiast who loves rich, cheesy, meaty flavors, this Meat Lovers Pizza Casserole will become your…

When it comes to comforting, no-frills dinners, Tater Tot Casserole stands out as a reliable favorite. It’s warm, filling, and…

Few dishes capture the bold, comforting flavors of Mexican-inspired cuisine quite like beef enchiladas. Warm tortillas wrapped around a savory…
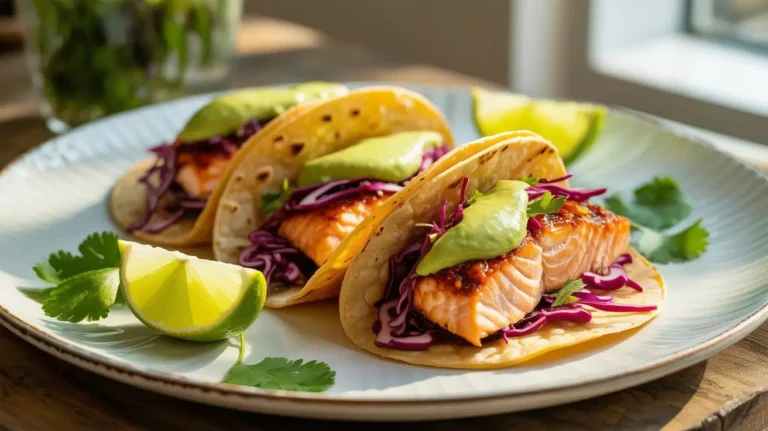
Few dinners strike the perfect balance between healthy, fast, and flavor-packed quite like salmon tacos. Whether you’re preparing a weeknight…
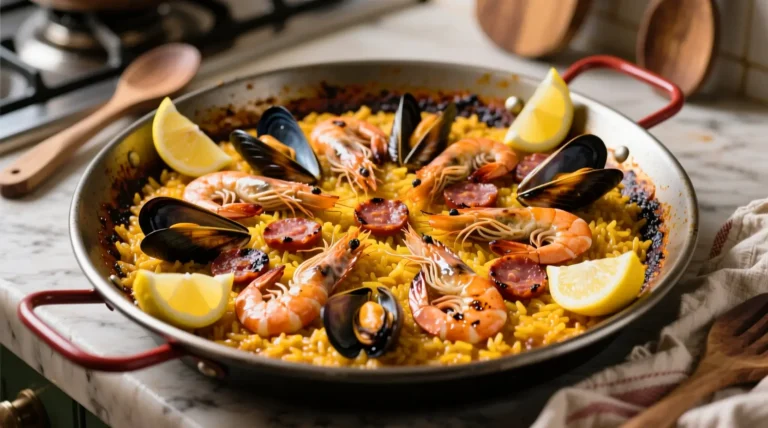
Few dishes capture the spirit of Spain quite like seafood paella. This colorful, aromatic rice dish is more than just…
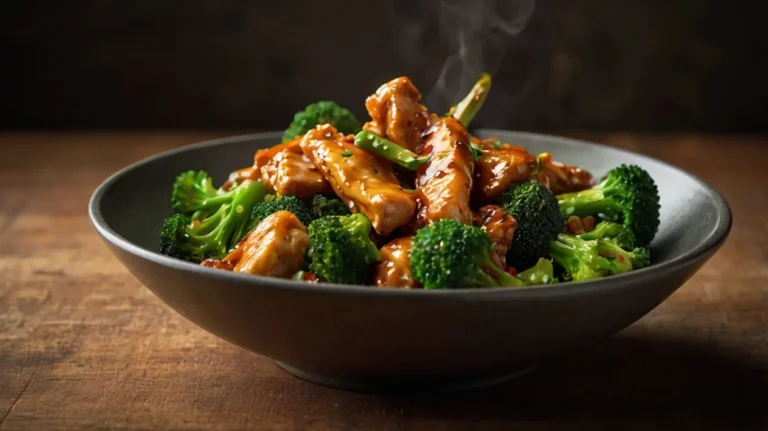
Few meals strike the perfect balance between flavor, nutrition, and speed like chicken and broccoli stir-fry. A beloved staple of…
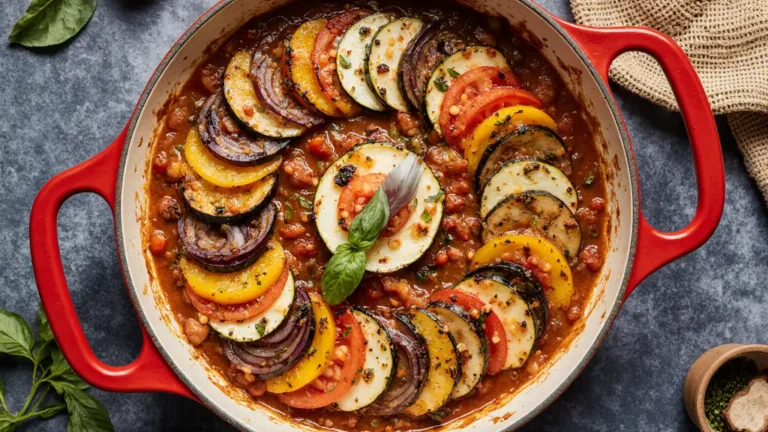
French cuisine is often associated with refinement and complex cooking techniques, but some of its most iconic dishes have humble…
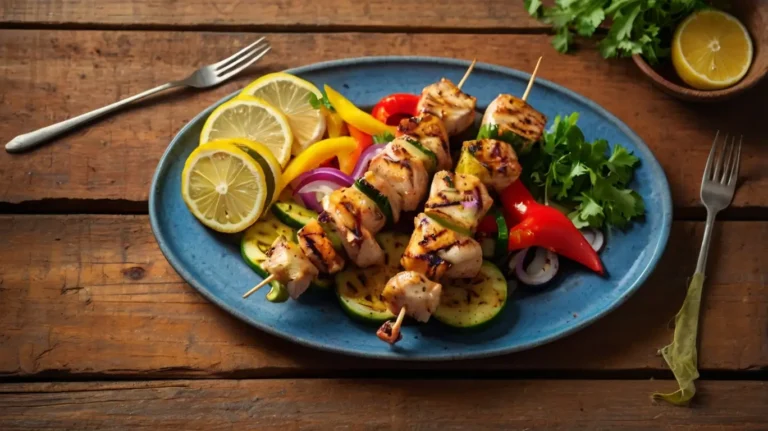
When it comes to summer grilling, nothing beats the smoky, zesty flavor of grilled lemon chicken kabobs. They’re light yet…