Korean Beef Quesadilla: 8 Secrets For The Best
When Korean street food meets the comfort of Mexican cuisine, the result is pure magic — the Korean Beef Quesadilla.Imagine…
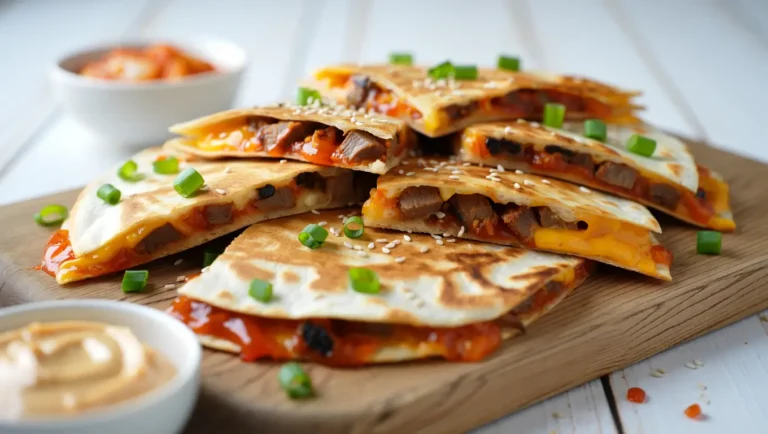
When Korean street food meets the comfort of Mexican cuisine, the result is pure magic — the Korean Beef Quesadilla.Imagine…

Few side dishes say “home for the holidays” quite like a green bean casserole. Creamy, crunchy, and comfortingly familiar, this…
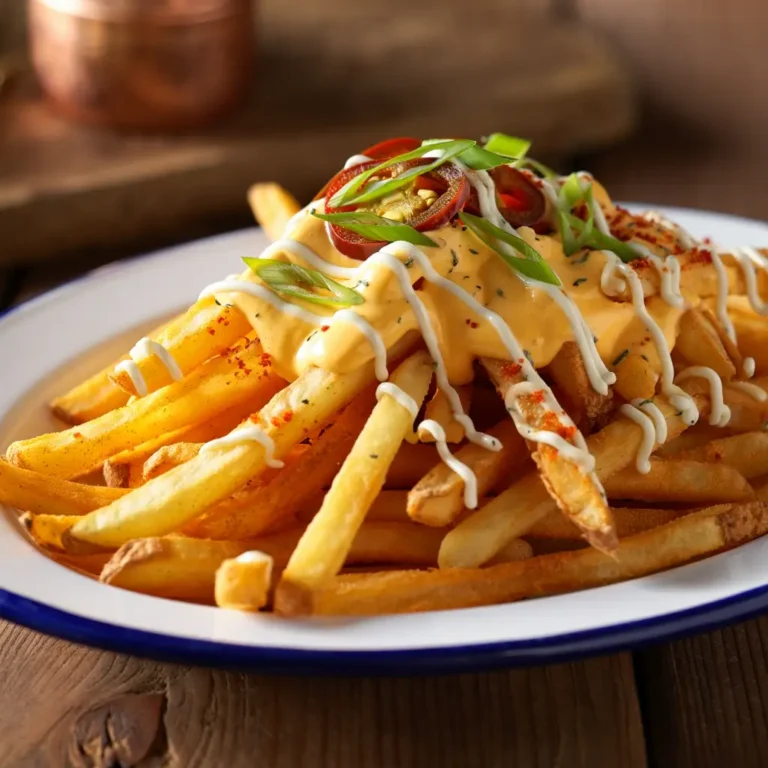
If you’re a fan of bold flavors, crispy fries, and indulgent comfort food, then Louisiana Voodoo Fries deserve a spot…
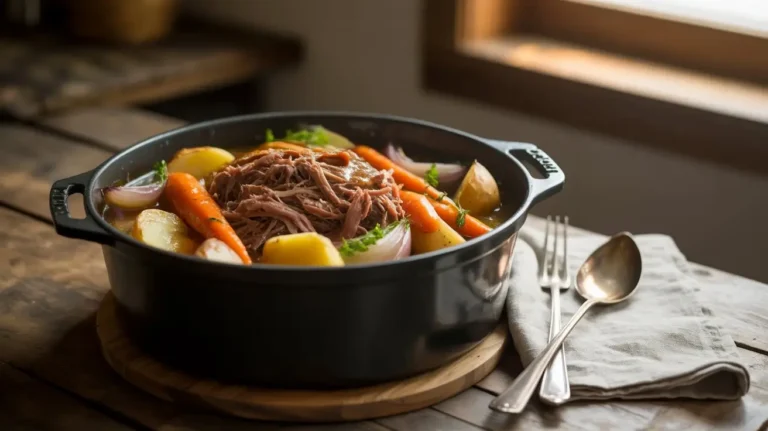
Few meals say comfort food like a classic pot roast. With tender beef, hearty vegetables, and rich gravy, it’s the…

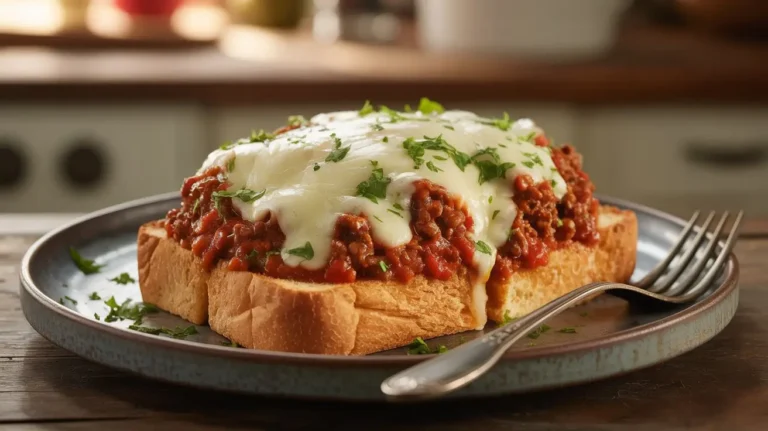
There’s something timeless about a Grilled Cheese Lasagna sandwich—crispy, golden bread with molten cheese inside. And lasagna? It’s a hearty,…
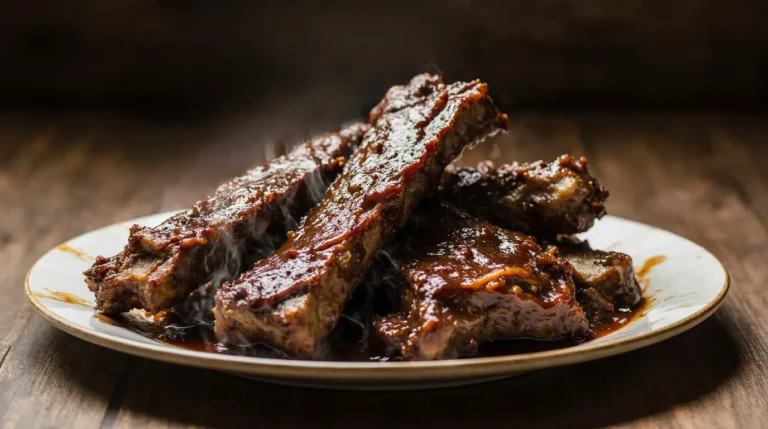
Barbecue Beef Ribs are rich, meaty, and packed with deep flavor — and with a slow cooker, you can achieve…

Spinach balls are one of those magical recipes that combine health, flavor, and convenience all in one bite. Whether you’re…
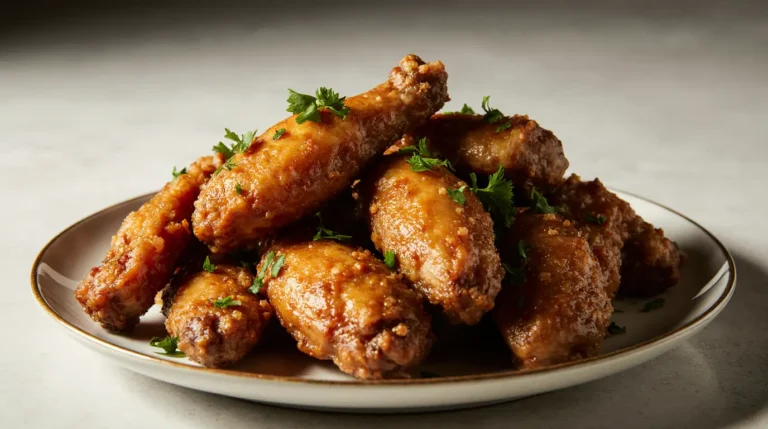
There’s nothing quite like biting into a perfectly crispy chicken wing — the satisfying crunch of golden skin, the juicy…
Sloppy Joes have long held a place at the American dinner table. They’re quick, messy, comforting, and irresistibly delicious. But…
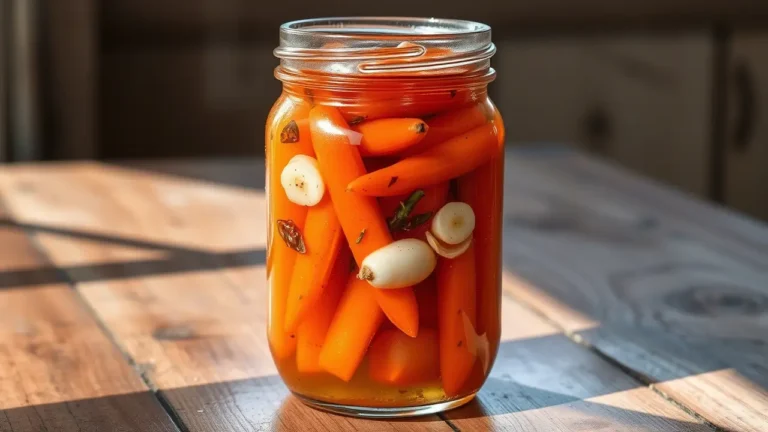
When your fridge needs a fresh burst of flavor and crunch, sweet and spicy quick pickled carrots are the answer….