Tomato Pie: 5 Expert Tips to Make It Perfect Every Time
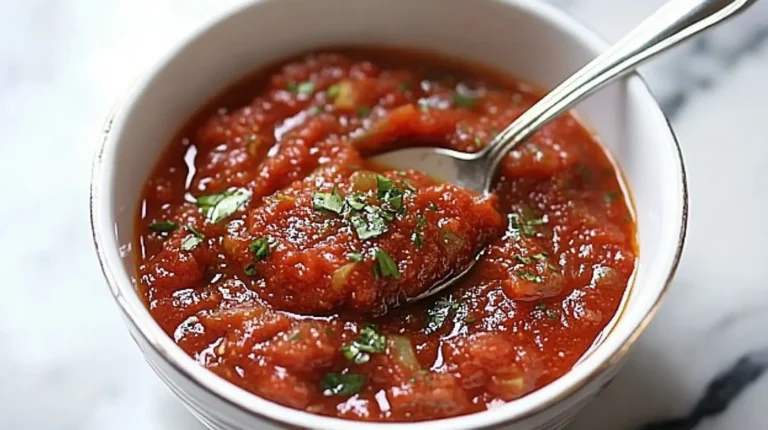
Tomato pie is a savory dish that celebrates the sweet, robust flavor of ripe tomatoes wrapped in a comforting crust….

Tomato pie is a savory dish that celebrates the sweet, robust flavor of ripe tomatoes wrapped in a comforting crust….

Few things bring people together like a plate of crispy, juicy fried chicken, especially when it’s tucked into soft, flavorful…
Pizza lovers know that the heart of a great pizza lies not just in the crust or toppings, but in…

If you’ve ever bitten into a warm, spiced, and juicy chicken wrap and thought, “This is perfection,” chances are it…
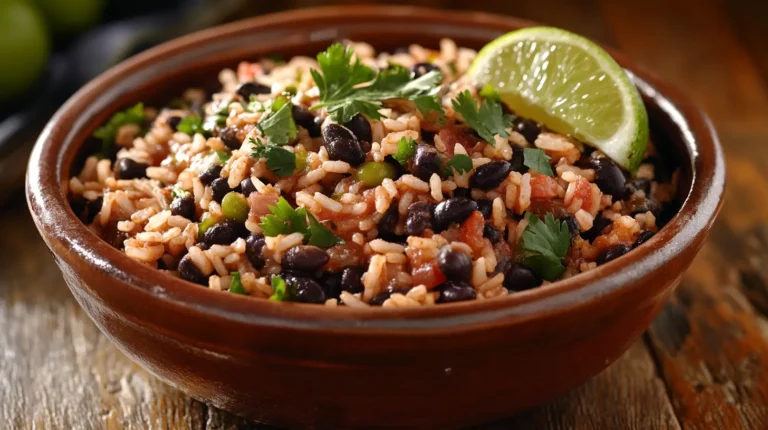
Few dishes in the world match the simplicity, nutrition, and flavor of black beans and rice. Whether you’re savoring a…
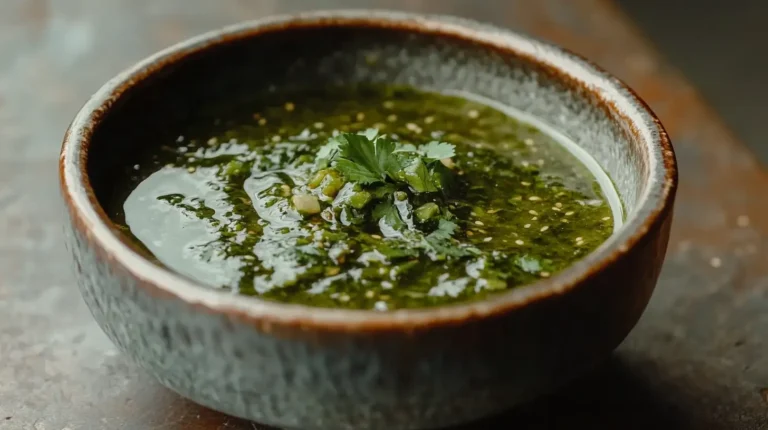
Green Chile Salsa Verde is a zesty, vibrant, and slightly smoky sauce that brings bold flavor to various dishes. Originating…
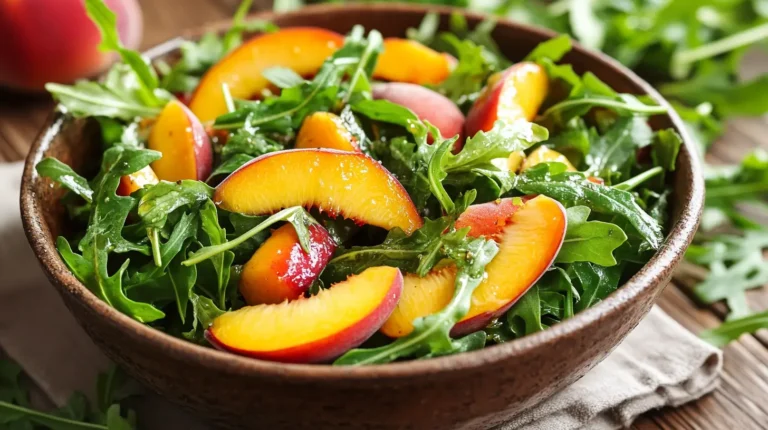
When summer arrives, there’s no better way to enjoy seasonal fruits and leafy greens than with a refreshing Peach Arugula…
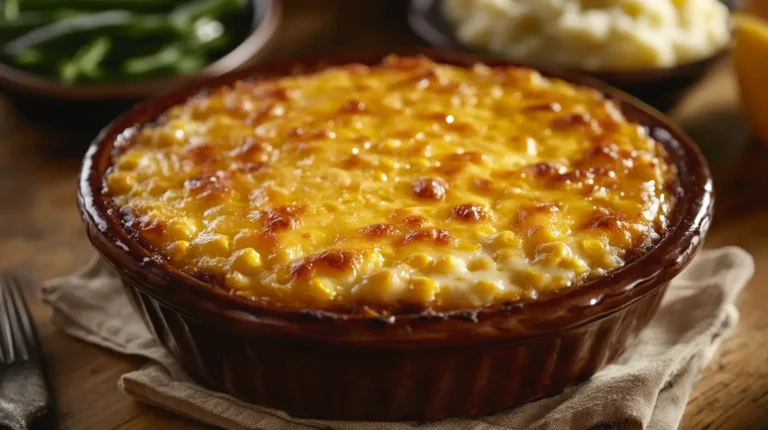
Looking for the perfect side dish that pleases crowds, requires minimal prep, and fits almost every holiday table? Corn casserole,…
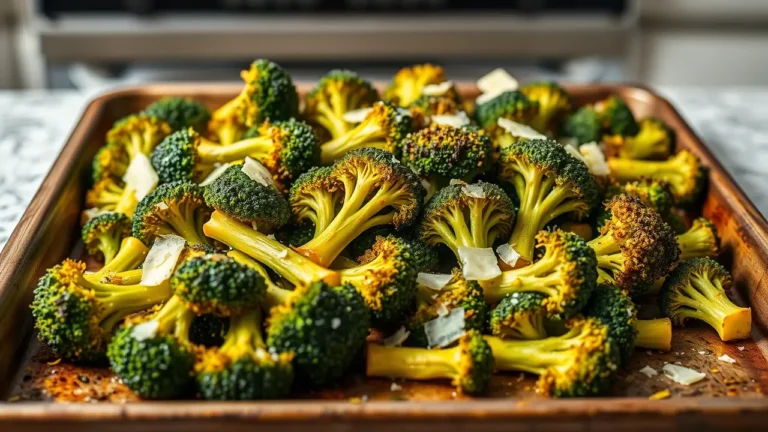
Roasted broccoli is one of those rare dishes that checks every box: it’s healthy, easy to prepare, and intensely flavorful….

When it comes to comfort food, few dishes are as satisfying as a quiche. Light, creamy, and full of flavor,…