Thai Coconut Pumpkin Soup: 5 Irresistible Steps You’ll Love
If you’re looking to warm up with something creamy, fragrant, and full of flavor, this Thai Coconut Pumpkin Soup is…
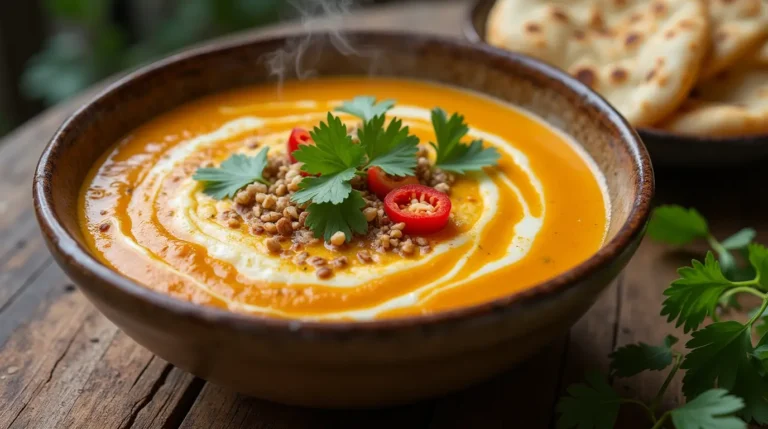
If you’re looking to warm up with something creamy, fragrant, and full of flavor, this Thai Coconut Pumpkin Soup is…
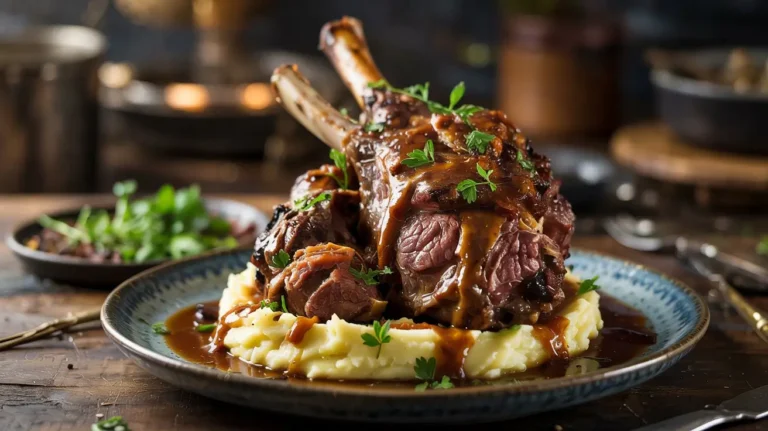
Lamb shank is one of the most succulent and flavorful cuts of lamb, ideal for slow cooking. The bone-in shank,…
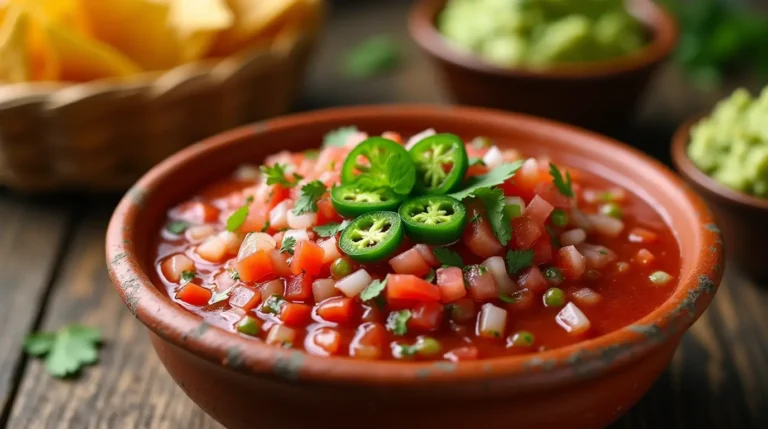
There’s nothing quite like the fresh, vibrant flavors of homemade salsa. Unlike store-bought versions packed with preservatives, making your own allows…
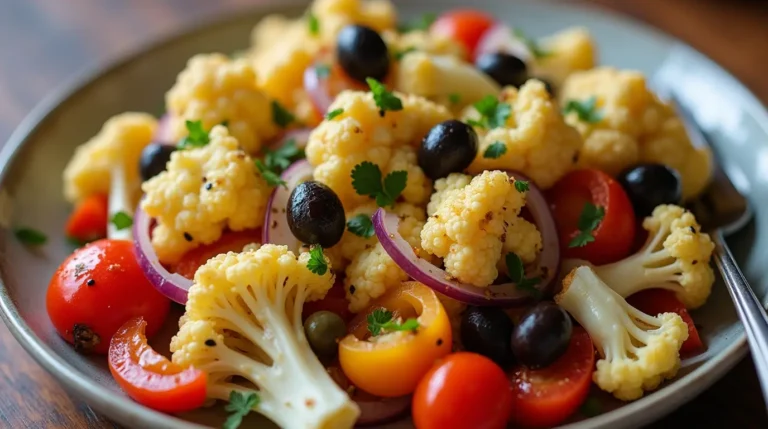
If you’re looking for a fresh, nutritious, and easy-to-make dish, Marinated Cauliflower Salad is the perfect choice. This vibrant salad…
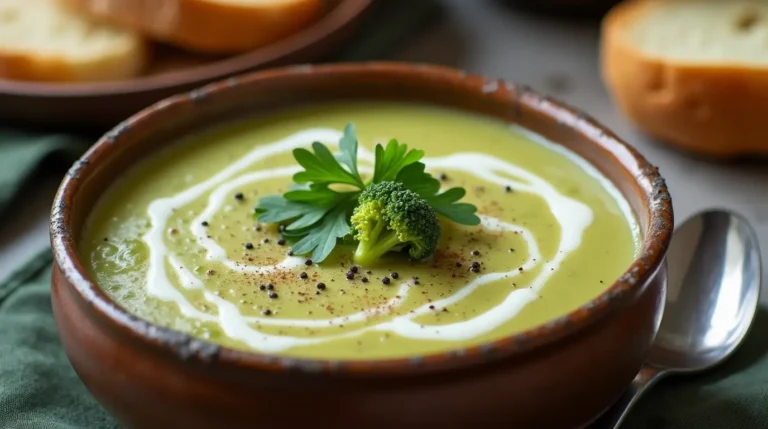
There’s nothing more comforting than a warm bowl of cream of broccoli soup on a cold evening. This classic dish…
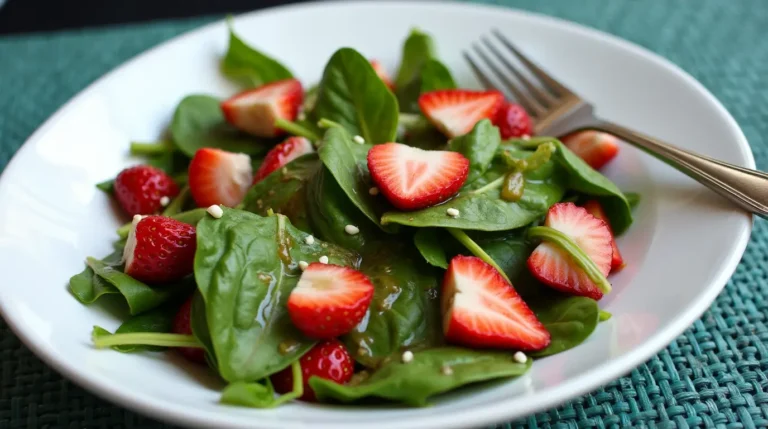
A spinach and strawberry salad is the perfect blend of sweet, tangy, and savory flavors, making it a refreshing meal…

If you’re looking for a healthy, low-carb, and flavor-packed dish, zucchini boats are an excellent choice. These delicious, stuffed zucchini…

A Cod and Onion Rings Platter is the perfect combination of crispy, golden battered fish and crunchy onion rings, making…
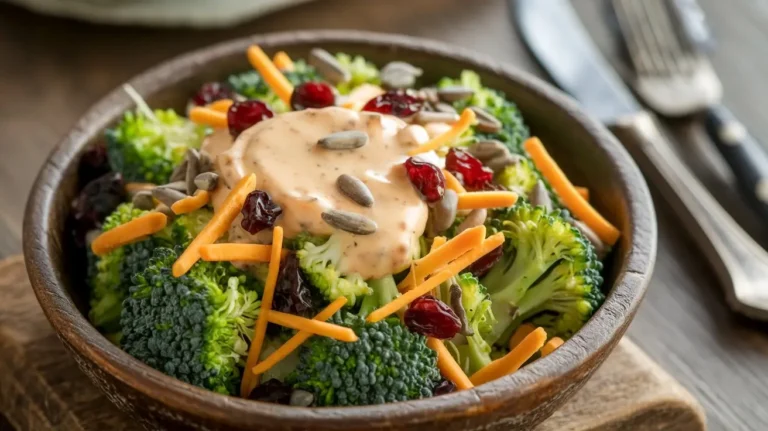
Broccoli salad is a versatile and nutritious dish that has become a staple at picnics, potlucks, and family gatherings. Whether you’re…

These Baked Cabbage Nest Burgers are the perfect solution if you are looking for a low-carb alternative to traditional burgers. This…