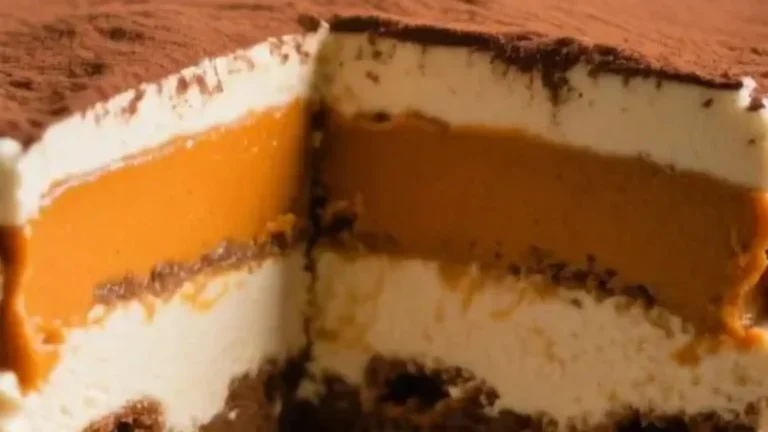
Pumpkin Spice Tiramisu: 8 Secrets for Rich and Fluffy Layers
When autumn rolls in with cooler weather and the scent of cinnamon fills the air, there’s no better time to…
When autumn rolls in with cooler weather and the scent of cinnamon fills the air, there’s no better time to…

There’s something truly magical about the combination of garlic, butter, and cheese — especially when it’s wrapped up in a…
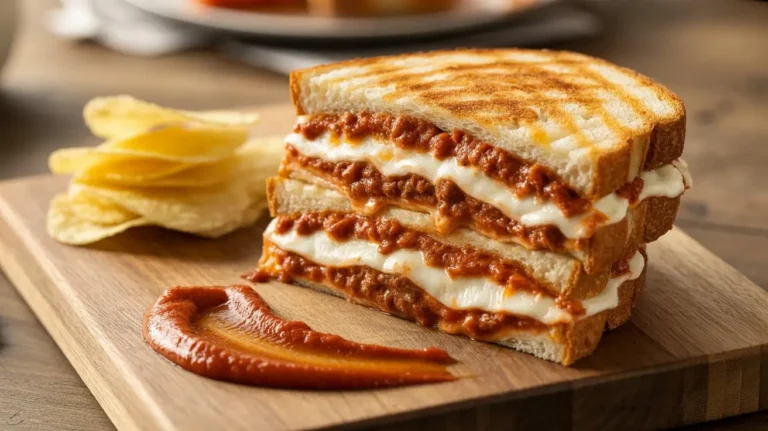
There’s something timeless about a Grilled Cheese Lasagna sandwich—crispy, golden bread with molten cheese inside. And lasagna? It’s a hearty,…
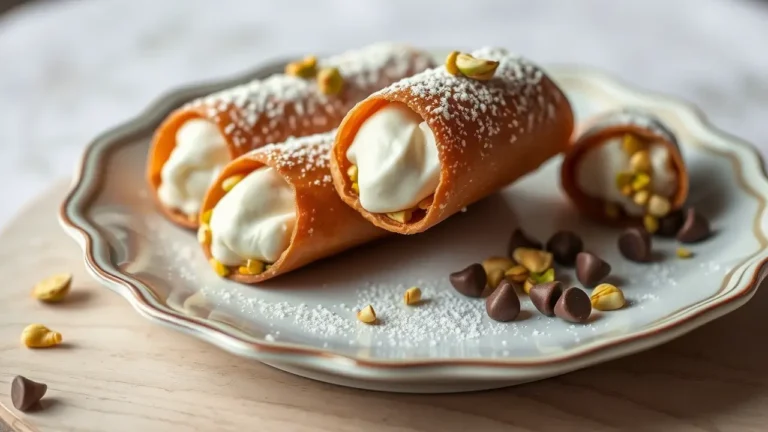
What is the Cannoli recipe? Cannoli are classic Sicilian pastries made of fried, tube-shaped shells that are filled with a…
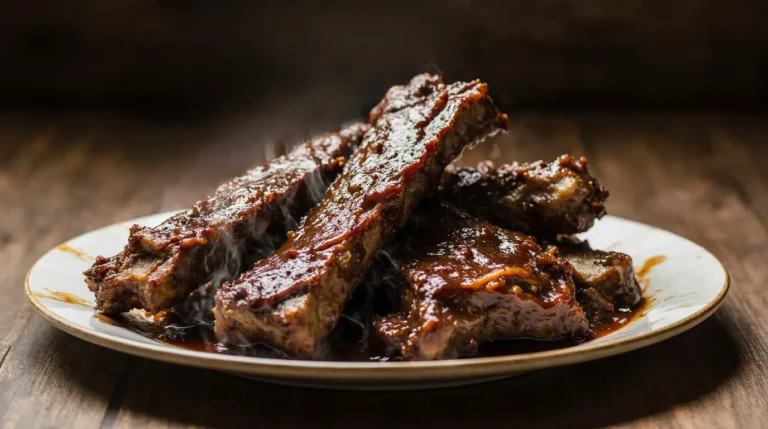
Barbecue Beef Ribs are rich, meaty, and packed with deep flavor — and with a slow cooker, you can achieve…

Crispy and Creamy Doughnuts have long been a staple of sweet indulgence. But there’s something truly irresistible about doughnuts that…
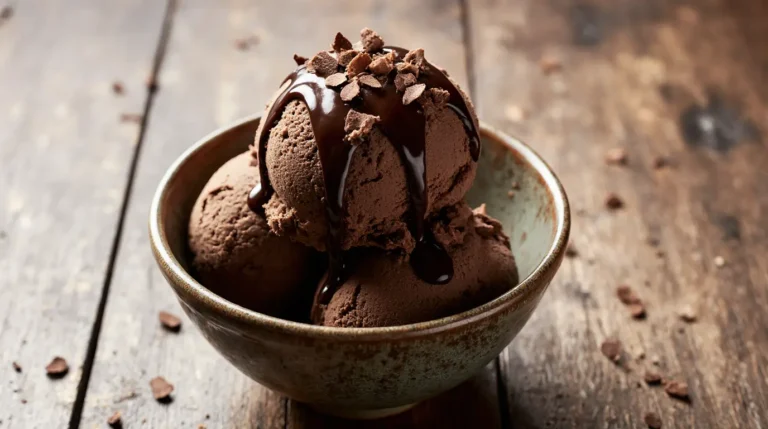
Chocolate ice cream is one of those universally beloved desserts that transcends age, geography, and even dietary preferences. With its…
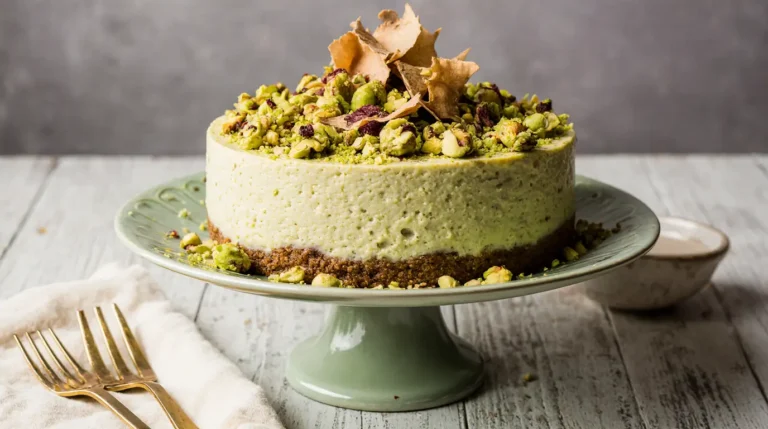
Suppose you’ve ever dreamed of a dessert that perfectly combines the luxurious creaminess of cheesecake with the rich, nutty flavor of pistachios. In that…
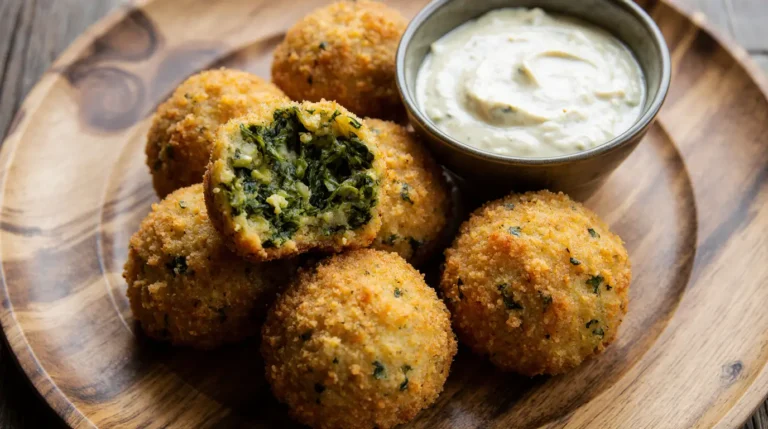
Spinach balls are one of those magical recipes that combine health, flavor, and convenience all in one bite. Whether you’re…
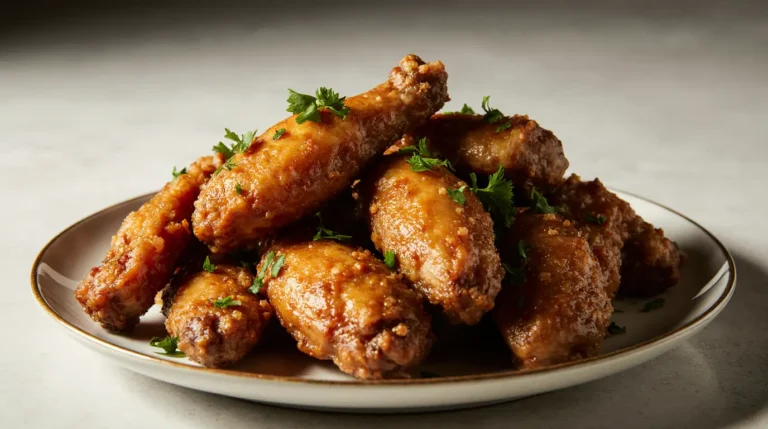
There’s nothing quite like biting into a perfectly crispy chicken wing — the satisfying crunch of golden skin, the juicy…