Carrot Bread: 10 Irresistible Variations You Need to Try
Carrot bread is one of those humble, comforting bakes that strikes the perfect balance between healthy and indulgent. Packed with…
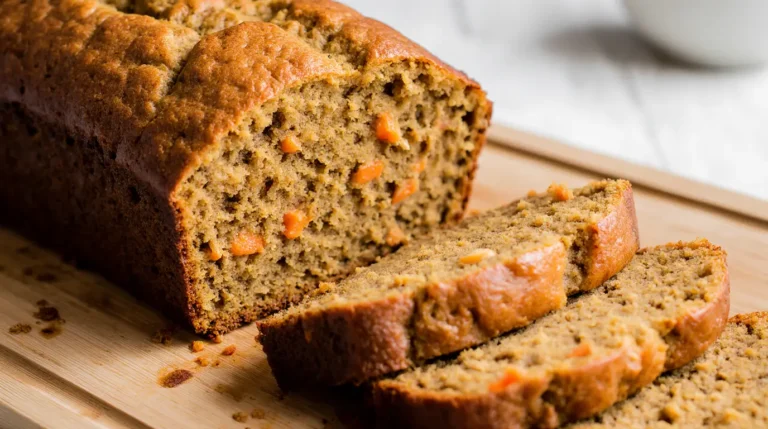
Carrot bread is one of those humble, comforting bakes that strikes the perfect balance between healthy and indulgent. Packed with…

Looking for something light, flavorful, and visually stunning to serve at your next tea party or gathering? Lemon Raspberry Madeleines…
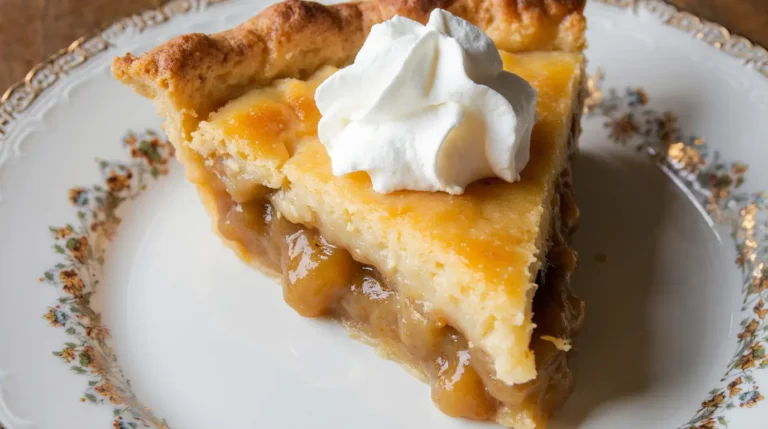
Chess Pie Recipe Few desserts capture the spirit of the American South quite like Chess Pie. With its rich, sweet…

When you think of vibrant, soul-warming dishes that reflect the heart of a culture, Brazilian Fish Stew, or Moqueca, undoubtedly…

Few things in life are as satisfying as biting into a messy, savory, melty Chili Cheese Hot Dogs. Whether you’re…

There’s something timeless and refreshing about a Strawberry Tart—a buttery crust, silky pastry cream, and fresh strawberries gleaming under a…

Beef turnovers are the epitome of comfort food—flaky, savory, and satisfyingly filling. These hand-held delights are perfect for weeknight dinners,…

When you want something cool, fruity, and decadently smooth, this Strawberry Tiramisu delivers a unique twist on the traditional Italian…

Peanut clusters are bite-sized treats that combine crunchy peanuts and rich melted chocolate into irresistible mounds of goodness. Loved for…

Sloppy Joes have long held a place at the American dinner table. They’re quick, messy, comforting, and irresistibly delicious. But…