Peach Ice Cream: 8 Expert Tips to Get It Right Every Time
When the sun is shining and peaches are at their ripest, few things are more satisfying than a scoop of…
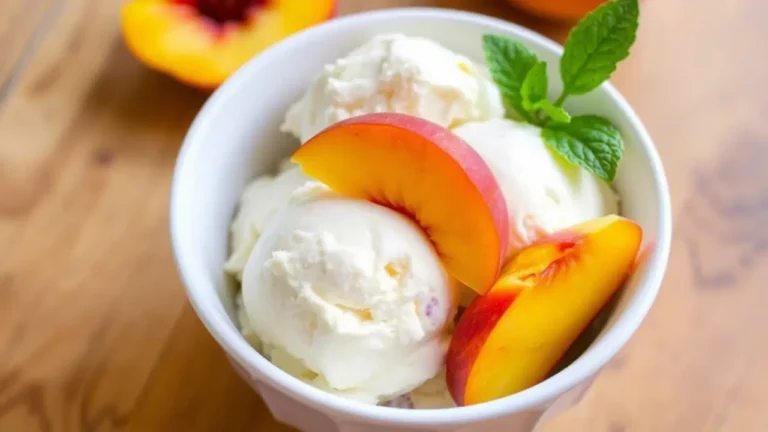
When the sun is shining and peaches are at their ripest, few things are more satisfying than a scoop of…
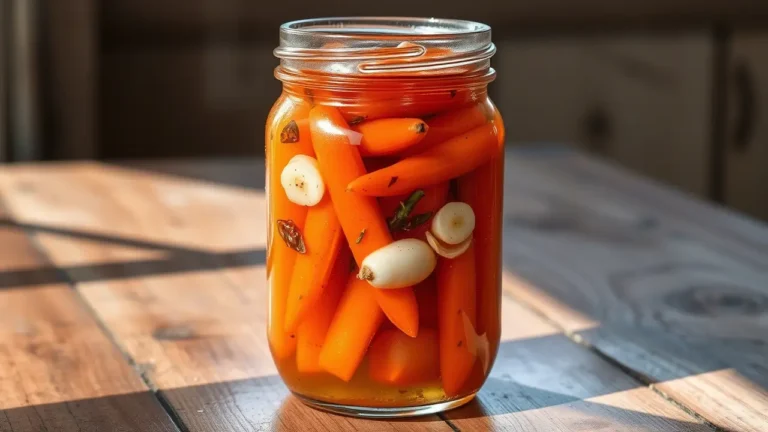
When your fridge needs a fresh burst of flavor and crunch, sweet and spicy quick pickled carrots are the answer….

A lemon tart is one of those desserts that feels like sunshine on a plate. The crisp, buttery crust paired…

Tomato pie is a savory dish that celebrates the sweet, robust flavor of ripe tomatoes wrapped in a comforting crust….

If you’re looking to shake up your morning routine with something that’s equal parts delicious, hearty, and fun to make,…

If you’re looking for a dessert that combines creamy texture with vibrant citrus flavor, lemon ice cream is the answer….

Few desserts are as decadent and satisfying as a chocolate lava cake. Known for its soft, tender exterior and indulgently…

Ice cream has long been a staple dessert in many households, but if you’re looking for a variation that offers…

Few things bring people together like a plate of crispy, juicy fried chicken, especially when it’s tucked into soft, flavorful…

Looking for a dish that’s bold, comforting, and comes together in one pan? Say hello to Chicken Fajita Rice Casserole—a…