Chicken Cordon Bleu: 10 Irresistible Variations You’ll Love
Chicken Cordon Bleu is one of those dishes that brings elegance to the dinner table without requiring advanced culinary skills….
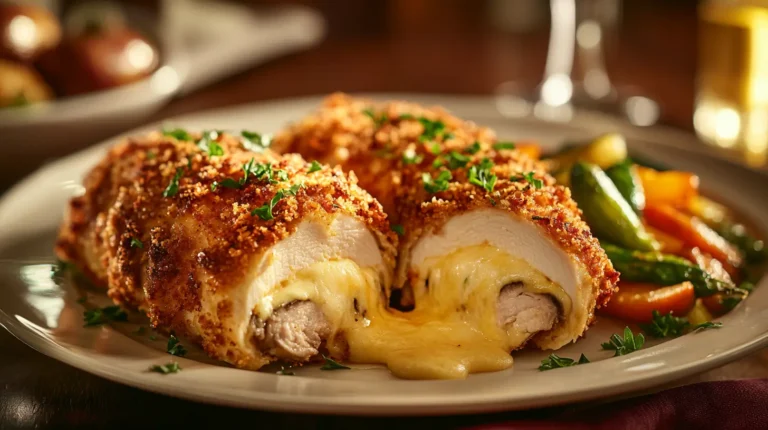
Chicken Cordon Bleu is one of those dishes that brings elegance to the dinner table without requiring advanced culinary skills….
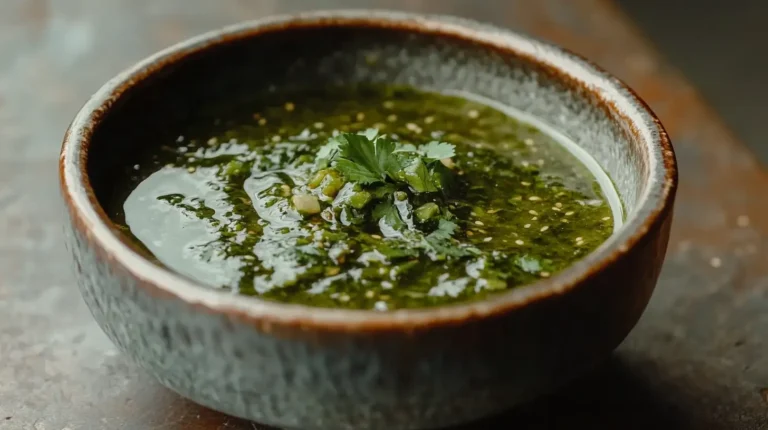
Green Chile Salsa Verde is a zesty, vibrant, and slightly smoky sauce that brings bold flavor to various dishes. Originating…
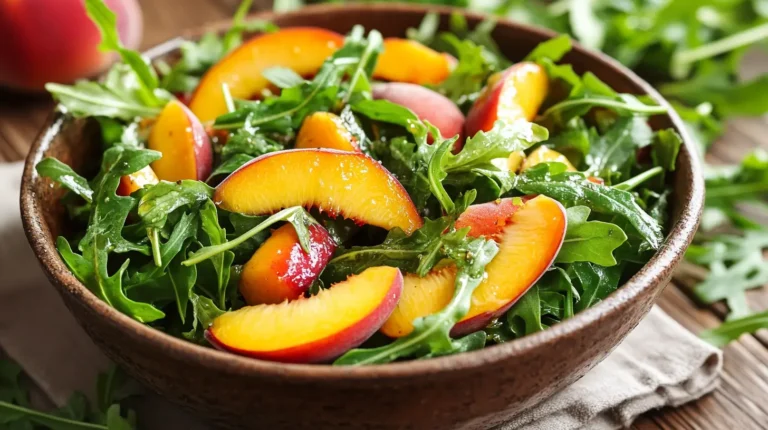
When summer arrives, there’s no better way to enjoy seasonal fruits and leafy greens than with a refreshing Peach Arugula…

Coconut bread is a soft, quick bread that brings the essence of the tropics into your kitchen with the rich…

Dessert lovers, meet your new favorite recipe: Avocado Chocolate Mousse. This dairy-free, vegan, and naturally sweetened dessert takes everything you…

There’s nothing quite as satisfying as a homemade dessert made with simple, wholesome ingredients. This homemade strawberry ice cream delivers…
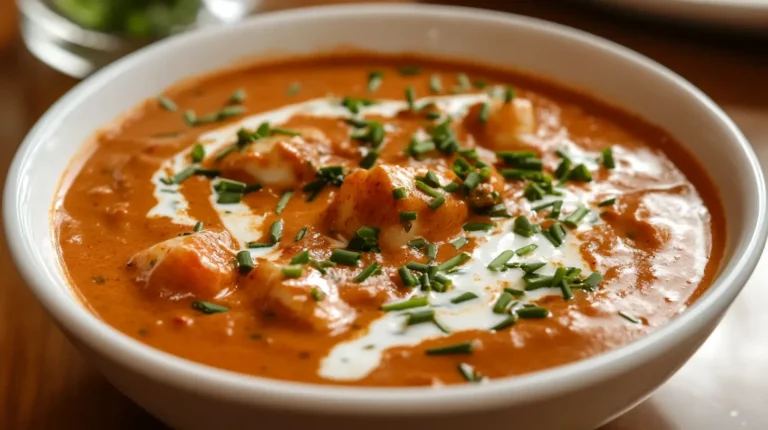
Lobster bisque is a decadent, smooth seafood soup rooted in French culinary traditions. Known for its intense depth of flavor…
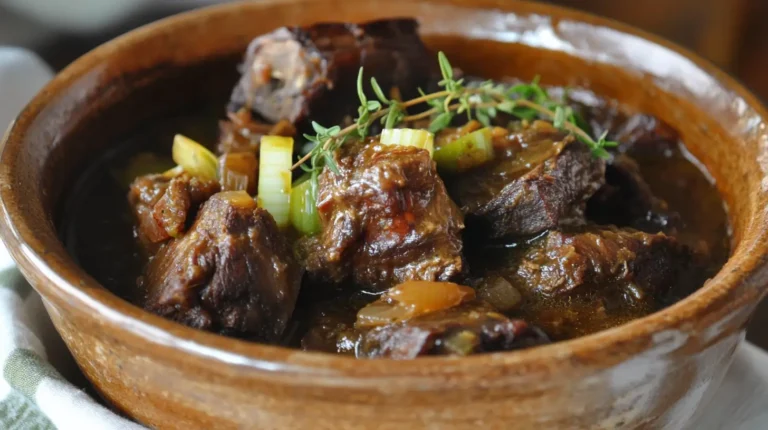
Few dishes bring warmth, depth, and comfort to the table quite like Jamaican Oxtail Stew. Known for its fall-off-the-bone tenderness,…
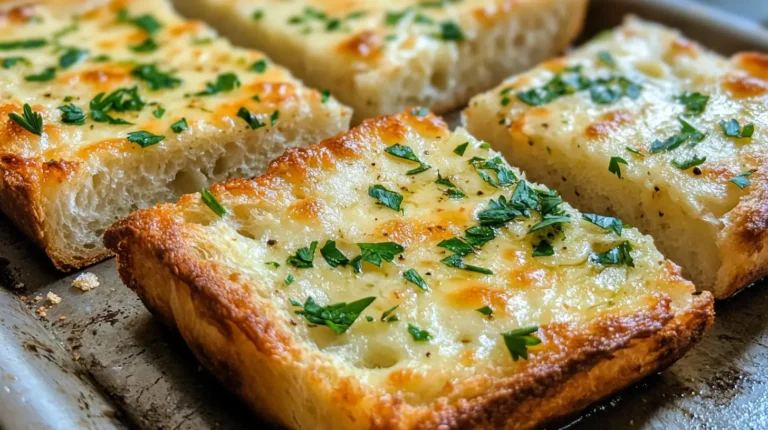
Garlic bread is one of those universally loved side dishes that seems to make everything better. Whether you’re preparing a…
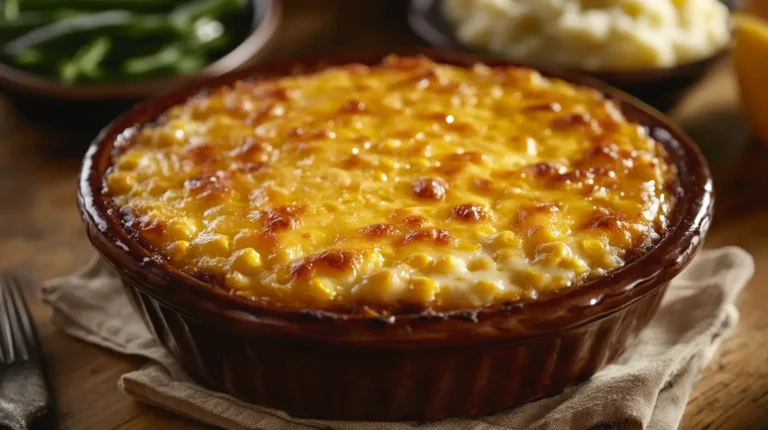
Looking for the perfect side dish that pleases crowds, requires minimal prep, and fits almost every holiday table? Corn casserole,…