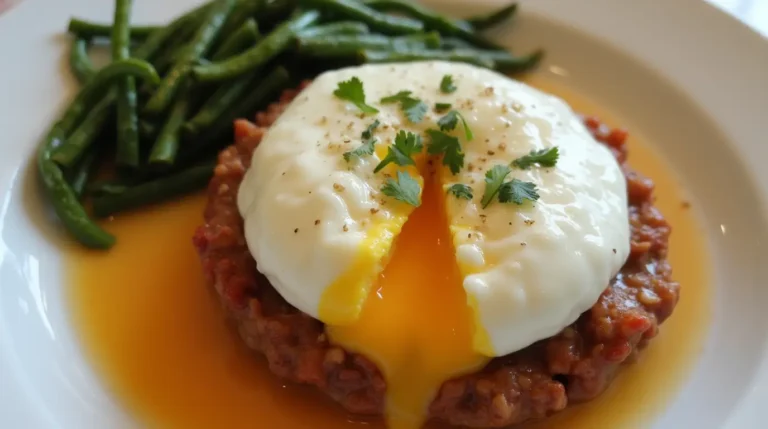
Poached Eggs: 5 Irresistible Steps You Love To The Perfect
Poached eggs are a timeless kitchen staple. Whether crafting a nourishing breakfast or looking to elevate a simple dish with…
Poached eggs are a timeless kitchen staple. Whether crafting a nourishing breakfast or looking to elevate a simple dish with…
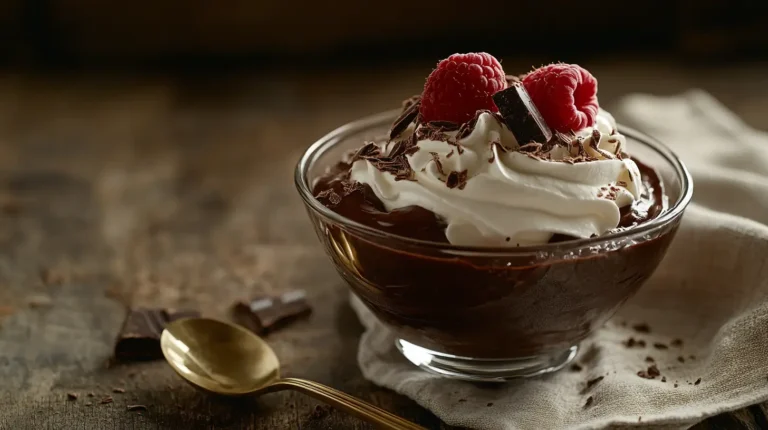
If you crave chocolate but want to maintain your nutrition, then Boiled Egg Chocolate Pudding might be your next favorite recipe. This…
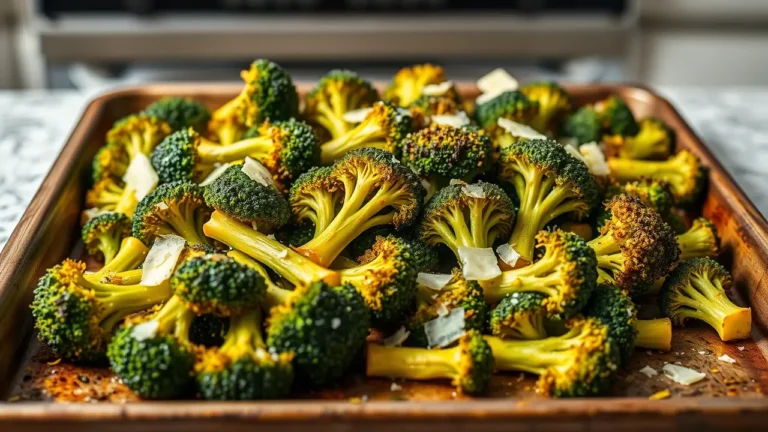
Roasted broccoli is one of those rare dishes that checks every box: it’s healthy, easy to prepare, and intensely flavorful….
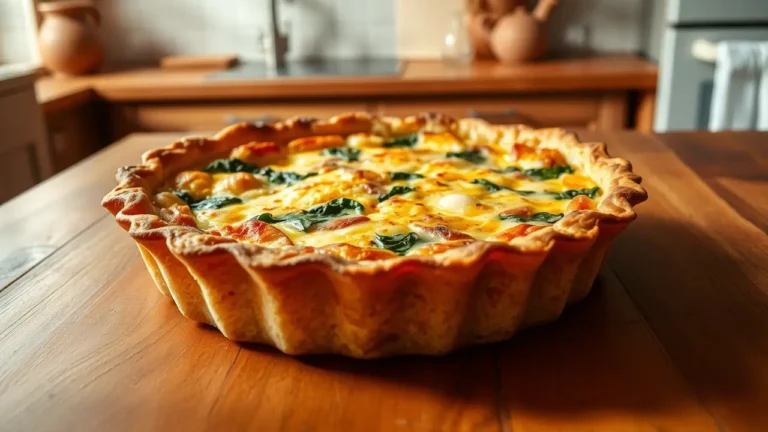
When it comes to comfort food, few dishes are as satisfying as a quiche. Light, creamy, and full of flavor,…
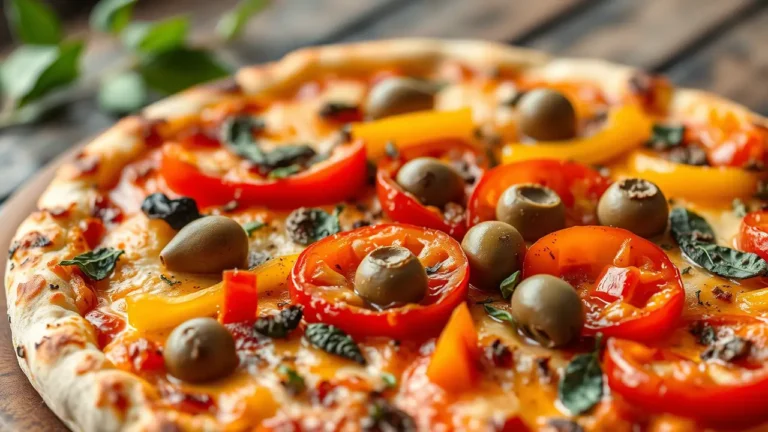
When you crave a satisfying yet healthy meal, veggie pizza is the perfect solution. Packed with colorful vegetables, creamy cheese,…
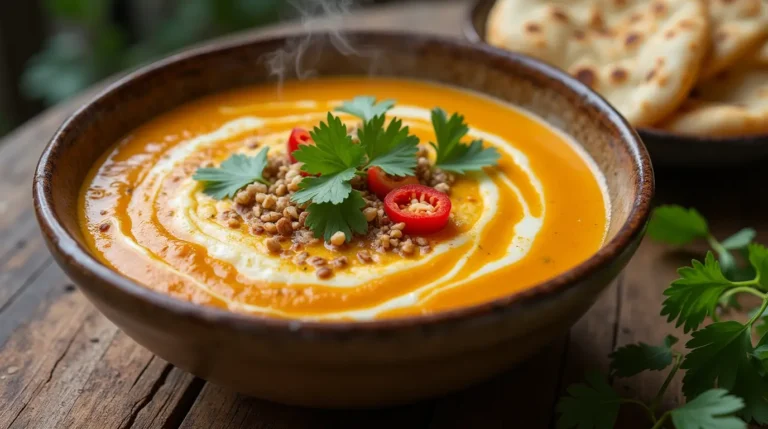
If you’re looking to warm up with something creamy, fragrant, and full of flavor, this Thai Coconut Pumpkin Soup is…
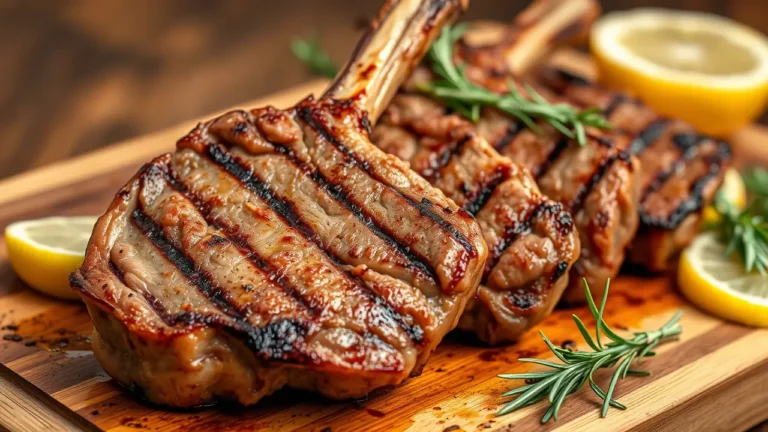
When you’re looking to impress at the dinner table with a dish that’s both luxurious and surprisingly simple to make,…
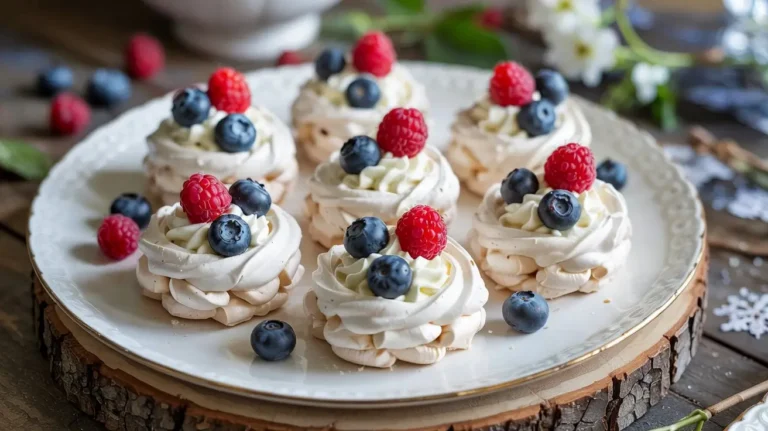
Mini Meringue Nests are light, airy, and beautifully crisp shells of sweetness that make for the perfect elegant dessert. Whether…
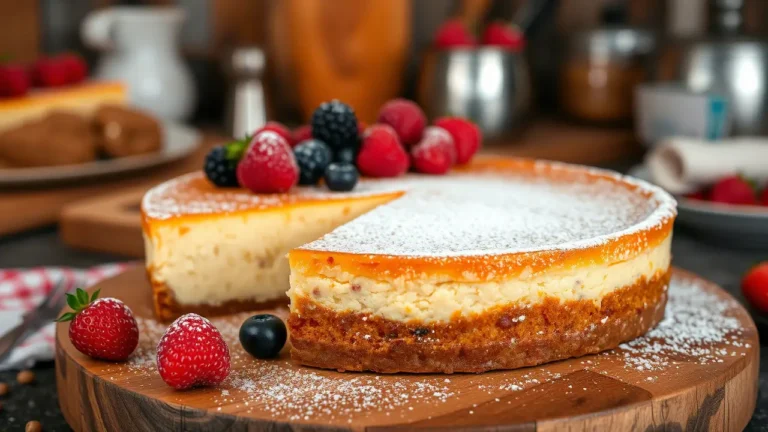
Polish baked cheesecake, known as Sernik, is a beloved dessert with a rich history and a uniquely creamy texture. Unlike its…
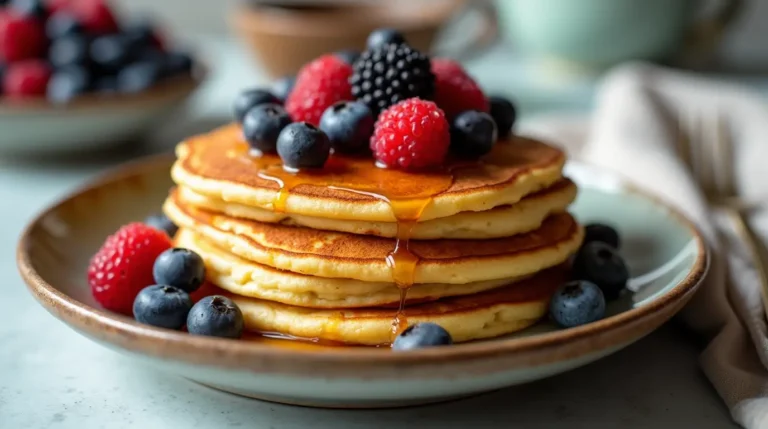
Chickpea flour pancakes are a fantastic alternative to traditional pancakes. They are gluten-free, protein-rich, and deliciously versatile breakfast options. Whether…