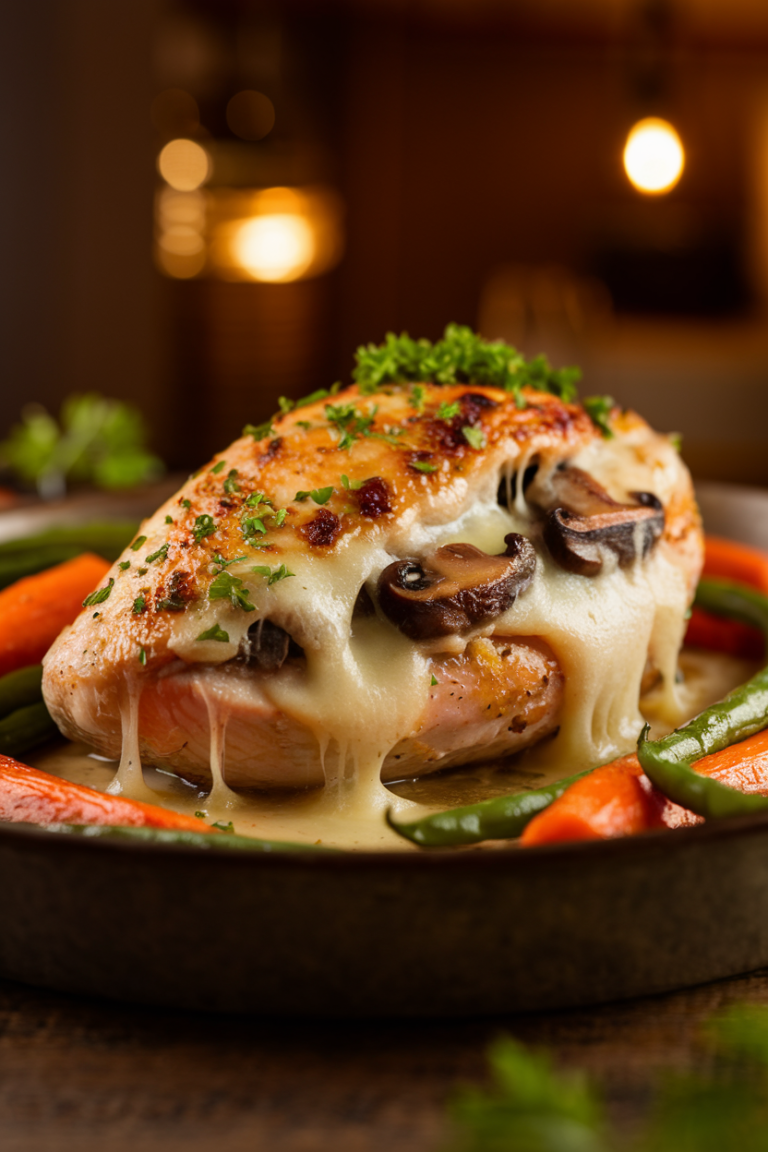
Garlic Butter Mushroom Chicken: 8 Quick Steps for Rich Flavor
Garlic Butter Mushroom Chicken is a savory dish that combines the creaminess of garlic butter with the earthiness of mushrooms…
Garlic Butter Mushroom Chicken is a savory dish that combines the creaminess of garlic butter with the earthiness of mushrooms…
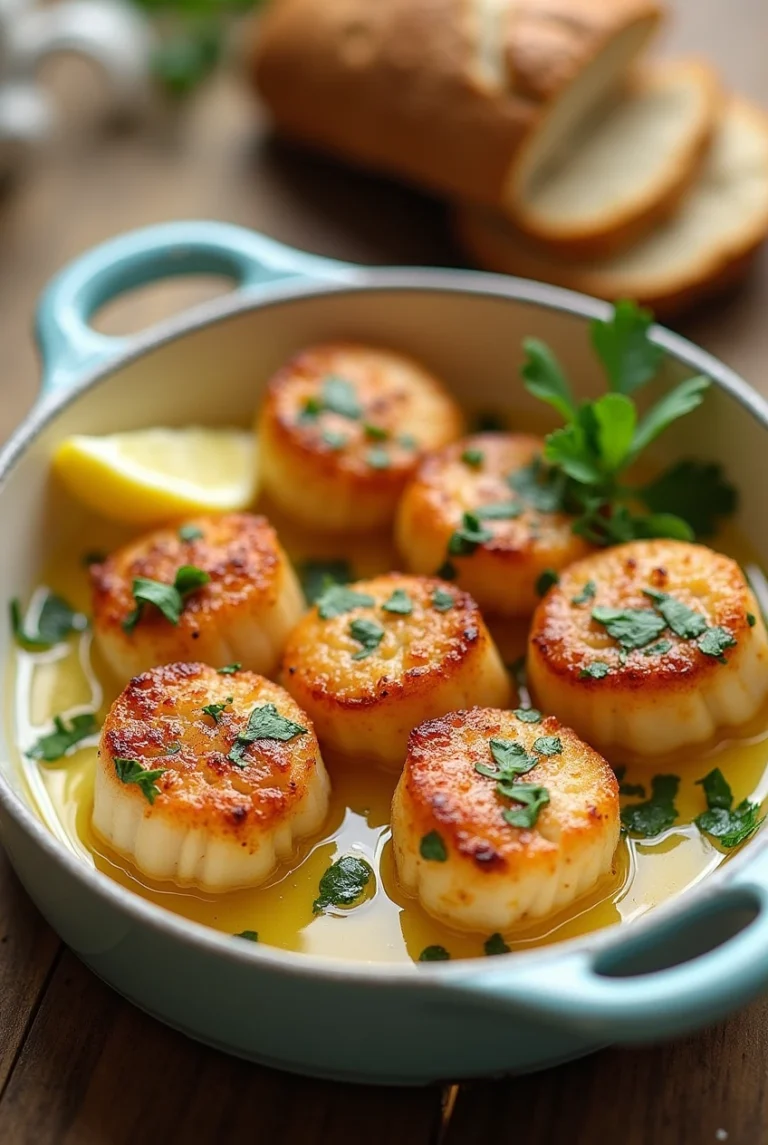
Garlic Butter Baked Scallops blend the sophistication of fine dining with the convenience of a quick homemade meal. These buttery,…

Banana Chocolate Chip Muffins are a classic treat for their rich flavor and moist texture. Perfect for breakfast, snacks, or…
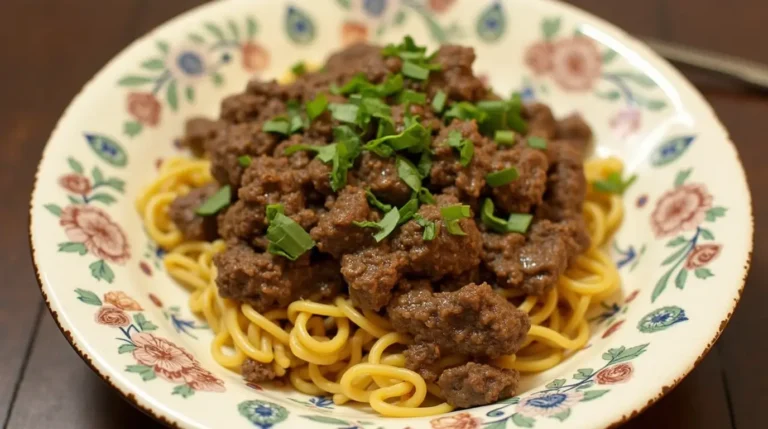
If you’re looking for a delicious meal that combines rich flavors, simplicity, and versatility, Mongolian Ground Beef Noodles is the…
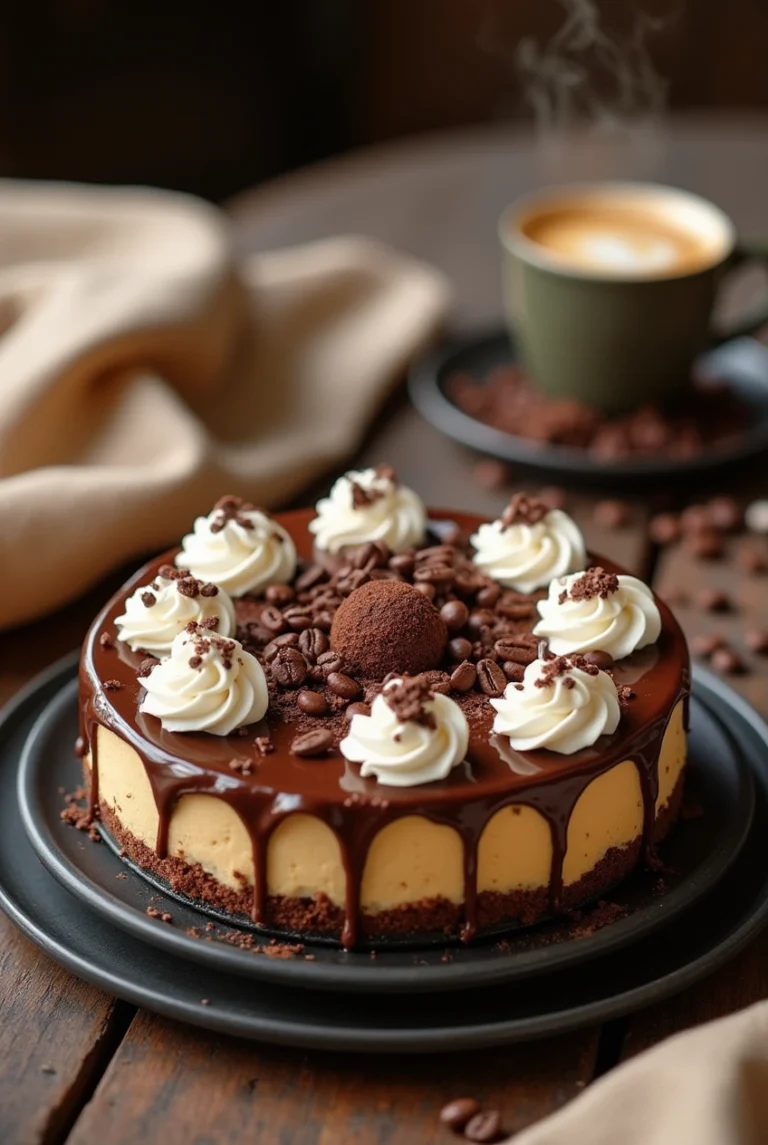
Espresso Coffee Cheesecake is a must-try if you’re a coffee lover who enjoys indulging in creamy, rich desserts. This elegant…
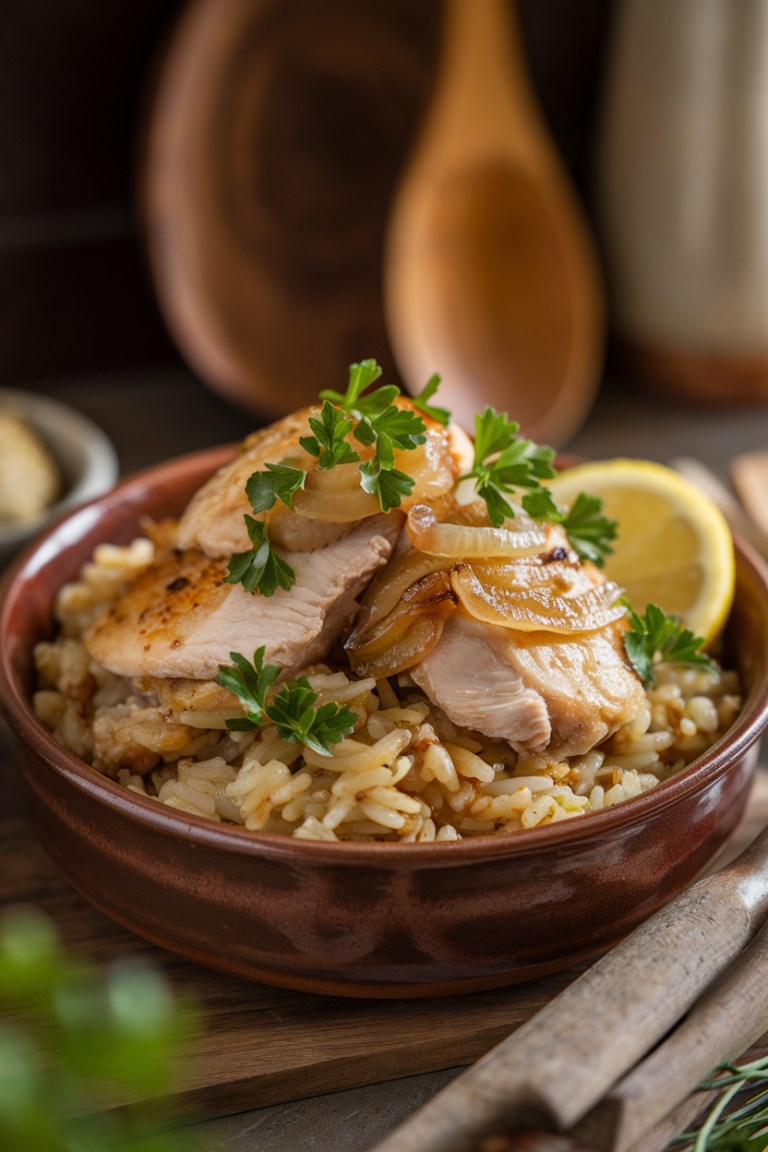
Onion Chicken Rice is the ultimate comfort food, blending the sweet flavor of caramelized onions with juicy chicken and fluffy…
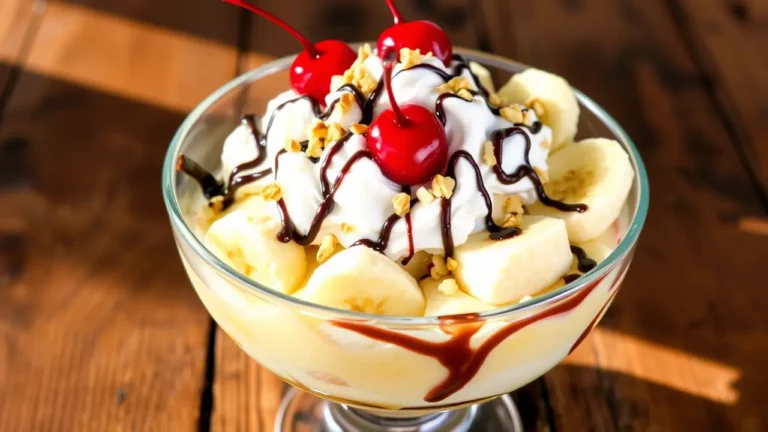
If you’re looking for a dessert that’s easy to prepare, no-bake, and perfect for any occasion, Banana Split Fluff Delight…
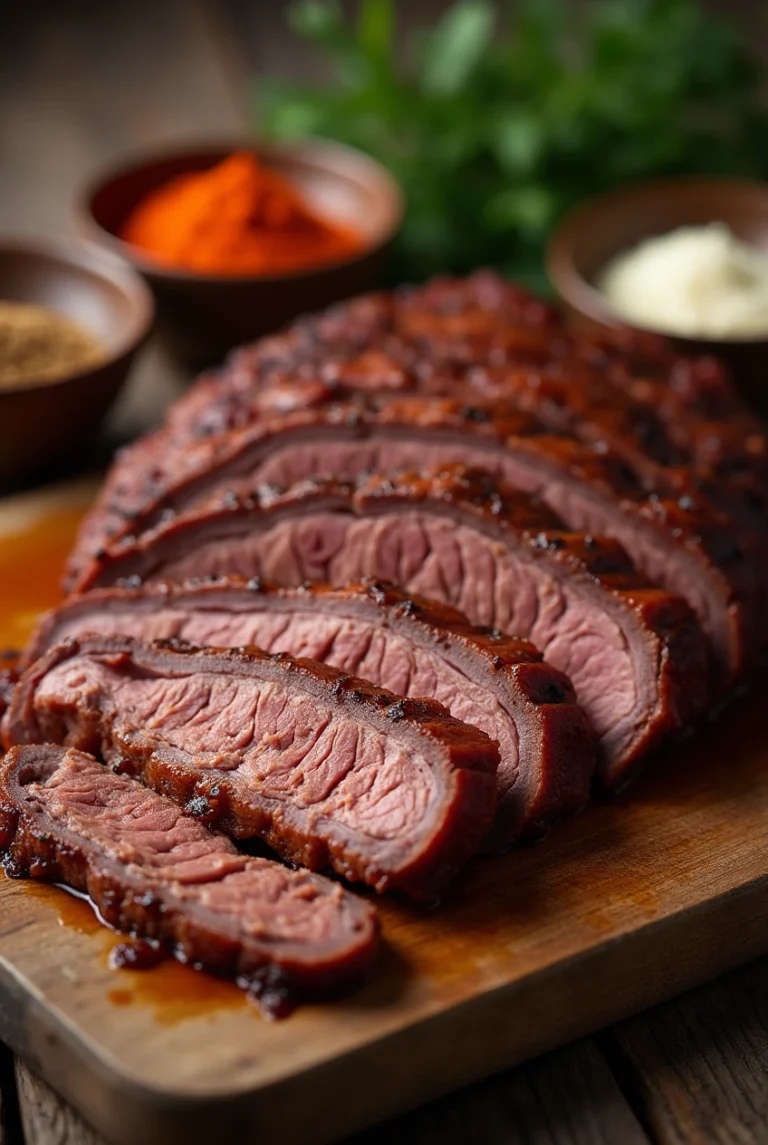
Few dishes evoke the same satisfaction as a perfectly cooked Beef Brisket Recipe. From its origins as a tough, unassuming…

When it comes to desserts that are both indulgent and stunning, Mini Crème Brûlée Cheesecakes take center stage. These bite-sized…
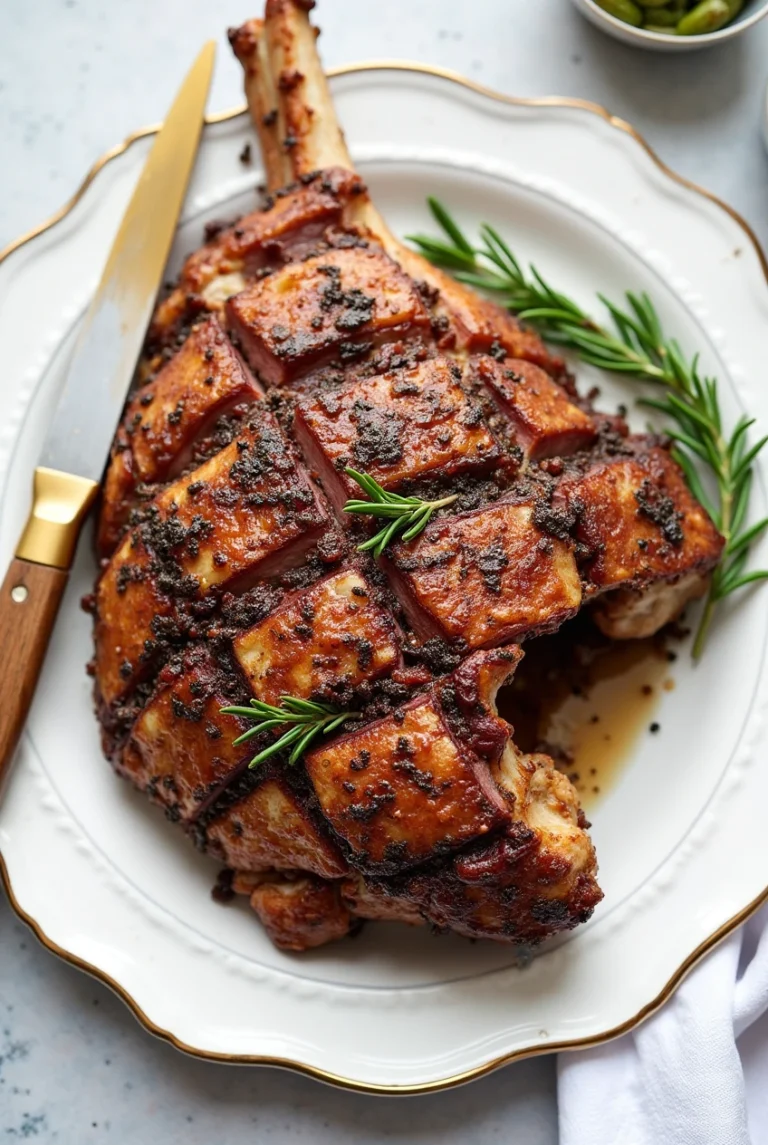
The roasted leg of lamb is more than just a dish—it’s a culinary centerpiece that transforms ordinary gatherings into extraordinary…