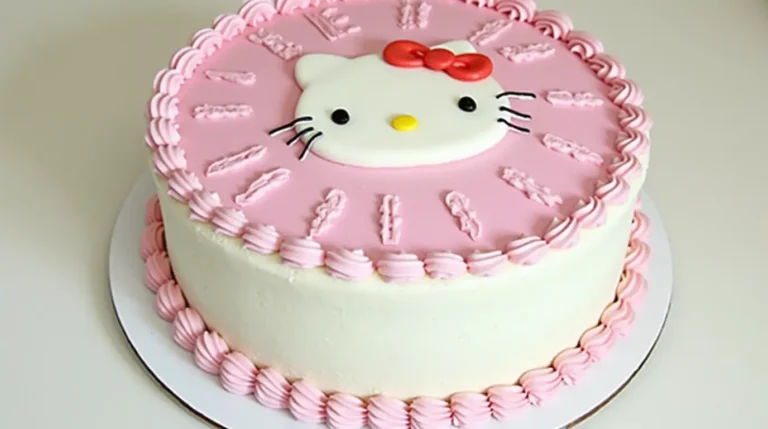
Hello Kitty Cake: 7 Secrets For A Flawless, Fun Dessert
Hello Kitty cake is more than a dessert; it’s a joyful centerpiece that sparks delight and nostalgia. Whether you’re celebrating…
Hello Kitty cake is more than a dessert; it’s a joyful centerpiece that sparks delight and nostalgia. Whether you’re celebrating…
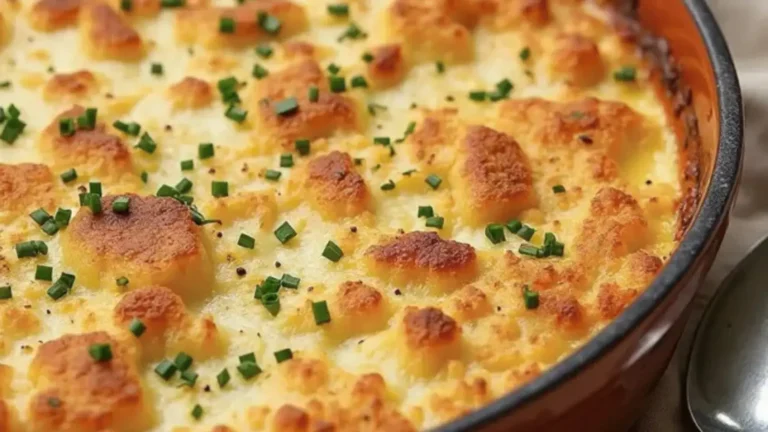
Delmonico Potatoes are a quintessential dish in classic American comfort food. Known for its velvety texture and rich, cheesy topping,…
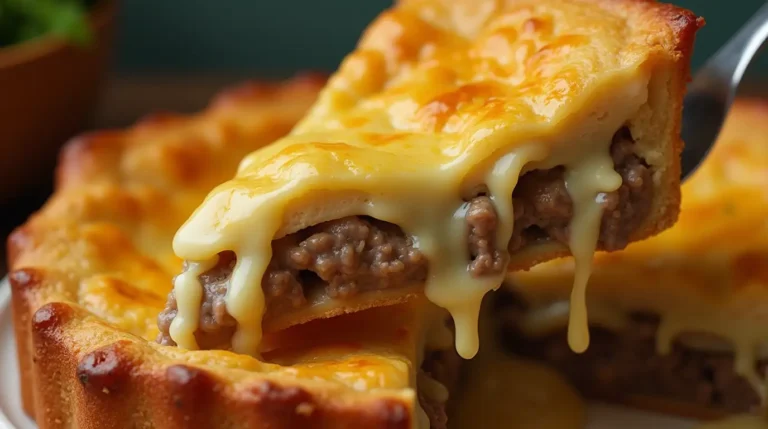
Craving a dish that’s hearty, flavorful, and easy to prepare? The Cheeseburger pie recipe is the ultimate comfort food that…
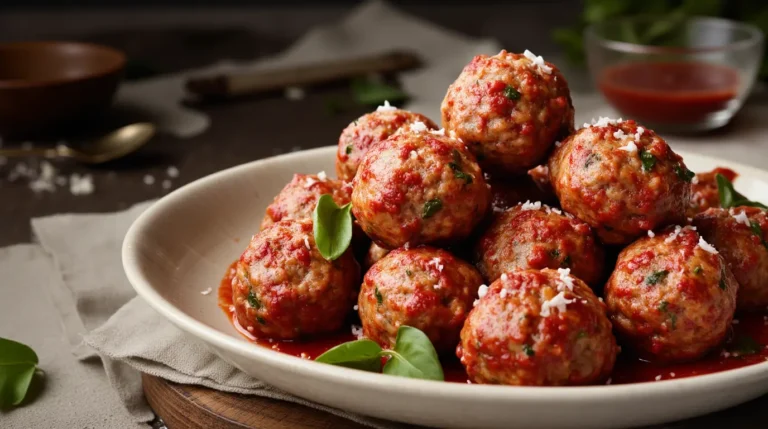
Few dishes encapsulate the comforting spirit of Italian cuisine quite like ricotta meatballs. Known for their luxurious texture and flavorful…
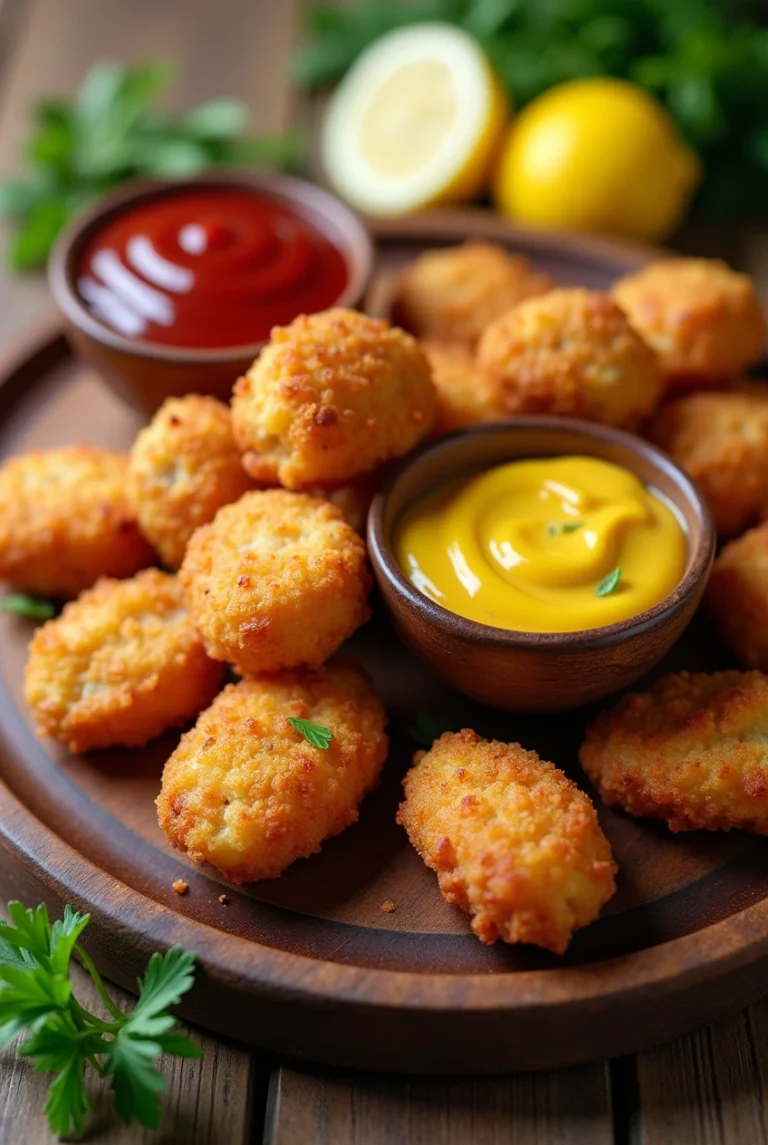
Chicken nuggets are a global culinary favorite. These crispy, golden bites of joy are enjoyed by people of all ages,…
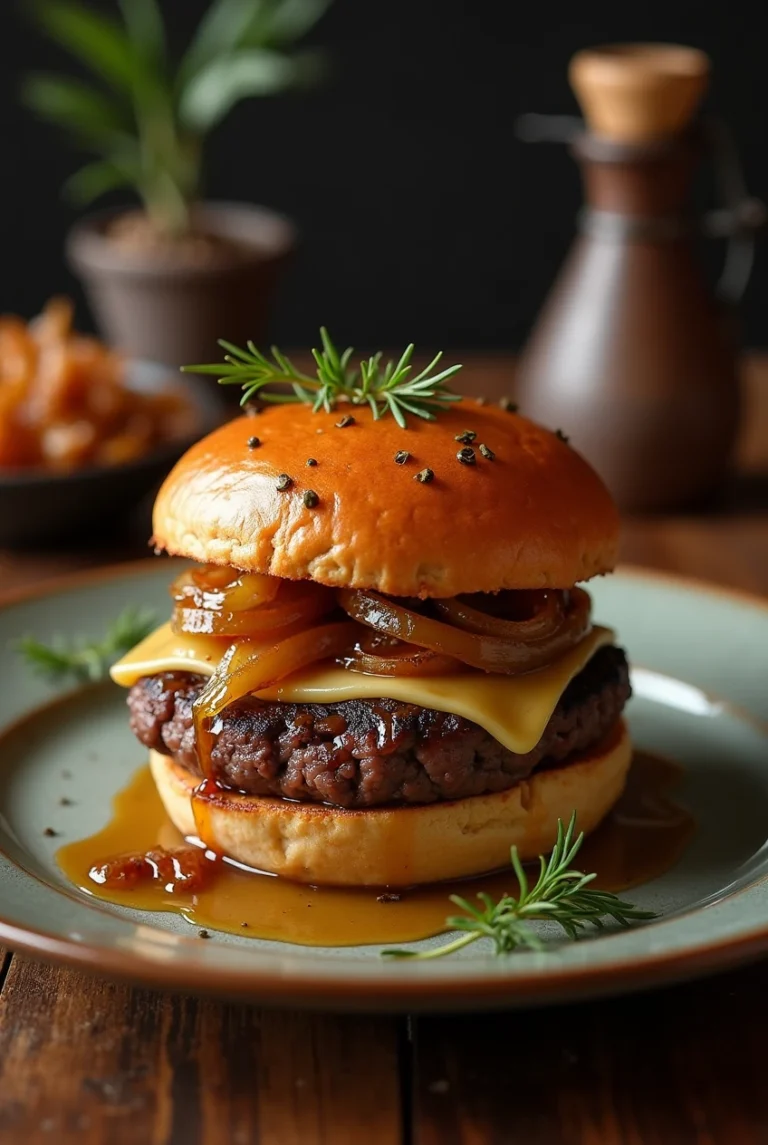
French Onion Soup Burgers combine the best of two culinary favorites: the rich, savory notes of French onion soup and…
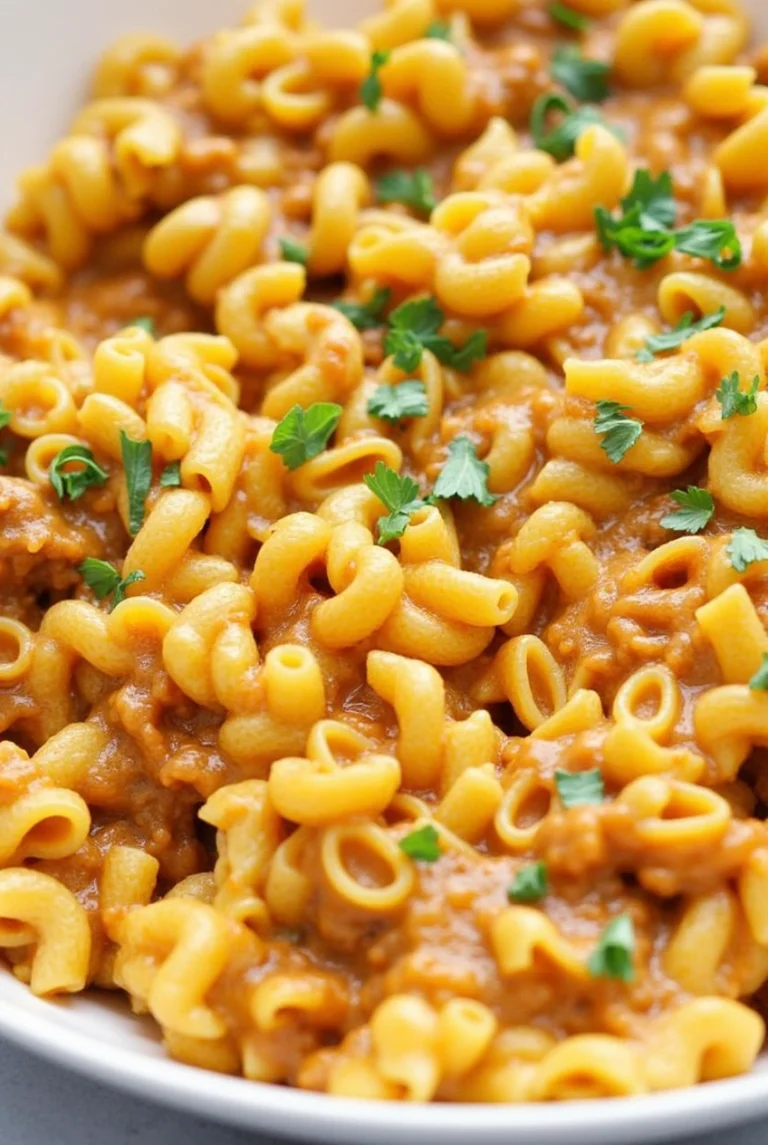
If you’re a fan of both creamy pasta dishes and the bold, zesty flavors of tacos, Creamy Taco Pasta will…
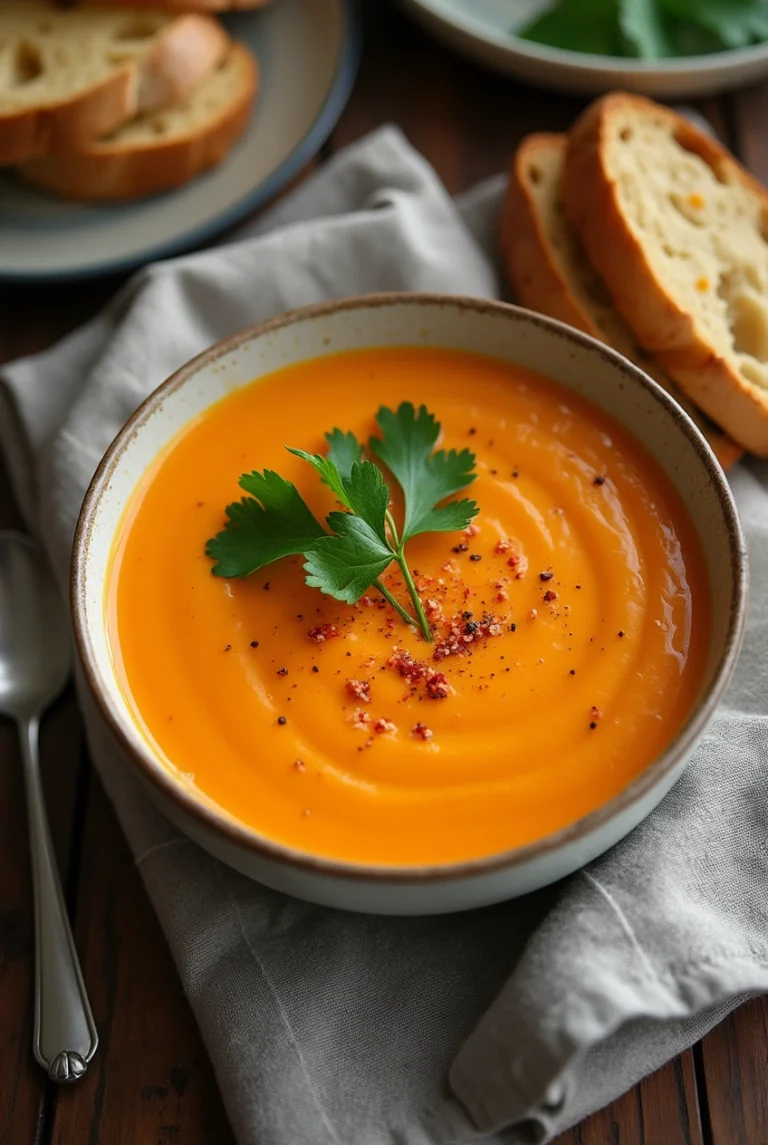
If you’re looking for a meal that’s comforting, nutritious, and easy to make, carrot and celery soup should top your…
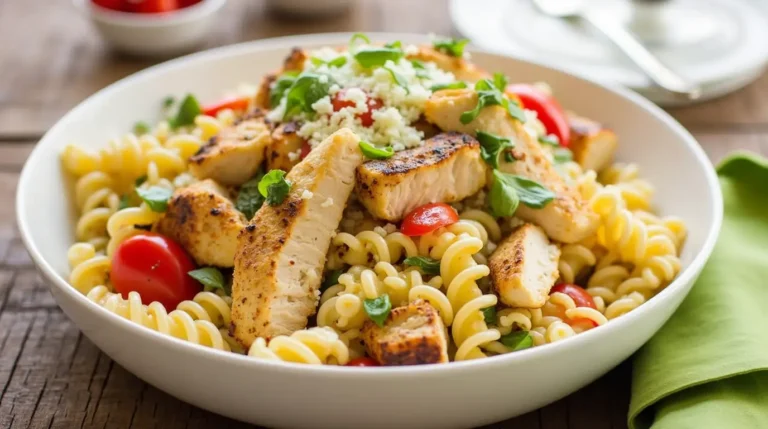
Grilled chicken pasta salad is a must-have recipe for anyone seeking a versatile and flavorful dish. This meal combines fresh…
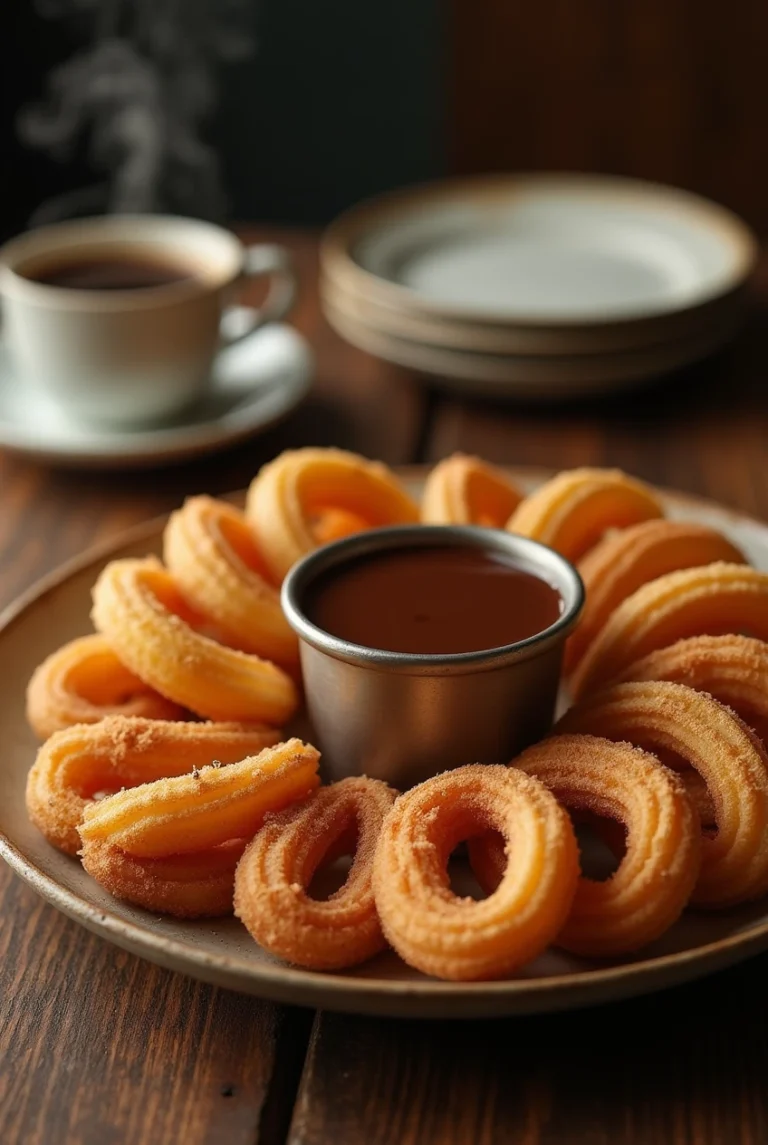
Golden, crispy, and utterly delightful, Churros Recipe captivates dessert lovers worldwide. They offer a delicious taste, fascinating history, and cultural…