Crescent Roll Breakfast: 6 Heavenly Dishes You Need to Try
If you’re searching for a versatile and delicious way to elevate your morning meal, crescent roll breakfast recipes are the…

If you’re searching for a versatile and delicious way to elevate your morning meal, crescent roll breakfast recipes are the…
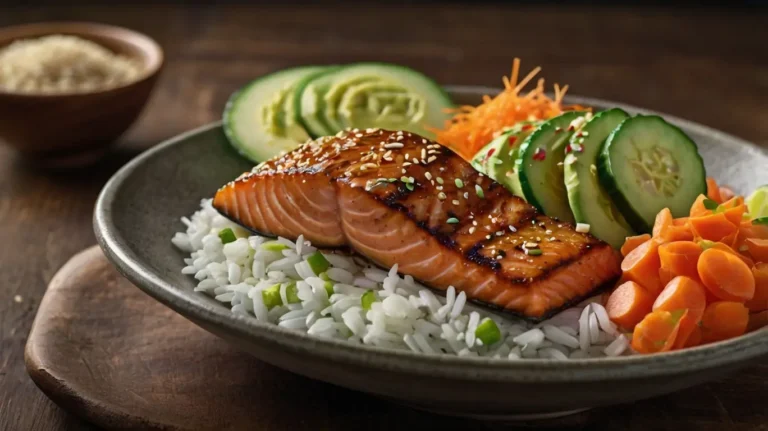
If you’re searching for a meal that’s as visually stunning as it is nutritious, the salmon bowl recipe is your…
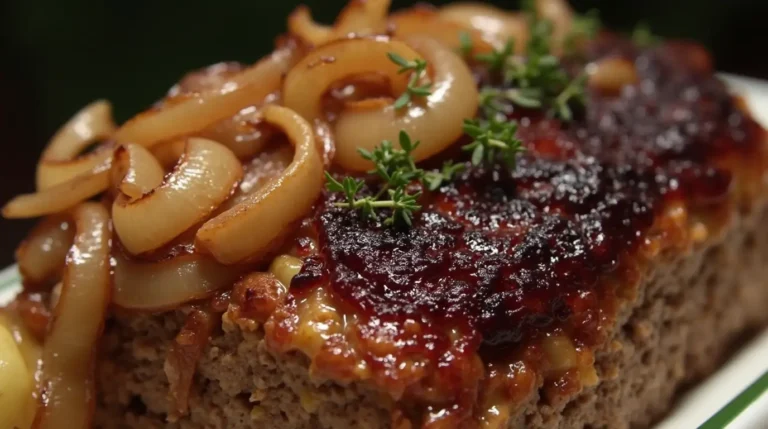
Regarding hearty comfort food packed with flavor, French Onion Meatloaf stands out as a unique twist on two beloved classics….

Valentine’s Day is a time to celebrate love, and what better way to show your affection than with a homemade…
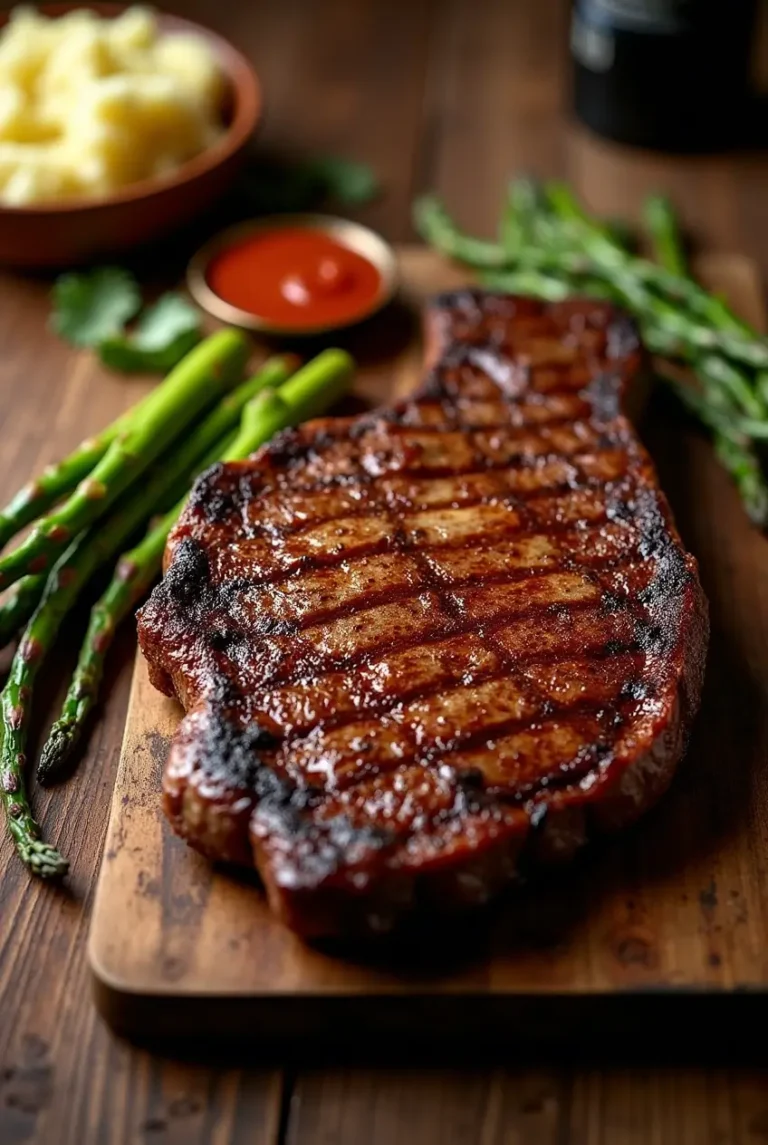
Few cuts of beef are as visually striking and flavorful as the Cowboy Steak. This thick-cut, bone-in ribeye delivers an…

The chicken carbonara recipe is a classic Italian-inspired dish that combines tender chicken, crispy turkey bacon, and a creamy Parmesan…
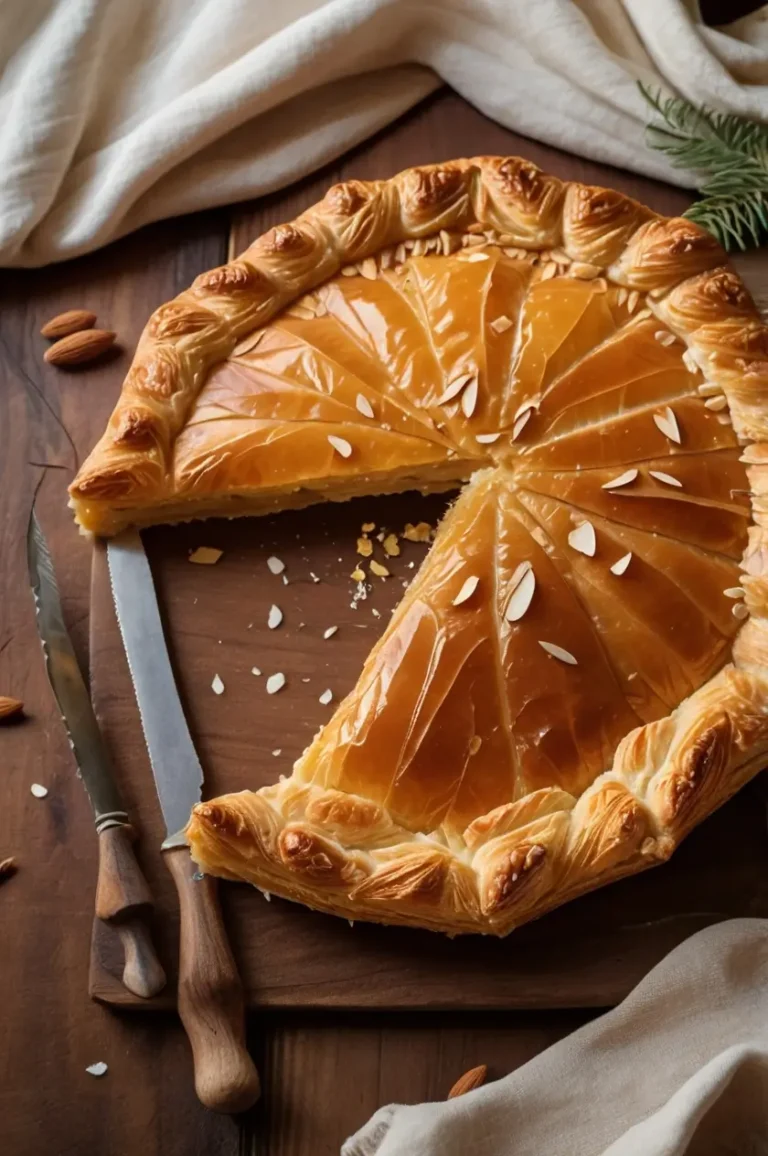
The Galette des Rois, or “King’s Cake,” is not just a dessert—it’s a rich tradition that combines history, symbolism, and…
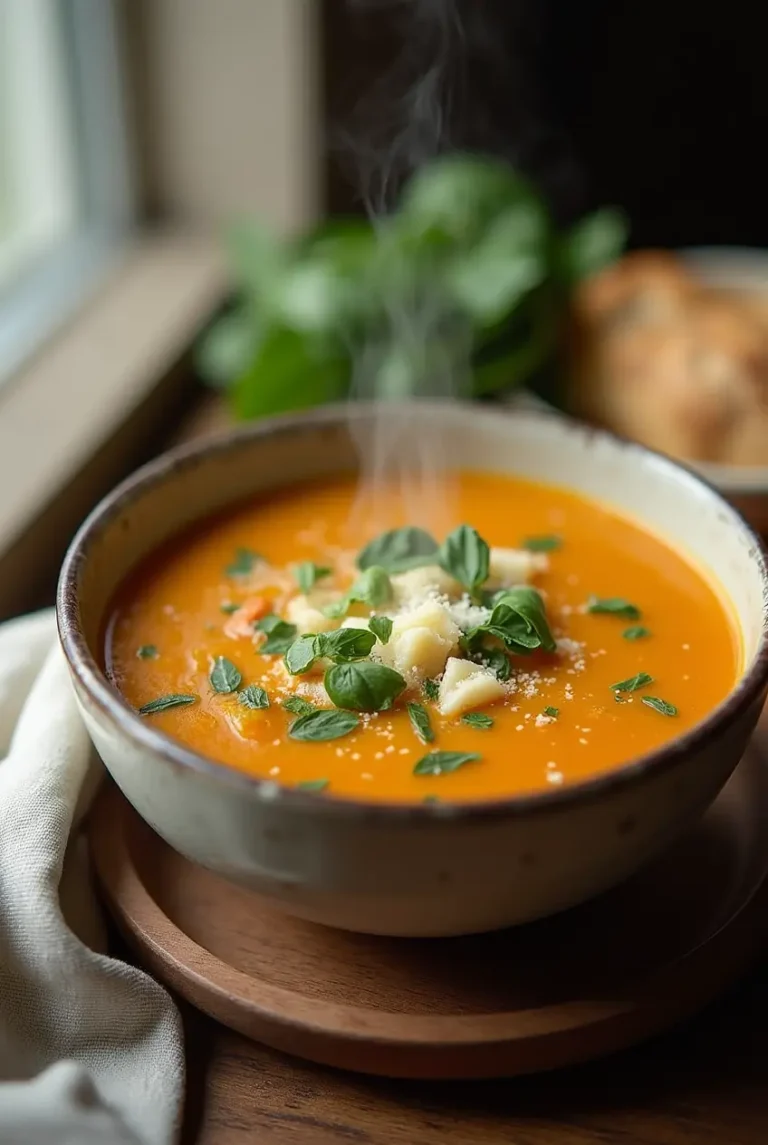
When a recipe is so good it earns the name Marry Me Chicken Soup, it’s hard to ignore its charm….
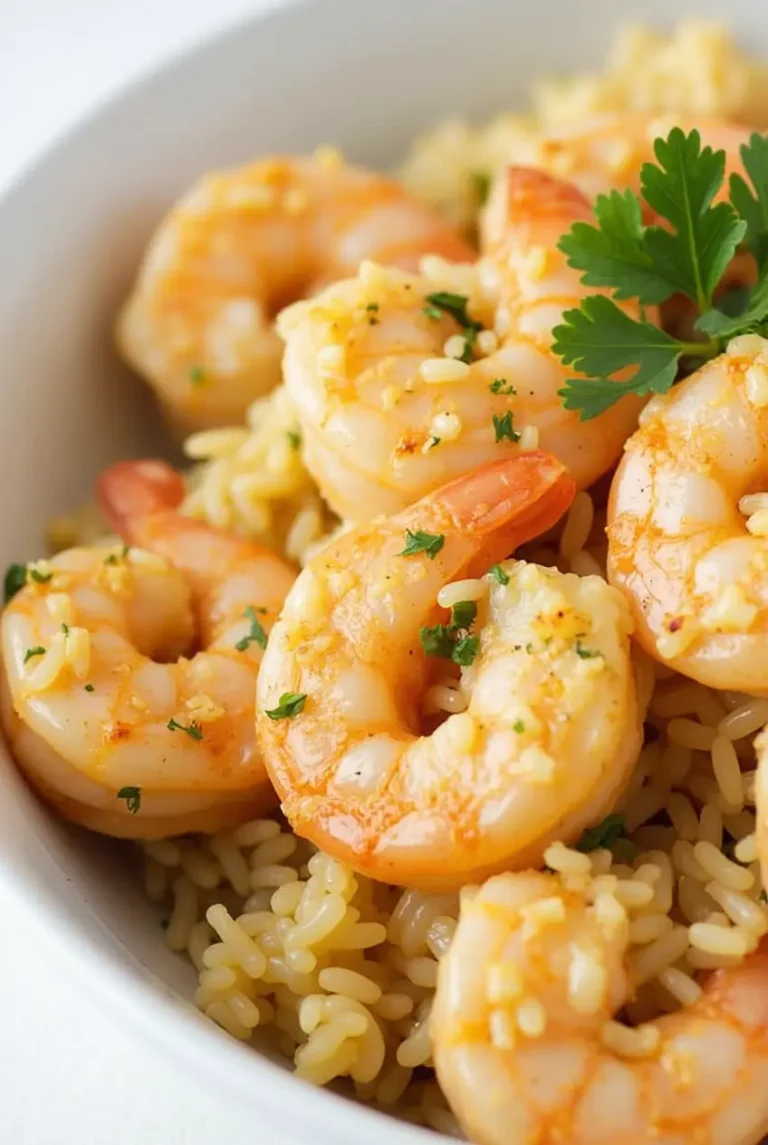
Shrimp and rice recipes are loved for their simplicity, versatility, and ability to deliver bold flavors without requiring extensive cooking…

Unicorn cakes have taken the baking world by storm, and for good reason. These cakes are the perfect showpiece for…