6 Cake Mix Cinnamon Rolls Mistakes and How to Avoid Them
There’s nothing quite as inviting as the aroma of freshly baked cinnamon rolls. But making these sweet treats from scratch…

There’s nothing quite as inviting as the aroma of freshly baked cinnamon rolls. But making these sweet treats from scratch…

Cottage cheese cloud bread is a revolutionary bread alternative, beloved for its low-carb and high-protein profile. Its light, fluffy texture…
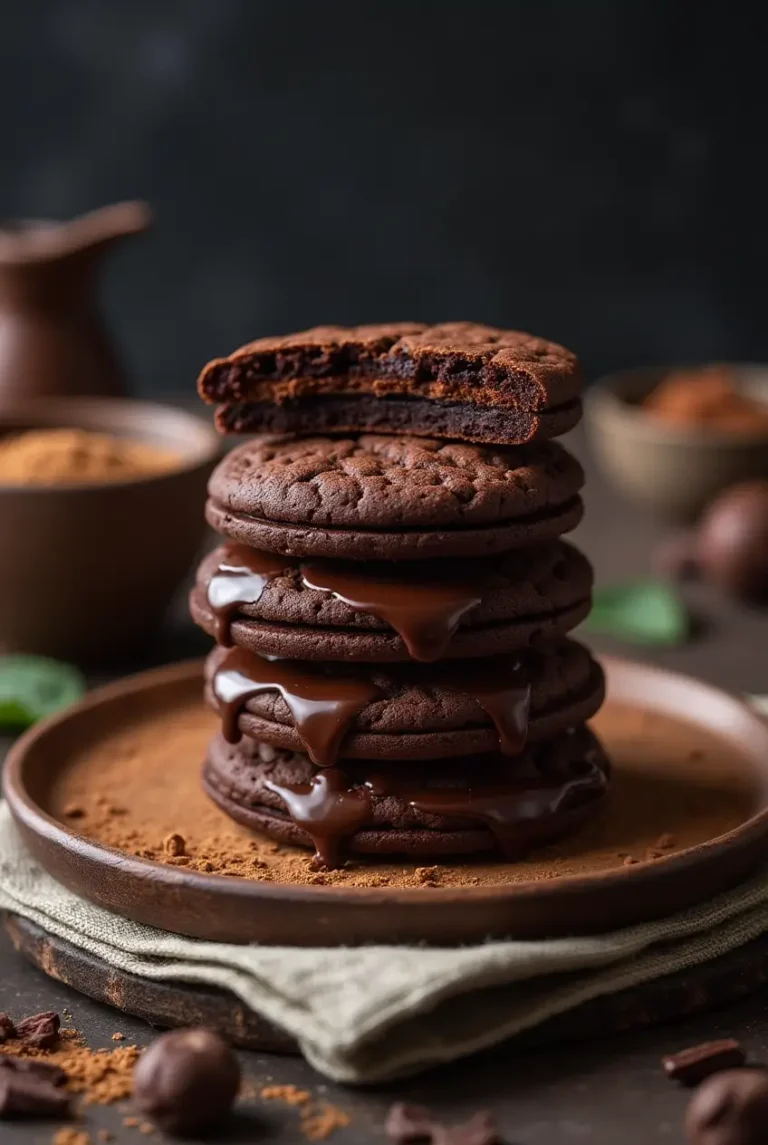
The chocolate sandwich cookie is more than just a sweet treat—it’s a global phenomenon. Known for its rich chocolate wafers…
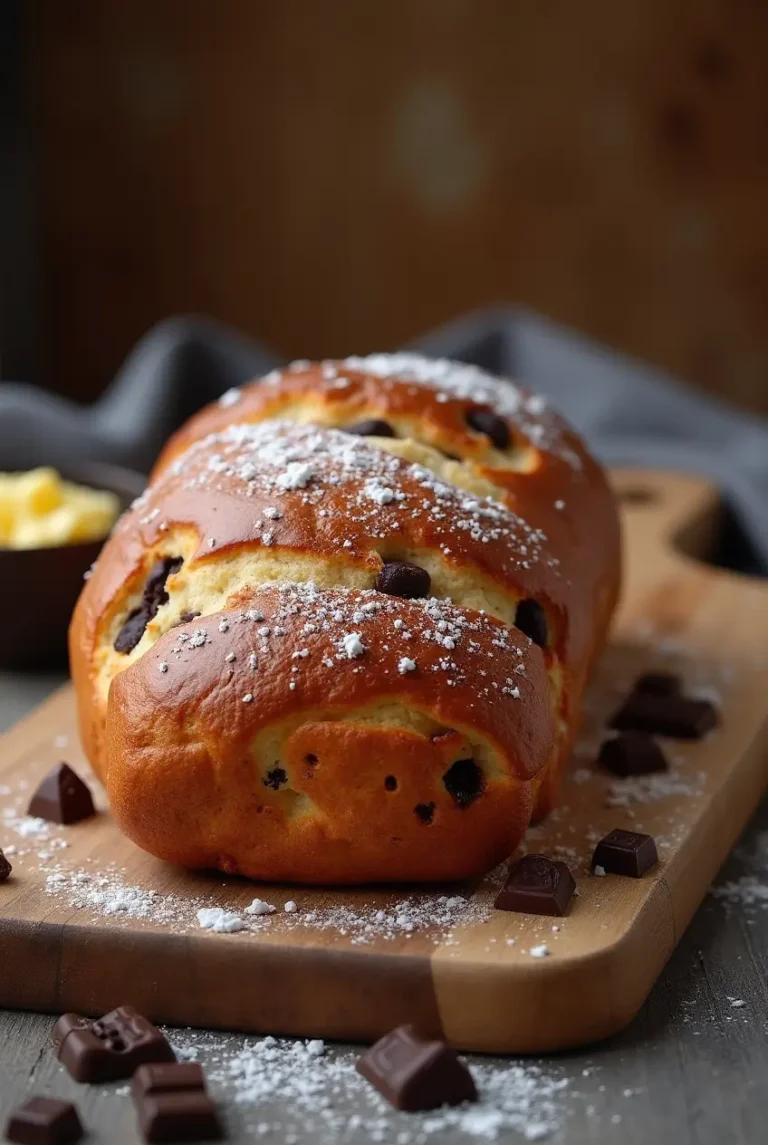
Chocolate brioche combines the luxurious richness of French pastry with the irresistible allure of melted chocolate. This classic treat is…

There’s something magical about a steaming bowl of easy tomato basil soup. Whether it’s a rainy day, a cold winter…

Crab Omelet Recipe is a perfect way to combine the luxurious flavor of seafood with the comfort of a hearty,…

When the weather turns chilly or you crave a hearty, nostalgic meal, old-fashioned beef stew is the perfect answer. This…

Baked cottage cheese eggs are the perfect combination of health and flavor. This dish combines the creamy richness of cottage…
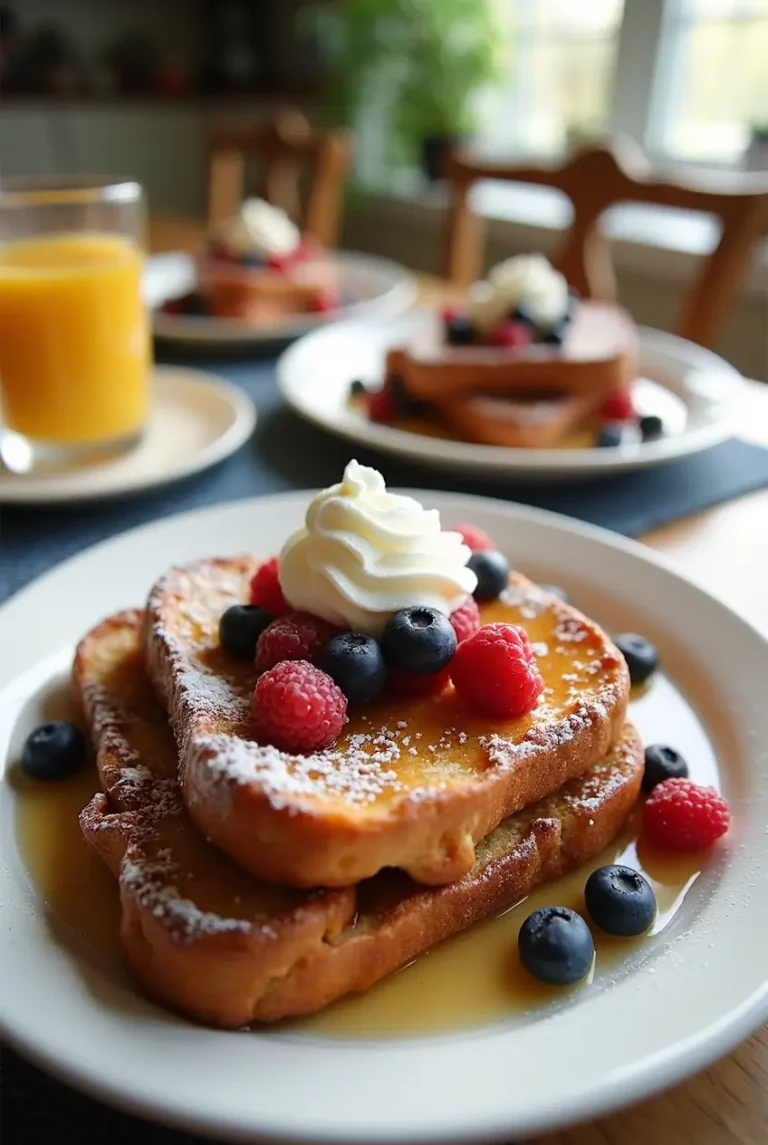
Imagine waking up to the heavenly aroma of buttery rolls crisping in a skillet, their sweet scent mingling with the…
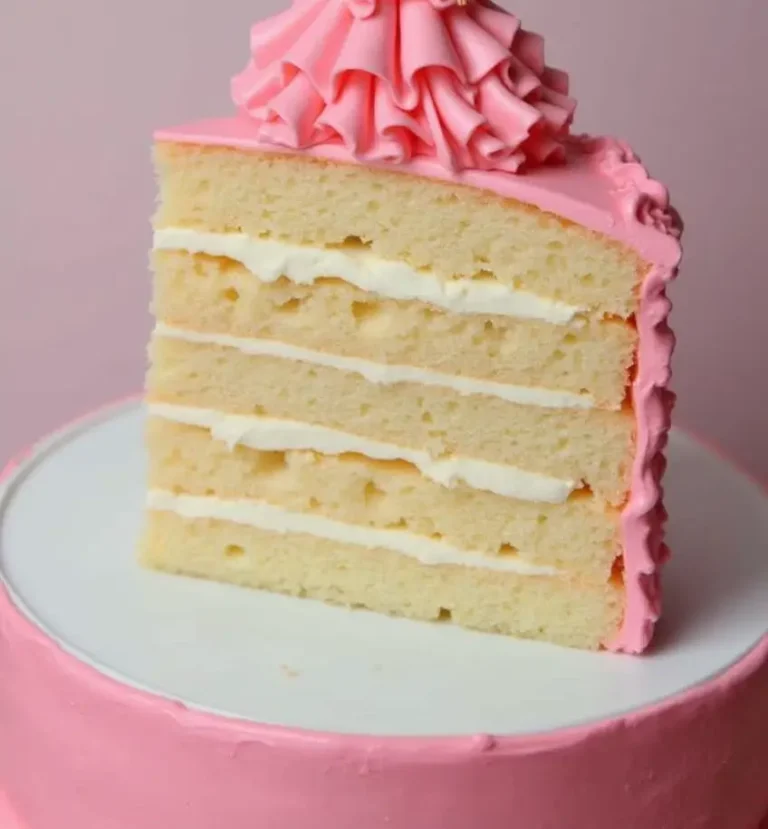
A Barbie cake isn’t just a dessert—it’s a show-stopping centerpiece that adds a personal and magical touch to any celebration….