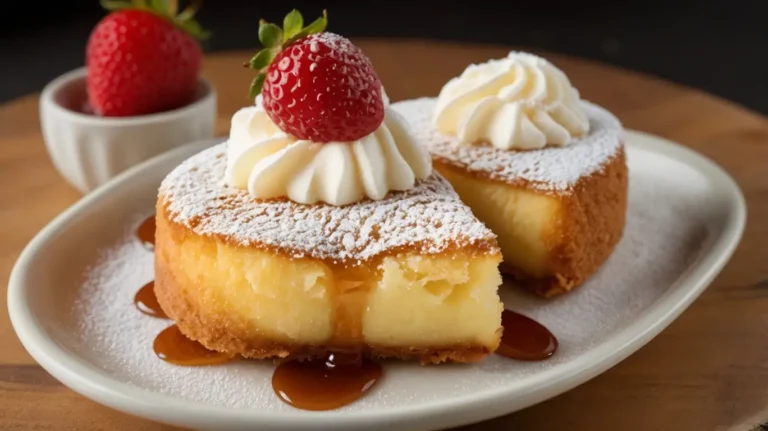
The Ultimate Deep-Fried Cheesecake: 8 Secrets for Perfection
Few desserts combine crispy, golden-brown perfection with rich, creamy indulgence like deep-fried cheesecake. Whether you’ve encountered it at a state…
Few desserts combine crispy, golden-brown perfection with rich, creamy indulgence like deep-fried cheesecake. Whether you’ve encountered it at a state…
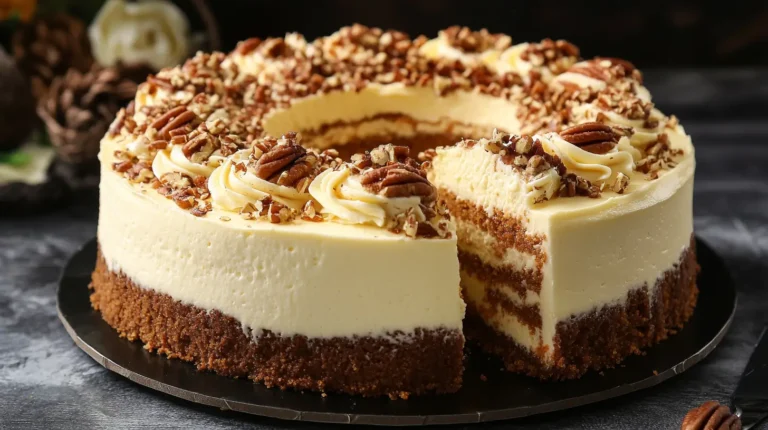
Carrot Cake Cheesecake- why not combine them into one show-stopping dessert? Carrot Cake Cheesecake is the perfect fusion of warmly…
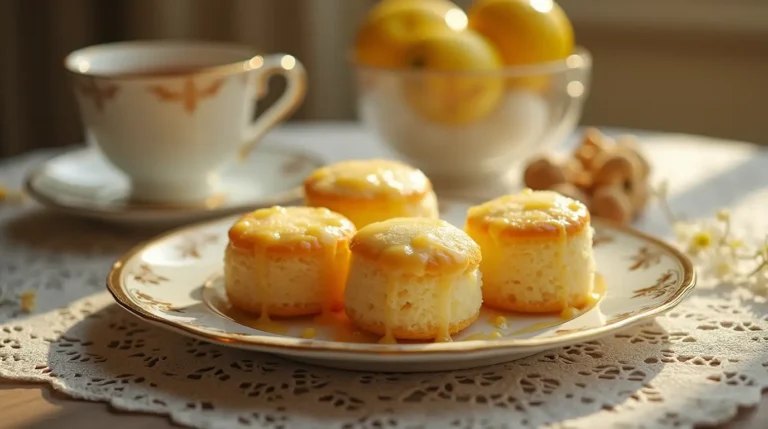
Few novels capture the extravagance and nostalgia of the Jazz Age as vividly as The Great Gatsby Lemon Cakes. Amid…
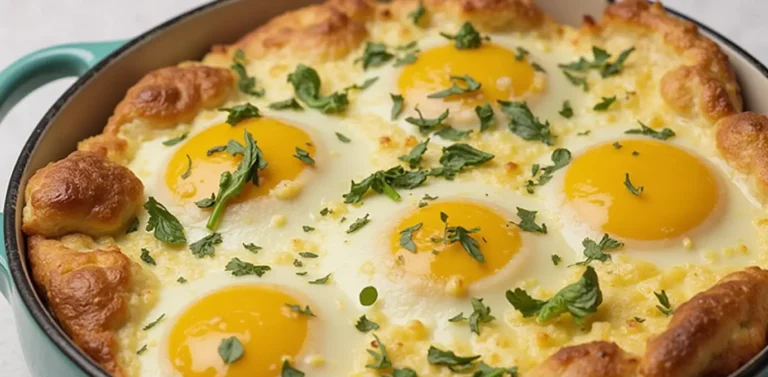
Baked Egg Challenge Recipe made easy! Learn the simple steps and ingredients to create this delicious breakfast dish in no…
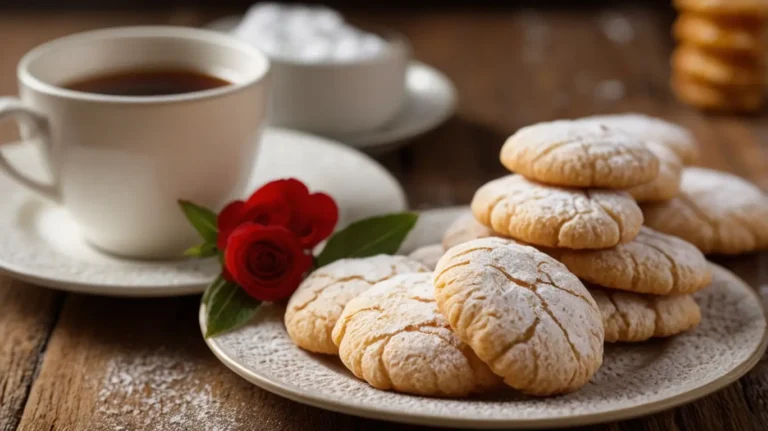
Ricciarelli honey recipe is a traditional Italian almond cookie that originated in Siena, Italy. Known for their soft, chewy texture…
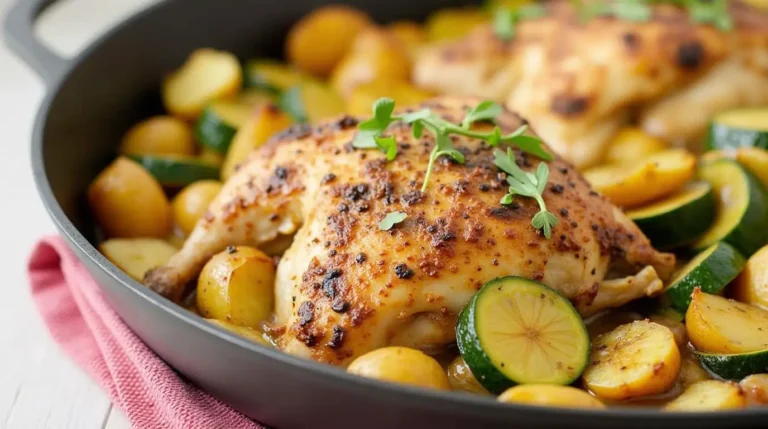
If you’re looking for a simple, healthy, and delicious meal, this baked chicken with zucchini and potatoes is the perfect…
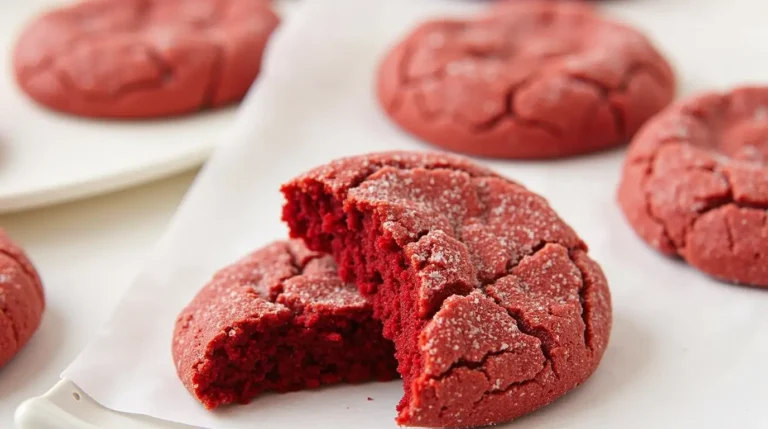
If you love the rich, velvety flavor of red velvet cake but want something smaller and more portable, red velvet…
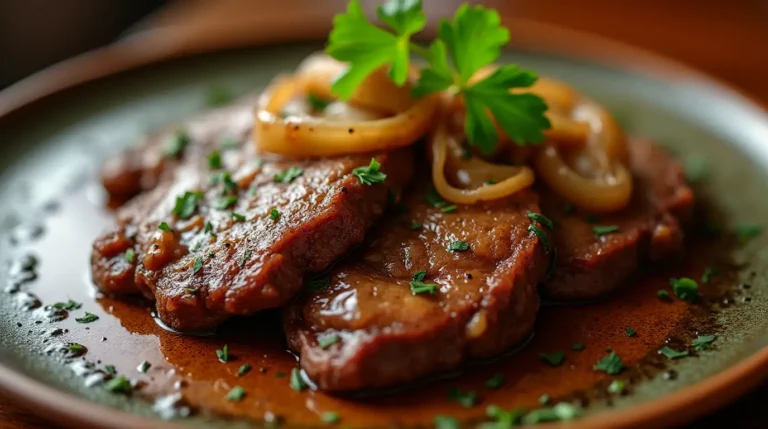
Introduction to Beef Liver Recipe Beef Liver Recipe is one of the most nutrient-rich and underrated superfoods. Despite its strong…
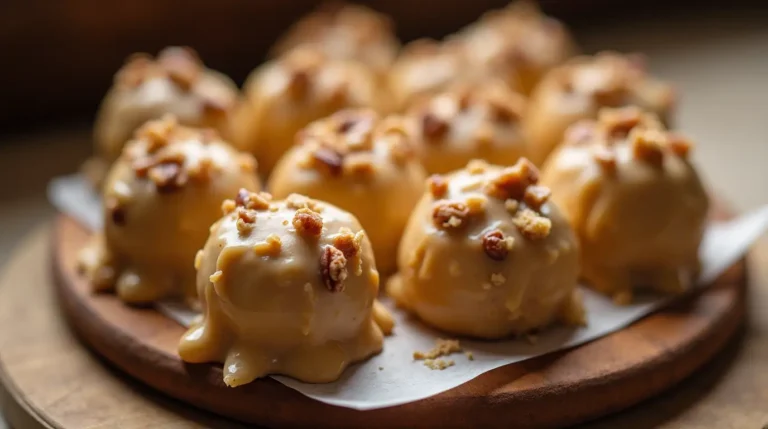
Vanilla Pecan Pralines are a beloved Southern confection known for their rich, buttery texture and nutty sweetness. Combining crunchy pecans,…
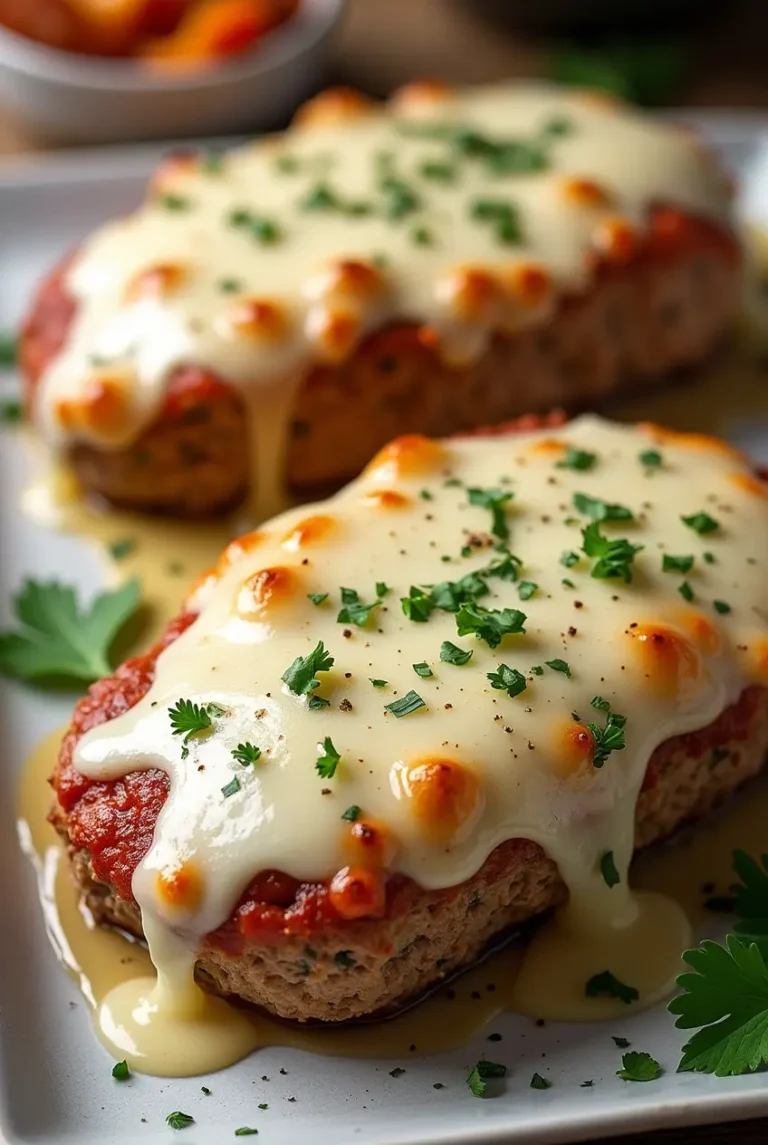
Meatloaf is a quintessential comfort food, and this Garlic Parmesan Chicken Meatloaf takes the classic to new heights. This dish…