Lentil Soup: 5 Expert Tips for Perfect Flavor Every Time
Lentil soup is a timeless, nutritious dish enjoyed across the globe. Whether you’re looking for a hearty meal, a healthy option,…
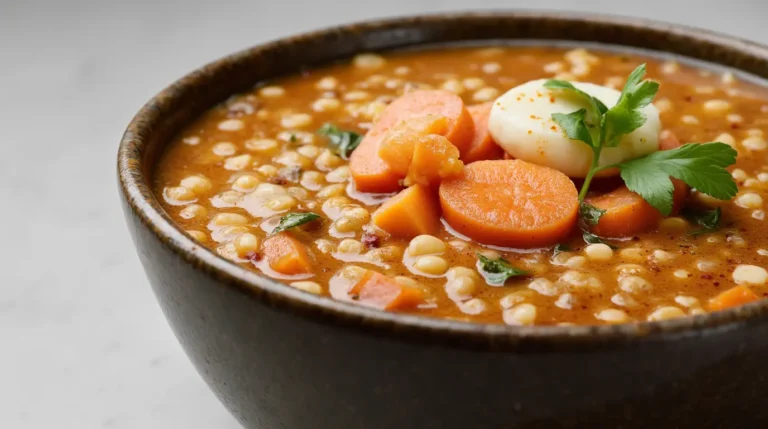
Lentil soup is a timeless, nutritious dish enjoyed across the globe. Whether you’re looking for a hearty meal, a healthy option,…

Polenta is a versatile and beloved dish that has been a staple in Italian cuisine for centuries. Made from cornmeal, this creamy…
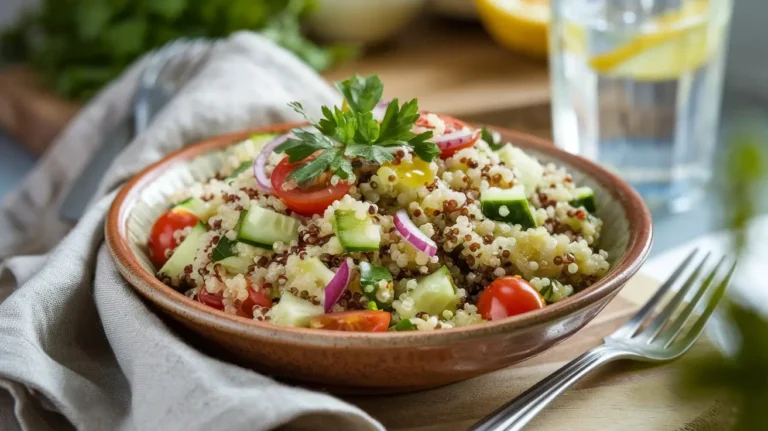
Quinoa salad has become a staple in modern diets, celebrated for its versatility, nutritional benefits, and delicious flavors. Whether you’re looking for…
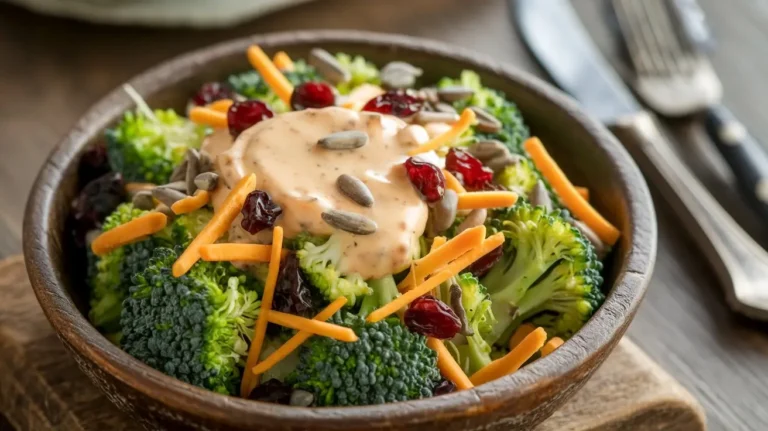
Broccoli salad is a versatile and nutritious dish that has become a staple at picnics, potlucks, and family gatherings. Whether you’re…

Cheese Borek, or Börek, is a flaky, savory pastry filled with cheese and baked or fried to perfection. Originating from…

These Baked Cabbage Nest Burgers are the perfect solution if you are looking for a low-carb alternative to traditional burgers. This…

These Chocolate Rice Krispie Balls are the perfect solution if you’re looking for a quick and easy no-bake dessert. Made with simple…

If you’re looking for a healthier, plant-based alternative to traditional Buffalo wings, air fryer Buffalo cauliflower is the perfect option….
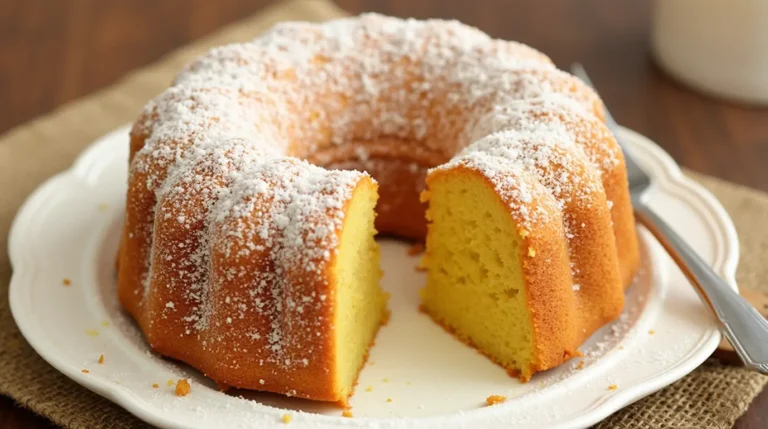
A perfectly baked Honey Cake Recipe is rich, moist, and infused with deep, caramelized sweetness. This traditional dessert is often…

The Dubai Pistachio Chocolate Bar is a gourmet masterpiece that seamlessly blends premium chocolate, crunchy pistachios, and a crisp, velvety…