Cauliflower Salad: 10 Irresistible Variations You’ll Love
If you’re looking for a fresh, nutritious, and easy-to-make dish, Marinated Cauliflower Salad is the perfect choice. This vibrant salad…
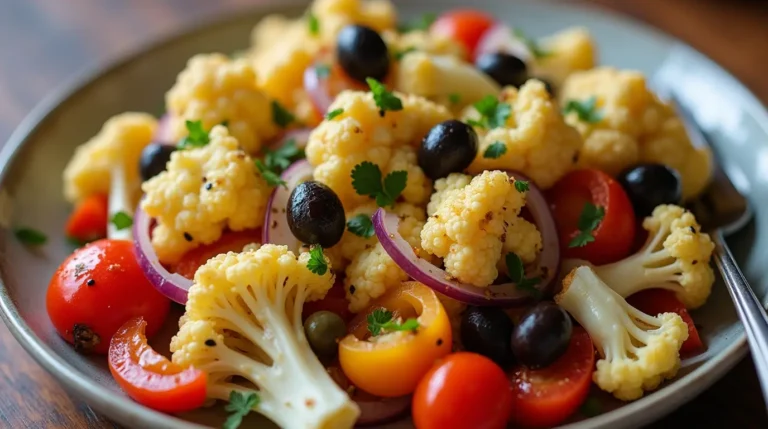
If you’re looking for a fresh, nutritious, and easy-to-make dish, Marinated Cauliflower Salad is the perfect choice. This vibrant salad…
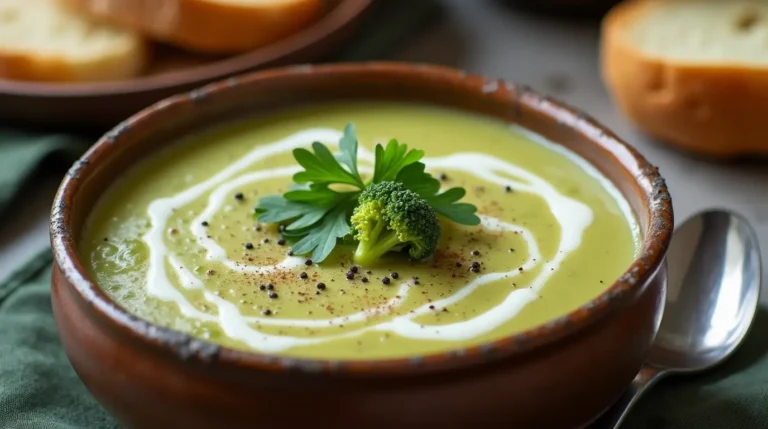
There’s nothing more comforting than a warm bowl of cream of broccoli soup on a cold evening. This classic dish…
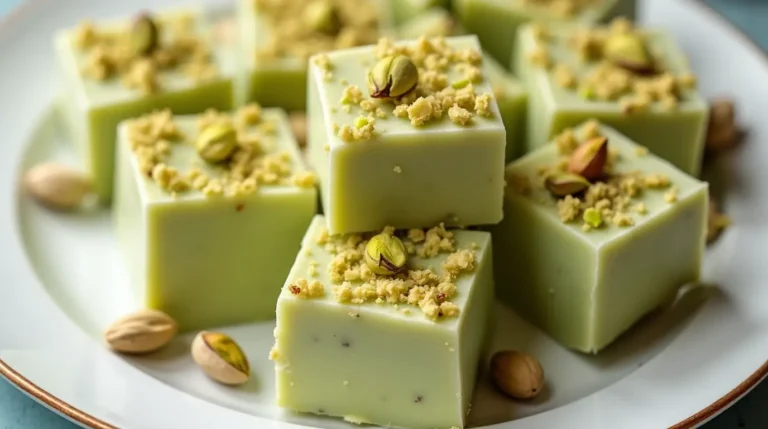
Fudge is a timeless treat loved for its rich, smooth, and creamy texture. While chocolate fudge is the most common…

Few desserts capture the essence of the tropics quite like Pineapple Coconut Cake. With its moist texture, rich coconut flavor,…

If you love quick, easy, and delicious Italian meals, then this Italian Chicken Skillet is a must-try! This dish is…

Basic Crêpes are a classic French dish that can be enjoyed in both sweet and savory variations. These thin, delicate…

If you love easy, no-bake desserts, this No Bake Éclair Cake is a must-try! It’s a simple, fuss-free dessert that…

Pan-seared tilapia is a simple yet elegant dish that brings out the natural flavors of this mild, flaky fish. With…
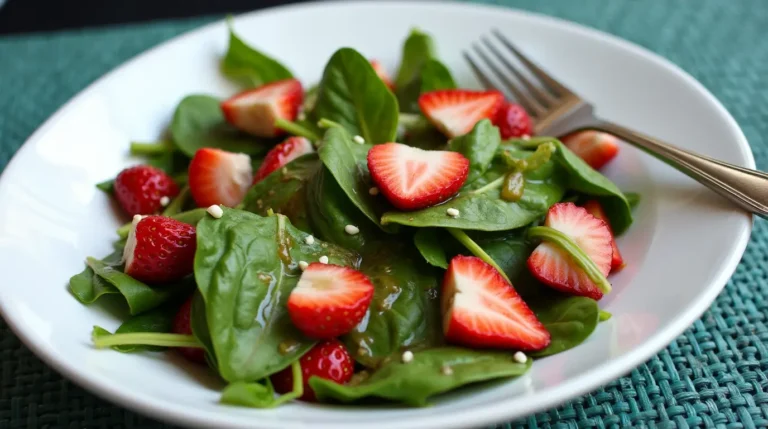
A spinach and strawberry salad is the perfect blend of sweet, tangy, and savory flavors, making it a refreshing meal…
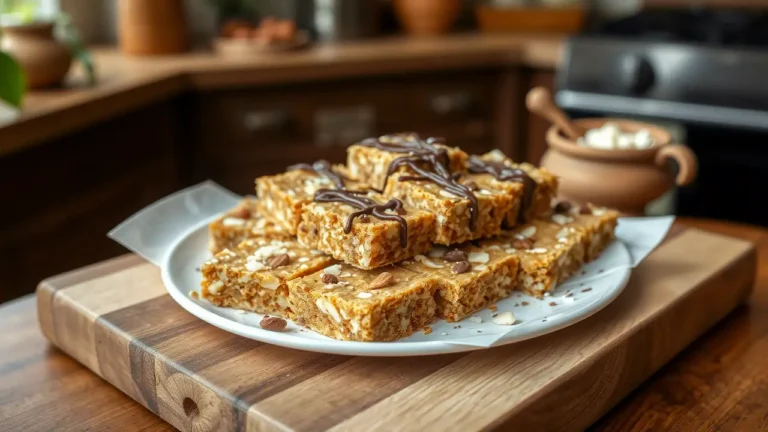
If you’re looking for a delicious, healthy, and easy-to-make snack, almond-coconut bars are the perfect choice. They are packed with…