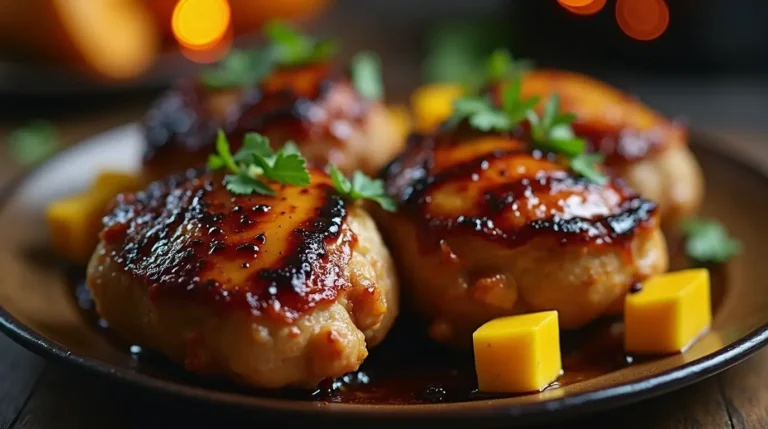
Mango BBQ Chicken: 3 Delicious Variations You’ll Love
Mango BBQ Chicken is a dish that perfectly blends the natural sweetness of mango with the bold, smoky flavors of…
Mango BBQ Chicken is a dish that perfectly blends the natural sweetness of mango with the bold, smoky flavors of…
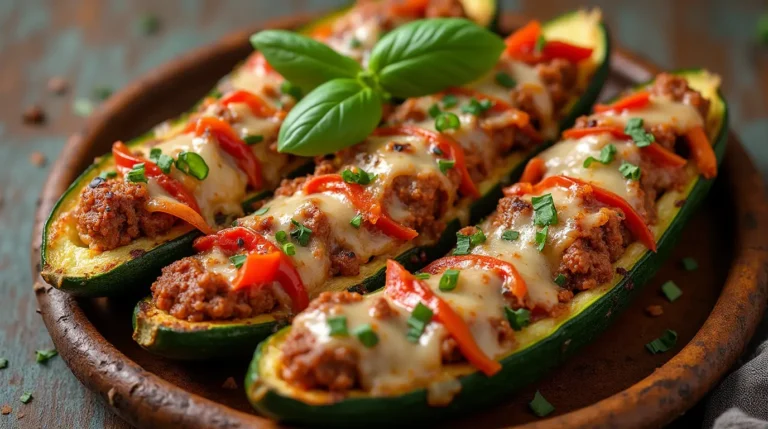
If you’re looking for a healthy, low-carb, and flavor-packed dish, zucchini boats are an excellent choice. These delicious, stuffed zucchini…
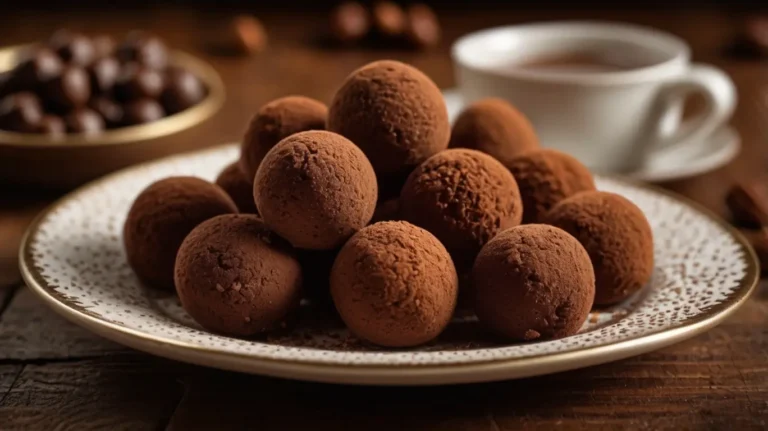
Chocolate truffles are one of the most decadent and luxurious treats in the world of confectionery. Named after the prized fungal…
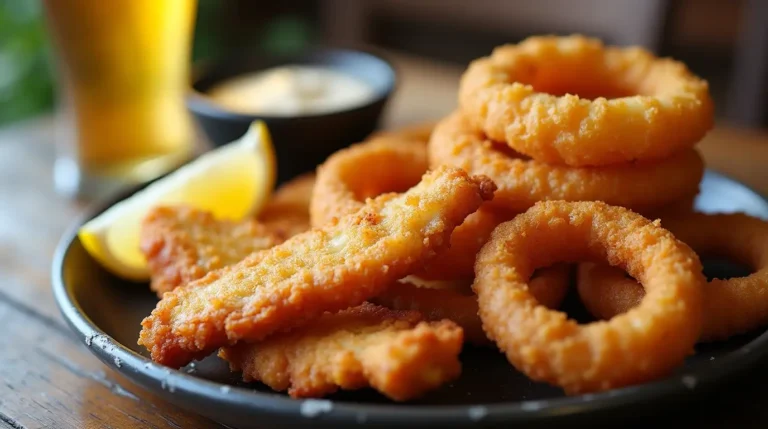
A Cod and Onion Rings Platter is the perfect combination of crispy, golden battered fish and crunchy onion rings, making…
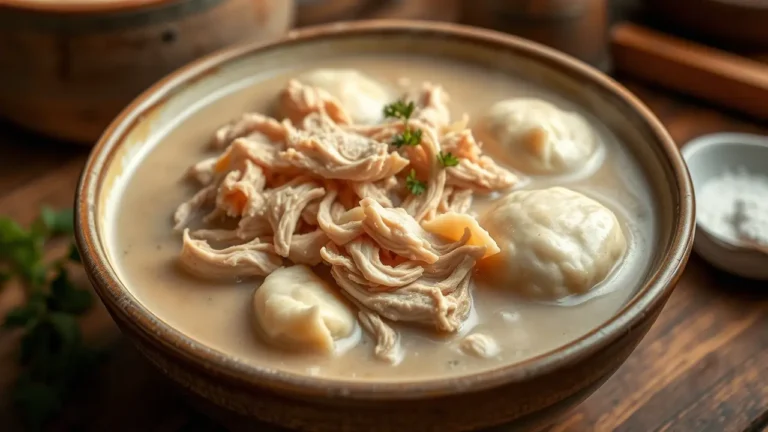
Chicken and dumplings is a classic comfort food that brings warmth and nostalgia with every bite. This dish, known for…
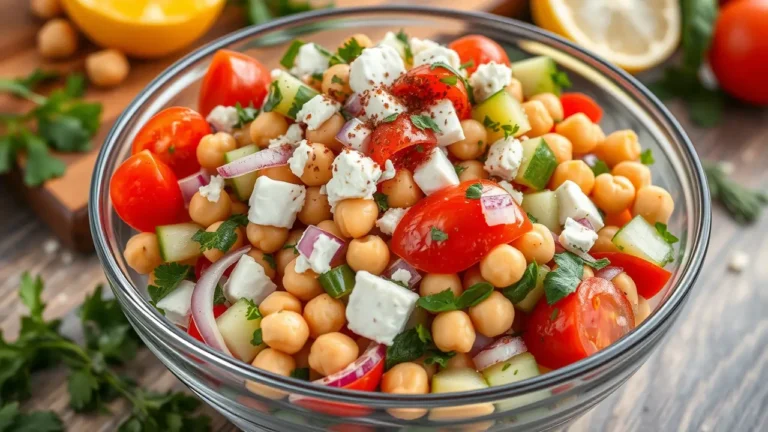
A bowl of chickpea salad is not only refreshing and delicious but also a powerhouse of nutrition. Packed with plant-based…

A homemade strawberry cake is a moist, flavorful, and naturally sweet dessert that celebrates the bright, juicy taste of fresh…
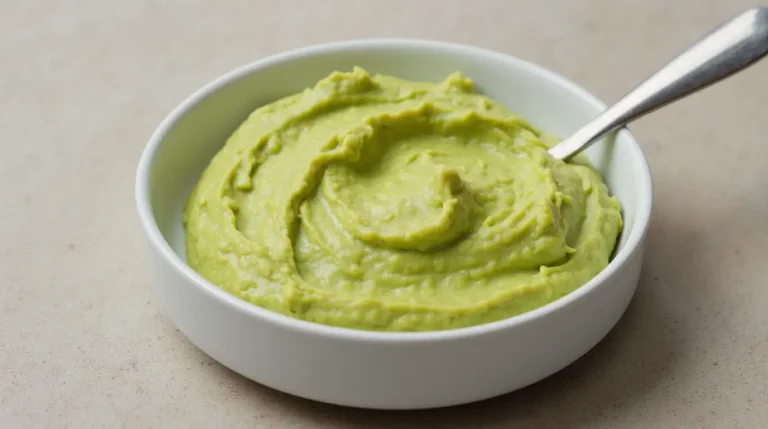
Avocado butter is a nutritious, plant-based alternative to traditional butter. Packed with healthy fats and vitamins, it is perfect for…
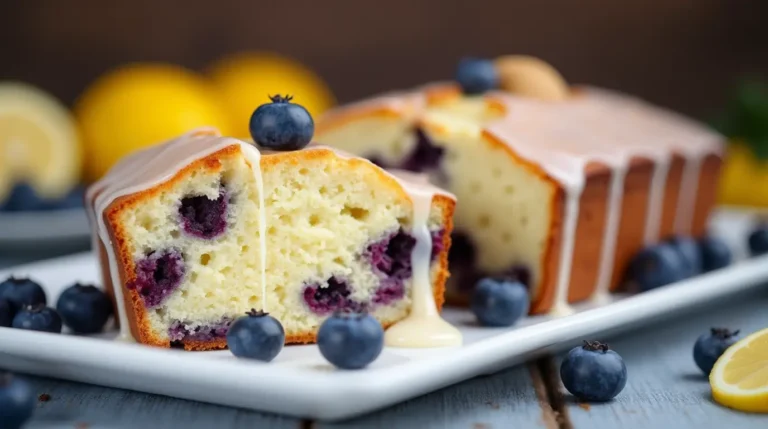
Cottage cheese blueberry cake is a delightful dessert that combines the creamy richness of cottage cheese with the sweet-tart flavor of blueberries. This cake…

Classic waffles have been a beloved breakfast staple for centuries, captivating taste buds with their crispy exterior and fluffy interior. Whether enjoyed with a…