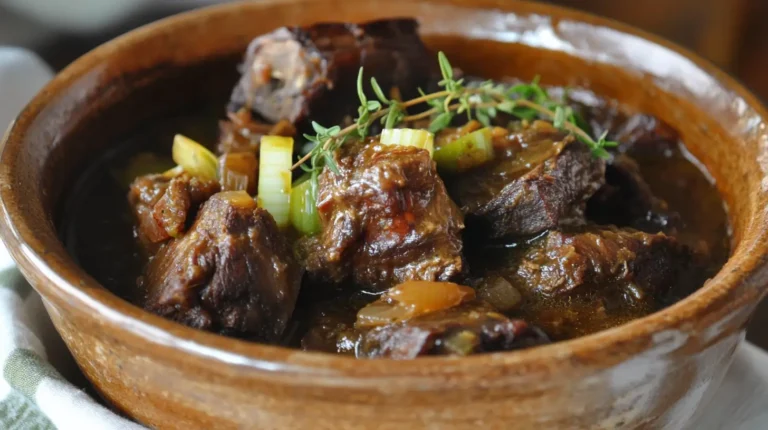
Oxtail Stew: 4 Irresistible Variations You’ll Love
Few dishes bring warmth, depth, and comfort to the table quite like Jamaican Oxtail Stew. Known for its fall-off-the-bone tenderness,…
Few dishes bring warmth, depth, and comfort to the table quite like Jamaican Oxtail Stew. Known for its fall-off-the-bone tenderness,…
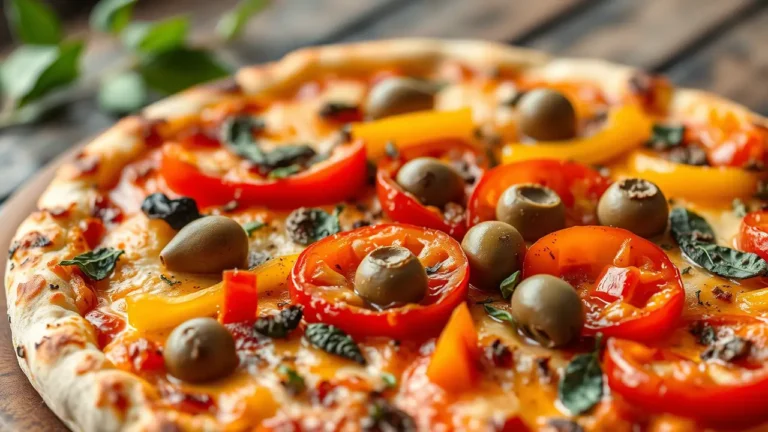
When you crave a satisfying yet healthy meal, veggie pizza is the perfect solution. Packed with colorful vegetables, creamy cheese,…

When you’re looking to impress at the dinner table with a dish that’s both luxurious and surprisingly simple to make,…
Florida Shrimp Pie is a delicious representation of the state’s rich seafood traditions. Combining sweet Gulf shrimp with a flaky,…
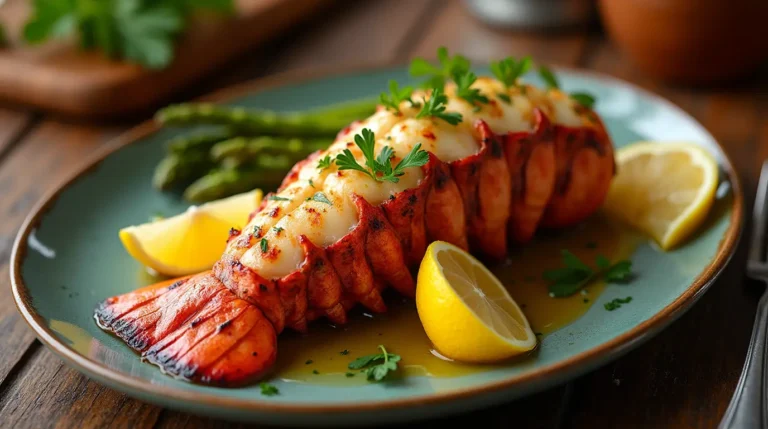
There’s something undeniably special about grilled lobster tail. Whether it’s the succulent, buttery flavor or the impressive presentation, this dish is…
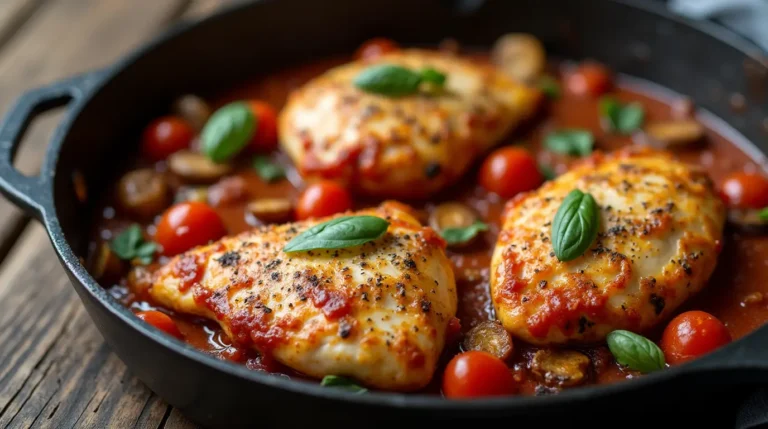
If you love quick, easy, and delicious Italian meals, then this Italian Chicken Skillet is a must-try! This dish is…
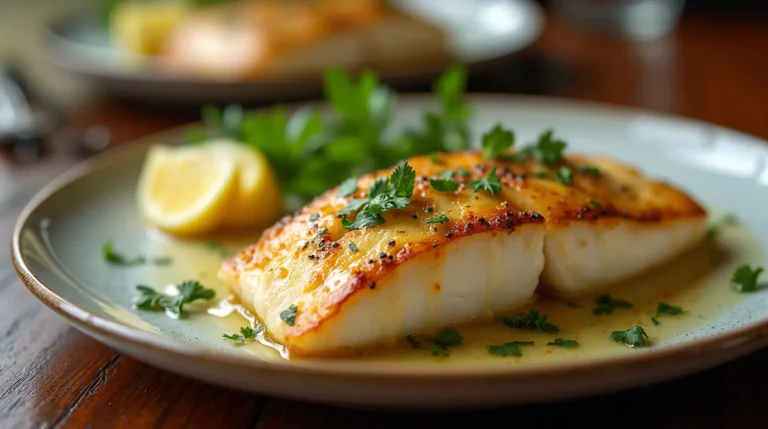
Pan-seared tilapia is a simple yet elegant dish that brings out the natural flavors of this mild, flaky fish. With…
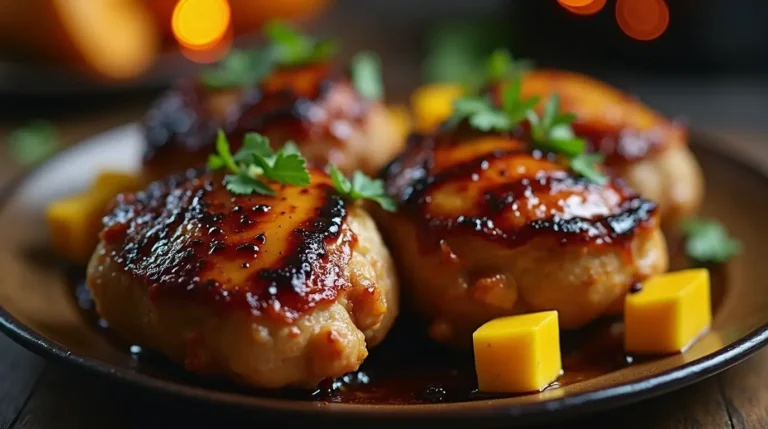
Mango BBQ Chicken is a dish that perfectly blends the natural sweetness of mango with the bold, smoky flavors of…
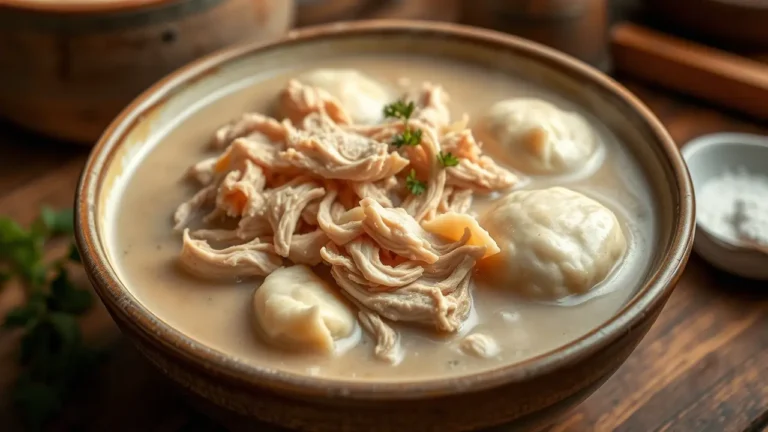
Chicken and dumplings is a classic comfort food that brings warmth and nostalgia with every bite. This dish, known for…
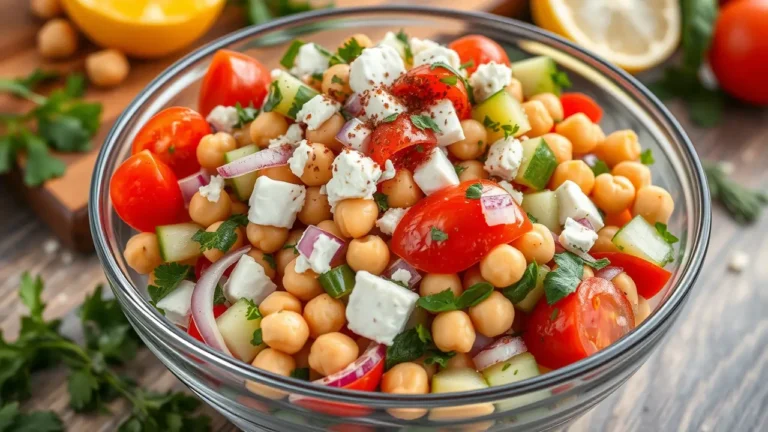
A bowl of chickpea salad is not only refreshing and delicious but also a powerhouse of nutrition. Packed with plant-based…