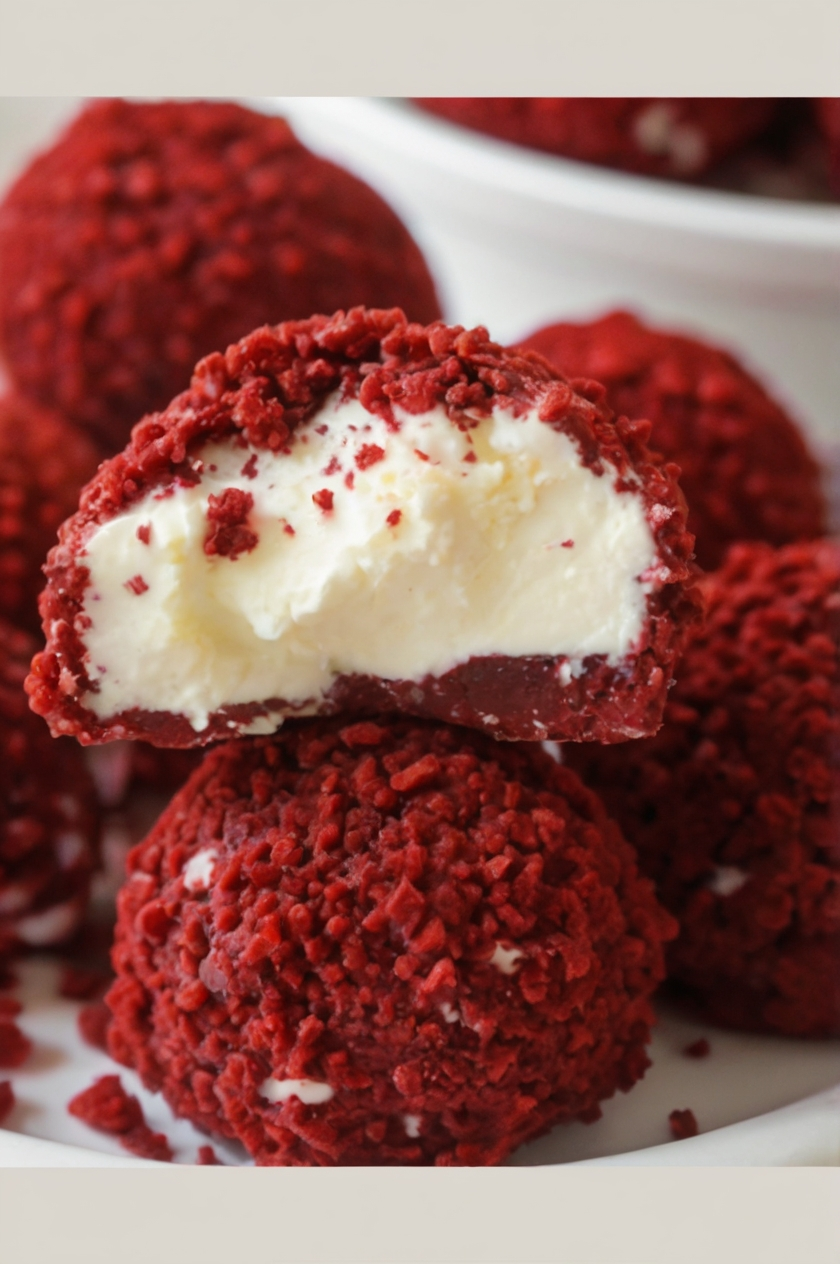
Red Velvet Cheesecake Balls: 6 Simple Steps for Perfect Results
If you’re a fan of red velvet and cheesecake, combining them into one delectable treat is a no-brainer. Red velvet cheesecake balls are the ultimate bite-sized dessert that’s creamy, sweet, and perfect for any occasion. Whether you’re hosting a party, celebrating a holiday, or looking for a fun DIY gift, these no-bake delights are guaranteed to impress. They’re easy to make, versatile, and customizable to suit your taste.
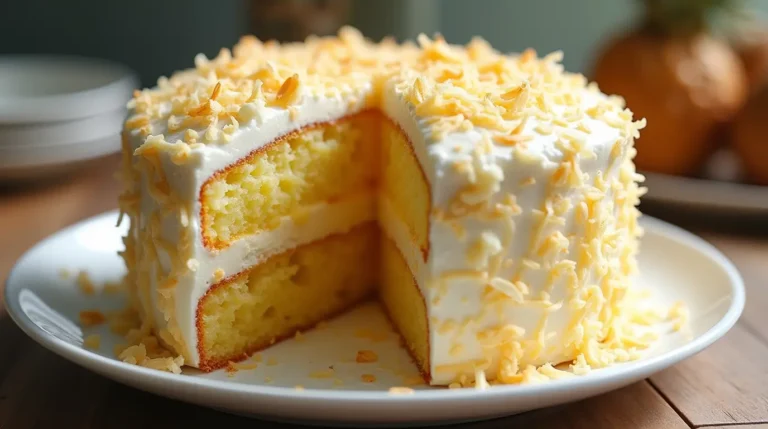
For those curious about the origins of red velvet desserts, explore the classic red velvet cake, a timeless treat that inspired many modern adaptations.

Table of Contents
Why Red Velvet Cheesecake Balls Are the Perfect Party Treat
These bite-sized desserts blend the rich cocoa flavor of red velvet with the creamy tang of cheesecake. The result is a smooth, decadent bite that’s hard to resist. But the appeal goes beyond just taste. Here’s why they’ve become a favorite among dessert enthusiasts:
- Ease of Preparation: With minimal ingredients and no baking required, they’re beginner-friendly.
- Versatility: Perfect for holidays, events, or casual treats.
- Customizable: Add your favorite toppings or flavors to make them unique.
Looking for a dessert that offers elegance with simplicity? Check out mini trifles for another sophisticated yet easy option.
Ingredients for Making No-Bake Red Velvet Cheesecake Bites
Making red velvet cheesecake balls is straightforward, but the ingredients you choose will make all the difference. Here’s what you’ll need:
- Red Velvet Cake Mix: A shortcut for quick preparation, but homemade red velvet cake works just as well.
- Cream Cheese (16 oz): Softened for smooth blending.
- Butter (¼ cup): Adds richness and helps bind the mixture.
- Chocolate Chips or Candy Melts: For a glossy, delicious coating.
- Optional Toppings: Sprinkles, crushed nuts, cookie crumbs, or even candy canes for festive flair.
Pro Tip
For those with dietary restrictions, use gluten-free cake mix or plant-based cream cheese to make these treats accessible to everyone.
Step-by-Step Recipe for No-Bake Cheesecake Truffles
Follow these simple steps to make the best red velvet cheesecake balls:
- Prepare the Cake Base
- Bake the red velvet cake according to the package instructions (if not already prepared).
- Allow the cake to cool entirely before breaking it into small, uniform crumbs.
- Mix the Cheesecake Filling
- In a large mixing bowl, blend softened cream cheese and butter until smooth.
- Gradually add the red velvet cake crumbs, mixing until a dough forms. Ensure the texture is soft but holds its shape.
- Shape the Balls
- Scoop the mixture and roll it into small balls, about 1-1.5 inches in diameter.
- Arrange the balls on a parchment-lined baking sheet and refrigerate for 1-2 hours to firm up.
- Coat and Decorate
- Melt the chocolate chips or candy melts in the microwave, stirring until smooth.
- Dip each ball into the melted chocolate, ensuring they’re fully coated.
- Add toppings such as crushed nuts, sprinkles, or drizzle white chocolate over the top.
- Allow the coating to set at room temperature or refrigerate to speed up the process.
Variations of Red Velvet Cheesecake Balls for Every Occasion
Want to make your red velvet cheesecake balls truly unique? Try these ideas:
Festive and Fun Additions
- Holiday Sprinkles: Add red and green sprinkles for Christmas or pastel ones for Easter.
- Crushed Candy Canes: Perfect for a winter wonderland theme.
Dietary Adjustments
- Vegan Version: Use dairy-free cream cheese and vegan cake mix for a plant-based treat.
- Gluten-Free Option: Substitute with gluten-free cake mix and ensure all other ingredients comply.
For more holiday-themed dessert ideas, don’t miss these Christmas brownies, which pair beautifully with cheesecake balls on a festive dessert table.
Storage and Shelf Life
One of the best things about red velvet cheesecake balls is their convenience. They’re perfect for making ahead and storing until you need them.
- Refrigerator: Store in an airtight container to maintain freshness for up to five days.
- Freezer: Freeze them in a sealed container for up to three months, and defrost in the refrigerator before serving.
Pro Tips for Success
Mastering red velvet cheesecake balls is all about attention to detail. Here are some expert tips:
- Soften Ingredients: Ensure cream cheese and butter are softened before mixing to avoid lumps.
- Chill Thoroughly: Refrigerate the mixture before shaping to make the process easier.
- Coating Tips: Use a fork or skewer to dip the balls into the chocolate for a smooth finish.
Frequently Asked Questions
Can I make these ahead of time?
Yes! These treats are perfect for preparing in advance and storing in the fridge or freezer.
What are the best toppings?
Sprinkles, crushed nuts, and a drizzle of white chocolate are all excellent choices.
Can I use homemade red velvet cake?
Absolutely. Homemade cake offers a personal touch and allows you to control the flavor.
Red velvet cheesecake balls are not just desserts—they’re a fun and creative way to elevate any celebration. With their perfect blend of flavors, they will surely be a hit whether served at parties or as holiday gifts. So, what are you waiting for? Grab your ingredients and start rolling these delicious delights today!